Dify Local Deployment Guide: From Docker Installation to LLM Integration
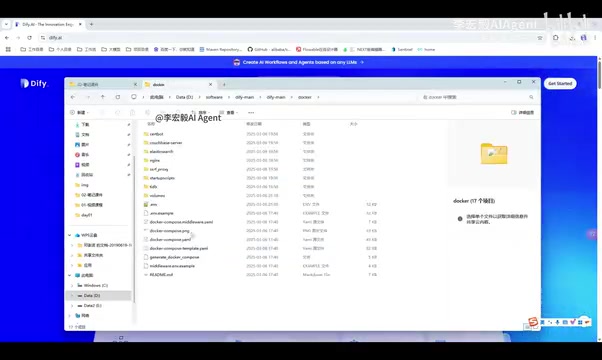
A complete walkthrough for deploying Dify locally with Docker, from setup to first login.
This article covers how to deploy Dify, the enterprise AI application platform, on your local machine. Dify enables no-code chatbot, agent, and workflow development. Compared to the cloud version, local deployment avoids network bottlenecks and data security risks. The process requires Docker and Docker Compose (minimum 2 CPU cores, 4GB RAM), with Docker Desktop available for Windows users. Key steps include navigating to the `docker` subdirectory, renaming `.env.example` to `.env`, and running `docker compose up -d`. After startup, access the interface at `localhost` and complete admin account initialization. Integrating a local LLM such as DeepSeek via Ollama is the natural next step.
Why Choose Dify for Enterprise AI Applications
Dify is one of the most widely adopted tools for building AI applications and agents, particularly in enterprise scenarios and agent development. Its biggest advantage is no coding required: developers can rapidly build chatbots and AI agents without writing a single line of code, and connect business logic through a visual workflow orchestration interface.
For enterprise teams, this means deploying large model capabilities into real business workflows at a much lower barrier — no need to build complex application frameworks from scratch. Similar to Coze, Dify plays an important role in the AI application development ecosystem, and both are worth mastering. This article focuses on the Dify installation and local deployment process, walking you through everything from environment setup to LLM integration.
Dify's core architecture consists of four components: a workflow engine, a RAG (Retrieval-Augmented Generation) pipeline, an Agent framework, and a model integration layer. The workflow orchestration uses a Directed Acyclic Graph (DAG) structure, allowing users to define how data flows between steps by connecting nodes — similar to n8n or Zapier, but purpose-built for large model tasks. The RAG pipeline supports vectorizing internal enterprise documents (PDFs, Word files, databases, etc.) and storing them in a knowledge base, enabling the model to retrieve private data during conversations rather than relying solely on its training data. This capability is one of the core demands in enterprise scenarios — leveraging the language understanding power of LLMs while ensuring answers are grounded in the organization's own business data.
Online vs. Local Deployment: Which Should You Choose?
Dify provides an online interface at dify.ai — just click Get Started to access the cloud workspace. This is the fastest way to get started, but comes with two notable limitations:
- Network latency: Loading speeds can be significantly affected by your connection;
- Online model inference: All model calls go through online channels, which slows down the development workflow.
For teams that need frequent debugging, prioritize development speed, or have data security requirements, local deployment is the more practical choice. Dify provides full source code and Docker images on GitHub, ready to be pulled and deployed locally.
Prerequisites: Docker and Docker Compose
The core dependency for deploying Dify locally is a Docker environment. The official documentation lists the minimum hardware requirements: CPU with more than 2 cores and at least 4GB of RAM. The startup command itself is straightforward — just docker compose up -d — but your machine must have both Docker and Docker Compose installed first.
Linux Installation
Whether you're using Ubuntu or CentOS, the process is the same:
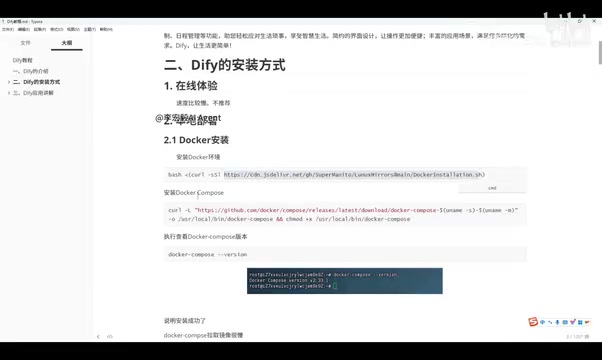
- Install Docker: Run the official installation script, which handles Docker installation along with the necessary images. If the download fails due to network speed, download the script locally first and then execute it.
- Install Docker Compose: After running the installation command, verify with
docker compose version. If a version number appears, the installation was successful. - Configure a mirror proxy: If pulling images with Docker Compose is slow, configure a mirror proxy to speed things up.
macOS and Windows
Mac users can follow the same steps above. If Docker Compose is already installed, no additional steps are needed.
Windows users have it even easier — just use Docker Desktop. Go to the official Docker website, download the .exe installer, and double-click to install. Once installed, Docker Desktop includes a built-in terminal where you can run commands directly, though you can also use the system command line.
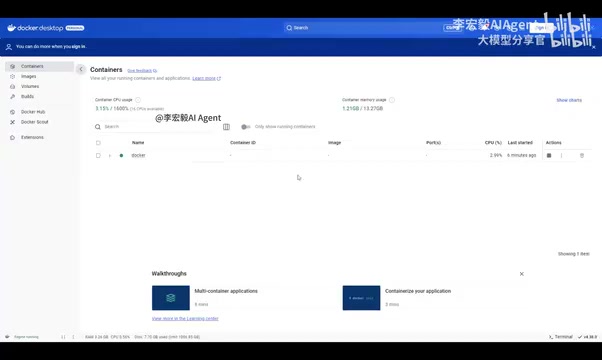
Docker is a containerization technology that packages an application along with all its dependencies (runtime, libraries, config files) into a standardized "container," allowing it to run consistently on any machine that supports Docker — permanently solving the "works on my machine" problem. Docker Compose builds on this by providing multi-container orchestration. Since Dify consists of multiple services (web frontend, API server, worker processes, PostgreSQL database, Redis cache, vector database, etc.), Compose uses a single docker-compose.yaml file to define the startup order, network connections, and volume mounts for all these services — turning what would otherwise require manually launching multiple processes into a single command. This is also why the command must be run from inside the docker directory: that directory's docker-compose.yaml is the "blueprint" for the entire Dify service topology.
Starting the Dify Container
Once your environment is ready, starting Dify is straightforward — but a few critical details are worth noting:
- Navigate to the correct directory: The
docker compose upcommand must be run from thedockersubdirectory of the Dify source code, as that's where the Docker Compose configuration file lives. - Rename the config file: There's a
.env.examplefile in that directory — you need to manually rename it to.env. Without this step, the containers won't be able to read the configuration. This is one of the most common mistakes beginners make. - Run the startup command: Execute
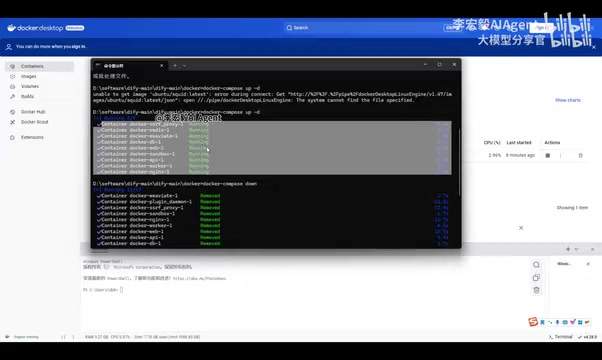
docker compose upfrom within thedockerdirectory, and the containers will start spinning up the required components.
On the first run, expect some wait time since Docker needs to pull the images. If you use background mode (-d), you won't see the runtime logs — the containers will quietly complete initialization in the background.
First Access and Initial Setup
Once the containers are up and running, open your browser and navigate to localhost — Dify runs on port 80 by default.
On your first visit, you'll see an admin account setup page. Fill in your admin email, username, and password. After confirming, the system redirects you to the login page. Log in with the credentials you just created to enter the Dify workspace. Once inside, you can switch the interface language to your preference.
Next Step: Integrating a Local LLM
Deploying Dify locally is just the first step. To actually build applications with it, you'll need to connect an inference or chat model to power real-world tasks. Since Dify is already running locally, the natural next step is to deploy the relevant LLMs locally as well — creating a fully self-contained, local AI application development environment.
This part — including how to integrate models like DeepSeek — will be the focus of subsequent hands-on guides, and represents the critical bridge between "Dify is running" and "Dify is actually doing work."
Local LLM deployment is typically done through inference frameworks like Ollama or LM Studio. With Ollama, for example, a local HTTP service compatible with the OpenAI API format is started on your machine (default port 11434). You simply enter that address in Dify's "Model Provider" settings, and you can call locally running open-source models like DeepSeek, Llama, or Qwen just as you would call GPT. This architecture offers two major advantages: all data stays on your local machine (satisfying data sovereignty and security requirements), and inference latency is only limited by your local hardware — no dependency on external networks, making the debugging experience far superior to using online APIs. When choosing a local model, match the parameter size to your available VRAM or RAM. Generally, an 8B parameter model runs smoothly on a machine with 16GB of memory.
Summary
The barrier to deploying Dify locally is quite low. The core process comes down to three steps: set up Docker, pull the source code, and run the startup command from the docker directory. The real things to watch out for are a handful of common pitfalls — hardware requirements, renaming the .env config file, and configuring a proxy if image pulls are slow. Once you've mastered this workflow, you'll have a controllable, high-performance foundation for enterprise-grade AI application development.
Related articles
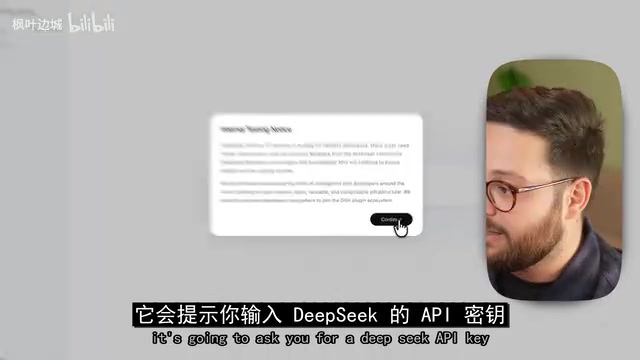
DeepSeek Harness Hands-On: Build Your Own Coding Agent for Free
DeepSeek Harness hits 190K GitHub stars as a free Claude Code alternative. This hands-on review covers installation, plugin models, full traceability, and driving Claude Code as a subprocess.
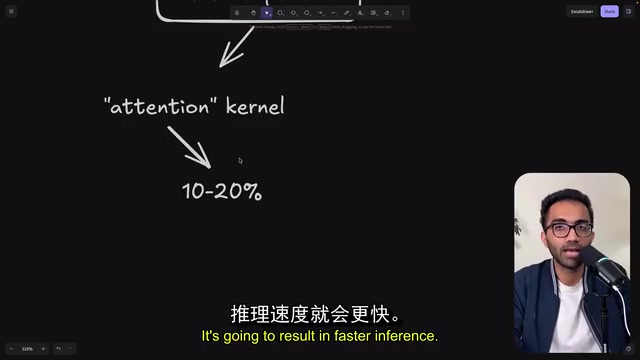
A DeepSeek Kernel Engineer's Confession: Being Replaced by the AI I Trained
A DeepSeek kernel engineer reveals how AI evolved from a doc-lookup assistant to a kernel master in one year — and why he's accelerating his own replacement.
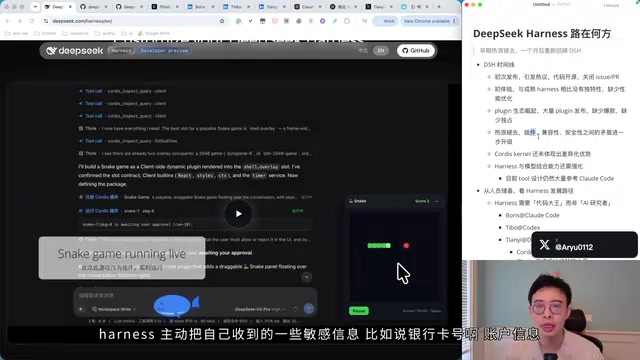
DeepSeek Harness One-Month Retrospective: Highlights, Risks, and the Road Ahead
DeepSeek Harness one-month retrospective: Plugin ecosystem, Codex Kernel, supply chain risks, talent strategy, and the cloud Agent path ahead.