Getting Started with Human Pose Detection: A Practical Guide from Tech Selection to Deployment for Your First ML Project

A beginner's practical guide to building a human pose detection project with YOLO, from tech selection to deployment.
This guide walks through building a human pose detection project (sitting, standing, lying) as a first ML project. It covers the relationship between OpenCV and YOLO, compares Google Colab vs VS Code for development, explains how to train a usable model with just 300 images using transfer learning and data augmentation, and provides a step-by-step roadmap from data annotation to model inference and optimization.
Starting from a Real Question
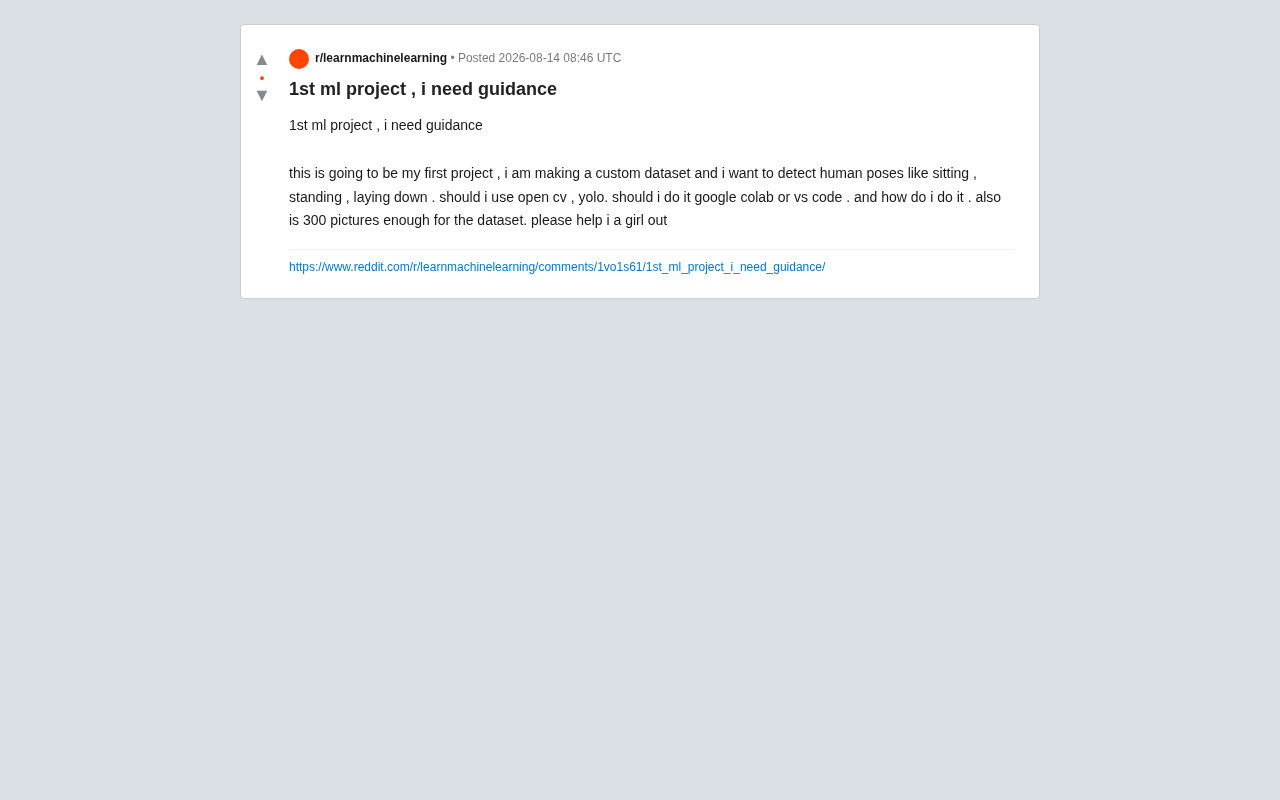
Recently, in Reddit's machine learning community, a beginner developer posted a request for help: she planned to build her first machine learning project — creating a custom dataset to detect human body postures (sitting, standing, lying down). Her questions were very specific and very typical:
Should I use OpenCV or YOLO? Should I develop on Google Colab or VS Code? Are 300 images enough for a training dataset? How should I get started?
These questions may seem scattered, but they actually cover the entire decision chain of a computer vision project from tech selection to deployment. This article will systematically walk through the technical roadmap and practical recommendations for a human pose detection project based on this real case, helping beginners avoid common pitfalls.
Tech Selection: The Relationship Between OpenCV and YOLO, and How to Choose
This is one of the most common points of confusion for beginners. OpenCV and YOLO are not interchangeable alternatives — they are tools at different levels that can work together.
OpenCV: The Low-Level Image Processing Toolbox
OpenCV (Open Source Computer Vision Library) is an open-source computer vision library initiated by Intel in 1999, and has since become the industry standard in the field. It provides over 2,500 optimized algorithms, covering classical computer vision algorithms (such as edge detection and feature extraction) and modern machine learning methods. OpenCV supports multiple languages including C++, Python, and Java, and runs cross-platform on Windows, Linux, macOS, Android, and iOS.
In the deep learning era, OpenCV plays the role of a "data pipeline" — handling image reading, decoding, format conversion, preprocessing, and other foundational operations to provide standardized input for neural networks. It is not a "detection model" itself, but rather a low-level toolbox for processing image data. Regardless of which model you use, you'll almost always rely on OpenCV for image I/O. It's worth noting that OpenCV 4.x and later versions integrate a DNN module that can load models trained with TensorFlow, PyTorch, and other frameworks, but its core positioning remains as a general-purpose image processing tool rather than a model training framework.
YOLO: An Efficient Real-Time Object Detection Model
YOLO (You Only Look Once) was proposed by Joseph Redmon in 2016, revolutionarily reframing object detection as a single-stage regression problem. A single forward pass predicts all bounding boxes and class probabilities, making it nearly a thousand times faster than the traditional R-CNN family. YOLO is a collective name for a series of object detection models that have gone through multiple iterations: YOLOv1-v3 were developed by the original author, YOLOv4-v7 were maintained by different teams, and the currently most popular YOLOv8/YOLO11 are released by Ultralytics, offering a unified Python interface and comprehensive engineering support.
YOLO's core innovation lies in dividing the image into a grid, where each grid cell is responsible for predicting the objects it contains, using anchor boxes and Non-Maximum Suppression (NMS) algorithms to filter the best prediction boxes. It can locate and classify objects in a single image, making it ideal for tasks like "detecting where a person is and what they're doing." In human pose detection scenarios, YOLO can not only locate human body positions but also output 17 body keypoint coordinates through extended models (such as YOLO-Pose), providing structured data for pose analysis.
Two Mainstream Approaches to Human Pose Detection
For posture recognition like "sitting, standing, lying down," there are two viable approaches:
-
Pose Estimation Approach: Use MediaPipe or YOLO-Pose to extract human skeletal keypoints (17 joint points), then determine posture based on the relative positions of these keypoints. MediaPipe is a cross-platform machine learning application framework developed by Google. Its Pose module is based on the BlazePose model and can detect 33 human body keypoints in real time on mobile devices. This technology uses a two-stage detector and, compared to the traditional OpenPose (which requires GPU acceleration), can achieve over 30fps on CPU. By calculating angles between keypoints (such as knee joint angles and torso inclination) and relative positional relationships, you can build a rule engine or train a lightweight classifier to determine posture. This method is more robust, less sensitive to lighting and background changes, has strong generalization capability, and doesn't depend on large-scale annotated data.
-
Object Detection Approach: Directly treat "sitting," "standing," and "lying down" as three categories and train a classification-detection model with YOLO. This method is simple to implement and suitable for beginners, but requires more diverse data.
For a first project, starting with YOLO object detection is recommended — the ecosystem is mature, documentation is comprehensive, and it's quick to get started. If you want to improve accuracy later, you can introduce MediaPipe keypoints as features.
Development Environment Comparison: Google Colab vs VS Code
This choice depends on your hardware conditions and usage preferences.
Google Colab: A Zero-Configuration Cloud GPU Training Environment
For beginners without a dedicated GPU, Google Colab is strongly recommended as a starting point. Google Colab is a cloud-based development environment built on Jupyter Notebook, running on Google Cloud infrastructure. The free tier provides a Tesla T4 GPU (16GB VRAM) or TPU accelerator, with a continuous usage limit of 12 hours, suitable for small to medium-scale model training. Its technical advantage is that it comes pre-installed with TensorFlow, PyTorch, CUDA, and the complete deep learning stack — no need to deal with driver compatibility issues. Just open a browser and you can start training models.
Colab's storage mechanism is worth noting: the runtime environment for each session is temporary, and data is lost after disconnection. Therefore, you need to mount datasets and model weights to Google Drive or download them locally. For a dataset of 300 images (approximately 100MB), you can upload directly to Colab's temporary storage; for larger datasets, mounting Google Drive or downloading from a public URL is recommended. Colab also supports GitHub integration, allowing you to clone code repositories directly for convenient version management. For a small dataset of 300 images, the free quota is more than sufficient.
VS Code: The Top Choice for Local Engineering Development
VS Code is better suited for project engineering management, code debugging, and long-term maintenance. If you have a local NVIDIA GPU, or if your project grows in scale and requires frequent code structure iteration, then VS Code with a local environment will be more efficient.
Recommended Combination
A balanced approach is: complete model training on Colab (leveraging the free GPU), and write inference and application code in VS Code (local debugging for cameras, real-time detection, etc.). Each tool plays to its strengths, balancing efficiency and convenience.
Dataset Size: Can 300 Images Train a Usable Model?
This is the most critical question in the original post, and the answer is — it depends on your expectations and methods.
Data Volume Requirements for Different Scenarios
-
If fine-tuning with a pre-trained model (transfer learning): 300 images (about 100 per class) can train a usable proof of concept. Transfer learning is a core technique in deep learning, based on the principle of transferring general features learned from large-scale datasets to the target task. The COCO dataset contains 330,000 images, 80 categories, and 1.5 million object instances. After pre-training on COCO, YOLO's lower convolutional layers have already learned to recognize universal visual features like edges, textures, and shapes. By loading pre-trained weights, the model already knows what a "person" is — you only need to fine-tune the last few layers to distinguish the subtle differences between sitting, standing, and lying down. This approach can reduce the required training data by 10-100x, shorten training time by tens of times, and help avoid overfitting. 300 images are sufficient for validating your idea, completing coursework, or building a personal demo.
-
If you want production-grade accuracy: 300 images are far from enough. Ideally, each category needs at least several hundred to a thousand images, covering different people, angles, lighting conditions, and backgrounds.
Three Key Techniques for Improving Results with Small Datasets
With only 300 images, you can compensate through the following methods:
-
Data Augmentation: Flipping, rotation, brightness/contrast adjustment, and random cropping can multiply your effective sample size several times over. Data augmentation is a technique that generates new samples by applying random transformations to images in real time during training. Common operations include geometric transformations (horizontal/vertical flipping, rotation ±15 degrees, scaling 0.8-1.2x), color transformations (brightness ±30%, contrast ±30%, saturation adjustment), and spatial transformations (translation, affine transformations). YOLO training has built-in Mosaic augmentation (stitching 4 images into 1), MixUp (blending two images), HSV color space perturbation, and other advanced techniques — essentially using algorithms to 'generate' more training samples.
-
Transfer Learning: Make sure to fine-tune from pre-trained weights (such as YOLO pre-trained on the COCO dataset) rather than training from scratch. In practice, you typically freeze the first few layers and only train the later layers and classification head — this way, 300 images can still yield decent results. Pre-trained models from ImageNet, COCO, and others have become 'public infrastructure' in the computer vision field.
-
Ensure Diversity: Among your 300 images, rather than taking 300 similar photos, shoot different people, different environments, and different angles. Diversity matters more than quantity.
Complete Practical Roadmap: Building a Human Pose Detection Project from Scratch
Combining the above analysis, here's a clear path to implementation:
Step 1: Data Preparation and Annotation
Collect 300 images and annotate them using tools like Roboflow or LabelImg, drawing bounding boxes around people and labeling three categories: "sitting/standing/lying." LabelImg is an open-source standalone annotation tool that supports rectangular box annotation and export in YOLO/VOC formats, suitable for small-scale projects. Roboflow is an all-in-one data management platform offering an online annotation interface, automatic data augmentation (can generate 3x samples), format conversion (supporting 30+ formats), version management, and hosting services. Its smart annotation feature can generate initial annotations based on pre-trained models — humans only need to correct errors, improving efficiency several times over.
The annotation format is typically: one line per object, containing the class ID, center point coordinates (x, y), width, and height, all normalized to the 0-1 range. Annotation quality directly determines the model's upper bound — bounding boxes should tightly fit the object, class labels must be consistent, and occluded objects should also be annotated.
Step 2: Train a YOLO Model on Colab
In Google Colab, you can launch Ultralytics YOLO training with just a few lines of code:
from ultralytics import YOLO
model = YOLO('yolov8n.pt')  # Load pre-trained model
model.train(data='pose.yaml', epochs=50, imgsz=640)
During training, the system automatically calculates evaluation metrics such as mAP (mean Average Precision), Precision, and Recall. mAP is the most authoritative comprehensive metric, computing the average precision across all categories at different IoU thresholds. You should also pay attention to the confusion matrix — checking how often "standing" is misclassified as "sitting" to identify easily confused scenarios. Inference speed (FPS) is also important — real-time applications need to reach 30fps or higher.
Step 3: Inference Testing and Result Validation
After training is complete, use OpenCV to read images or camera video streams, call the model for prediction, and draw result boxes. Model size determines deployment cost — YOLOv8n (nano version) is only 3MB, suitable for edge devices; YOLOv8x (extra-large) reaches 130MB with higher accuracy but requires powerful hardware. In practice, you need to balance speed, accuracy, and resource consumption.
Step 4: Iterative Optimization to Improve Accuracy
Based on test results, supplement with hard example data and adjust the number of training epochs to gradually improve accuracy.
Final Thoughts
The greatest value of your first machine learning project is not in producing a perfect result, but in completing the full pipeline of "data → training → inference." Human pose detection is an excellent entry-level topic: moderate difficulty, intuitive results, and strong extensibility.
For the beginner who asked this question, my advice is: use YOLO for object detection, train on Colab, run through the entire workflow with 300 images first, then gradually expand the dataset. Don't let perfectionism hold you back — once you've built a version that can recognize poses, you've already completed the critical step from 0 to 1.
Key Takeaways
Related articles

Cross-App Access for AI Agents: Three Identity Vendors Converge on the Same Architecture Pattern in 8 Days
Okta, Auth0, and Descope all shipped Cross App Access within 8 days. This article breaks down the two-layer access pattern behind AI Agent identity management.

Dense Models Too Slow to Run Locally? How MoE Architecture Breaks Through the Performance Bottleneck
Dense models are slow on local hardware due to memory bandwidth limits. Learn how MoE sparse activation architecture dramatically boosts local inference speed and the future of local AI deployment.

Storm Summoner: A MIDI Controller Built Specifically for Guitar Effects Pedals
A deep dive into the Storm Summoner open-source MIDI controller for guitar effects pedals—covering design philosophy, technical architecture, and how it compares to commercial solutions.