UE5.8 + Claude Code: MCP Plugin Configuration and Hands-On Tutorial

How to connect Claude Code to Unreal Engine 5.8 via the native MCP plugin for AI-driven game development.
Unreal Engine 5.8 introduces a native MCP plugin that lets developers connect AI agents like Claude Code directly to their projects. This tutorial walks through enabling the three core plugins, configuring the MCP server, installing Claude Code system-wide, and generating the client config file — enabling natural language control over Blueprints, PCG graphs, materials, and more.
When Unreal Engine Meets AI Agents
Unreal Engine 5.8 introduces an exciting native capability: through an official MCP (Model Context Protocol) plugin, developers can connect AI agents like Claude Code and ChatGPT directly to their Unreal Engine projects. This goes far beyond simple code completion.
MCP was proposed and open-sourced by Anthropic in late 2024 to address the fragmented integration landscape between large language models and external tools and data sources. Before MCP, every AI application needed its own custom integration for each tool, making maintenance extremely costly. MCP defines a unified "server-client" communication specification, enabling AI agents to call into file systems, databases, APIs, and even the internal functions of complex software in a standardized way. Bringing MCP into Unreal Engine means the UE editor itself becomes an MCP server — AI clients can query and manipulate the engine's internal state through a standard protocol. This is a major milestone in deep integration between game engines and AI toolchains.
Once connected, AI agents can understand the full context of a project and directly participate in core workflows — Blueprints, PCG graphs, materials, C++ code, level design, and asset management. In other words, the AI is no longer a bystander outside the editor, but a genuine collaborator that can operate on objects inside the engine.
It's worth noting that Unreal Engine's Blueprint visual scripting system, introduced in UE4, has allowed countless non-programmers to participate in game logic development. However, reading and maintaining complex Blueprint graphs still requires considerable experience. Once AI agents gain contextual control over Blueprints via the MCP protocol, they can theoretically parse the semantics of existing Blueprint nodes, automatically generate new node connections, and even refactor messy Blueprint graphs — delivering significant productivity value for small and mid-sized teams.
At the Unreal Fest reveal, Epic demonstrated a striking example: having an AI agent generate an entire city from scratch. It first created a PCG (Procedural Content Generation) graph, then drew on actual assets from the Content Browser to build a complete city environment.
PCG is a game development paradigm that uses algorithmic rules to automatically generate content. UE5's PCG framework provides a node graph editor where developers define connections between sampling, filtering, and distribution nodes to batch-generate large-scale scene elements like terrain foliage, building clusters, and road networks. Traditional PCG requires developers to deeply understand node logic and wire things up manually — with AI agent involvement, you can describe what you want in natural language and have the PCG graph topology generated for you, dramatically lowering the barrier to entry. This is exactly the creative space the MCP plugin is designed to unlock.
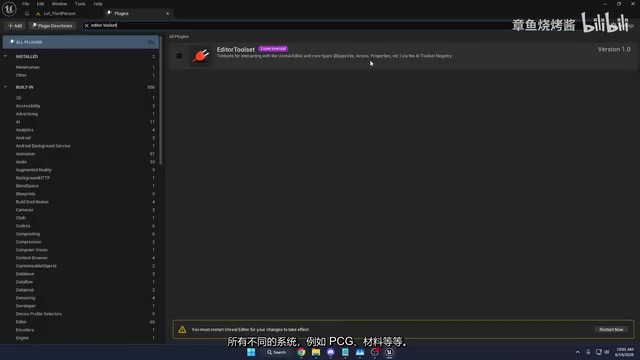
Step 1: Enable Three Core Engine Plugins
The entire workflow starts with downloading and installing Unreal Engine 5.8 — note that this tutorial applies only to version 5.8, as earlier versions do not include native MCP support. After creating a new project, open the Plugins panel in the editor and search for and enable the following three key plugins:
The Three Core Plugins
- Unreal MCP Plugin: The foundation of the entire setup, responsible for establishing the MCP protocol channel.
- Terminal Plugin: The interface tool inside the editor for actual communication with the AI agent.
- Editor Scripting Utilities: The most easily overlooked but critically important piece. It acts as the "bridge" between the Unreal editor and the AI agent, giving the AI contextual control over Blueprints, Actors, PCG, materials, and more. If you want the AI to actually edit properties across your project, this plugin must be enabled.
Once all three are enabled, click "Restart Now" to apply the configuration.
Step 2: Configure the MCP Server and Terminal Launch Commands
After restarting, go to Editor Preferences and find the Model Context Protocol option roughly in the middle of the list. Here you can view information like the server startup port — the defaults are generally fine. It's recommended to check Auto Start Server so the MCP server starts automatically every time you open the project.
Next, configure the terminal launch commands by adding three entries:
- One to set the terminal to 256-color mode;
- One
cdcommand pointing to your Unreal Engine project path; - One
claudecommand to ensure Claude launches when the engine starts.
How to find your project path: Open the Content Drawer, click the Content folder, and you'll see the full path of your project on disk in the file explorer. Copy and paste it into the corresponding command. These launch commands ensure that every time you first open the project, it automatically sets the color mode, navigates to the project directory, and runs Claude.
Step 3: Install Claude Code at the System Level
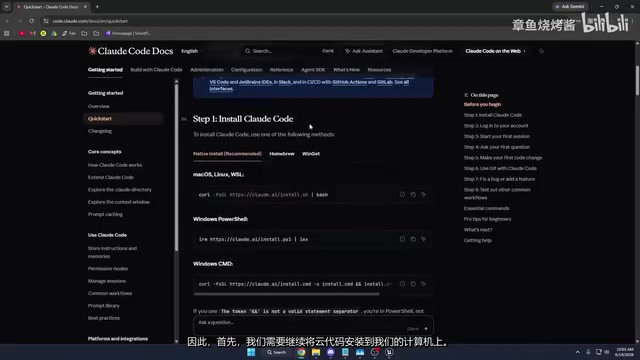
Claude Code is a command-line AI agent tool from Anthropic built specifically for software development. What sets it apart from the web-based Claude is its "agentic" execution capability: it doesn't just generate code suggestions — it can directly read and write the local file system, execute terminal commands, call external tools, and make autonomous decisions about next steps in multi-step tasks. In the MCP architecture, Claude Code plays the role of "client": it receives natural language instructions from the user, interacts with the Unreal Engine server via the MCP protocol, and translates high-level intent into concrete sequences of engine operations. This is fundamentally different from early AI code assistants like GitHub Copilot, which focused solely on inline completions.
To get Claude Code working, you'll need to install it at the operating system level. Refer to Anthropic's official quick-start documentation — macOS and Linux users can run the install command directly, while Windows users can do it via PowerShell or CMD.
Extra Steps for Windows Users
When installing Claude Code on Windows, you may be prompted that a Git Bash environment is required. You'll need to first download and install Git for Windows (choose the 64-bit installer and click "Next" through the setup). Once installed, return to CMD and paste the Claude Code install command again until you see the message confirming Claude Code has been successfully installed.
Configuring System Environment Variables
After installation, you need to add the Claude Code path to your system environment variables, otherwise the terminal won't recognize the command. Press Win+R, type sysdm.cpl to open System Properties, go to Environment Variables, find the Path variable under your current user, click Edit, and add a new entry pointing to Claude Code's bin directory (typically located at Users\YourUsername\.claude\bin). Click OK through each dialog to save.
Afterward, reopen CMD, type claude and trust the current folder — the system will prompt you to log in. If you don't have an account yet, visit the Claude website to register. The free plan offers limited access; heavy personal use runs about $20/month, with the highest-tier plan at around $100/month. Once logged in, you're ready to use Claude from the terminal.
Step 4: Generate the Client Config File and Complete the Connection
Once logged in, return to your Unreal project and run a command to generate the client configuration file. Since this tutorial uses Claude Code, simply copy the corresponding console command from the official documentation. If you're using another agent — Cursor, VS Code, Gemini, Codex, or ChatGPT — the docs also provide commands for each.

Paste the command into the console and press Enter. The system will generate an mcp.json configuration file in your project's Content folder, containing connection information like the URL. Once generated, restart the project — close the folder, return to the Epic Games Launcher, and double-click to reopen the project.
Back in the project, switch to the Tools panel, find the Terminal in the middle section, click it and trust the folder. The system will prompt you that a new MCP server has been found in this project — you'll then see the MCP server successfully appear. Log in with your account and you're ready to start.
Quick Test: Generate Five Colored Cubes with a Single Prompt
To verify the connection is working, create a new Open World level, save it, and then give the AI this instruction: "Create five differently colored cubes stacked in my level."
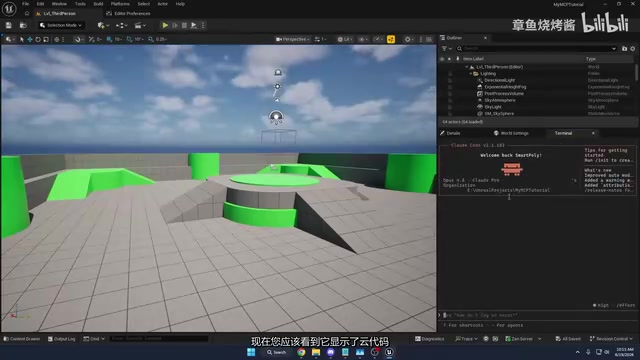
A note on model selection: the default is the Opus model, but you can switch to Sonnet and others. Free plan users generally cannot access the more advanced models.
After execution, the AI precisely placed five cubes at the player start location — it created five Static Mesh Actors, five material instances derived from a shared base material, and assigned five distinct colors to each. This reflects Unreal Engine material system best practices: a master material defines the shading logic and exposed parameters (such as color, roughness, and metallic), while material instances inherit the full shading logic and only override specific parameter values. This "master material + material instance" hierarchy not only delivers rendering performance benefits (multiple instances sharing the same shader compilation result) but also enables streamlined batch management. The fact that the AI agent automatically followed this established convention demonstrates its genuine understanding of engine workflows. The entire operation was completed autonomously by the AI, confirming that the MCP channel is fully operational.
In more complex tests, this same workflow can produce a simple soccer scene with working goals and auto-reset logic. And Epic's PCG-driven procedural city generation demo from Unreal Fest represents the current ceiling of what this workflow can achieve.
Closing Thoughts: The Early Shape of an AI-Native Workflow
The real value of this setup isn't in demos like "generate five cubes" — it's in bringing AI agents from the code editor into the full game engine runtime environment. Debugging meshes, generating Blueprints, building PCG graphs, bulk-managing assets — all of these tasks that previously required extensive manual effort now have the potential to be driven by natural language.
That said, it's still early days: the paywall for advanced models, the reliability of complex tasks, and the controllability of AI operations all need continued validation through real-world use. But for Unreal Engine developers, the MCP plugin in UE5.8 is absolutely worth getting hands-on with sooner rather than later — it may well be the starting point for an AI-native engine workflow.
Key Takeaways
Related articles

Alibaba Launches Happy Shrimp: AI-Powered One-Click Complete Song Generation
Alibaba launches Happy Shrimp, an AI music generation tool that creates complete songs with lyrics, melody, arrangement, and vocals from natural language descriptions. In-depth analysis of its core features, differentiation from competitors like Suno, and industry impact.
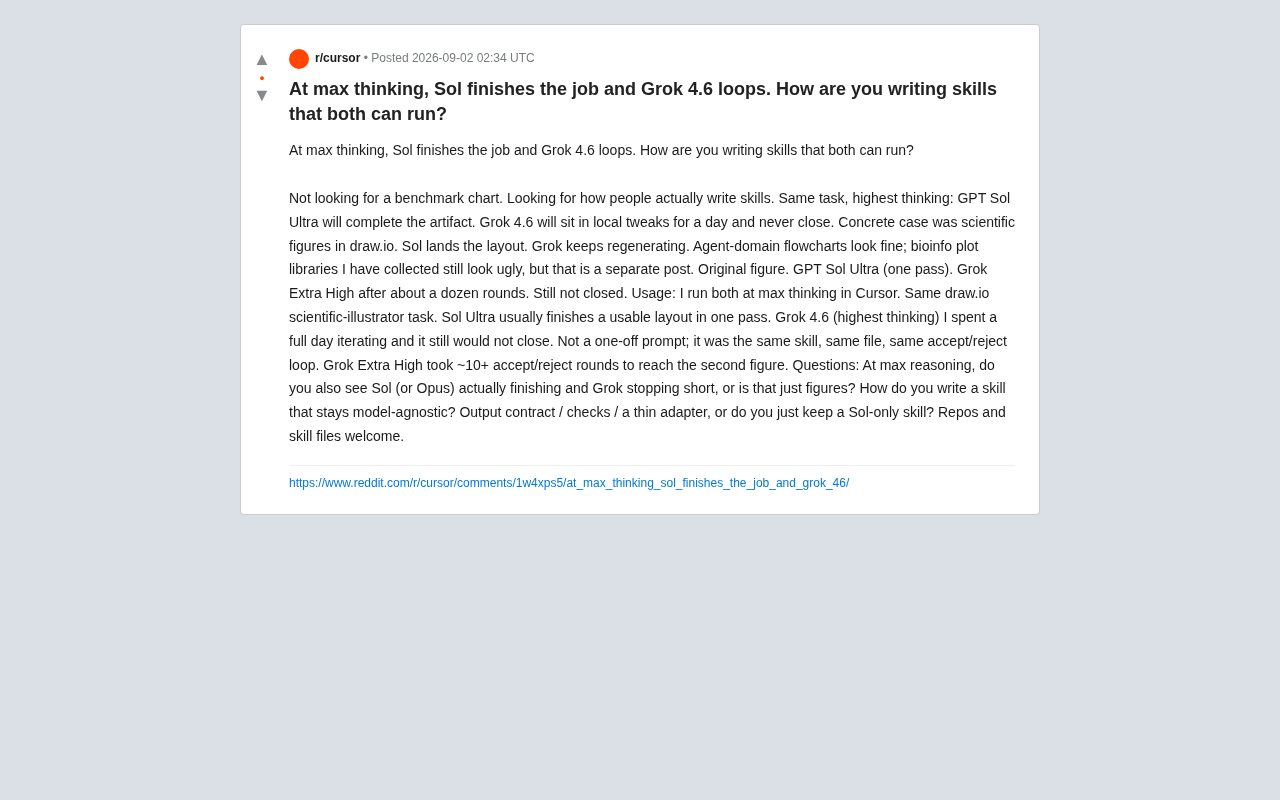
GPT Sol Ultra vs Grok 4.6: Real-World Task Completion Benchmark in Reasoning Mode
Developer benchmark reveals GPT Sol Ultra completes draw.io scientific diagrams in one iteration while Grok 4.6 fails to converge despite maximum reasoning mode, exposing that reasoning depth ≠ task delivery capability.
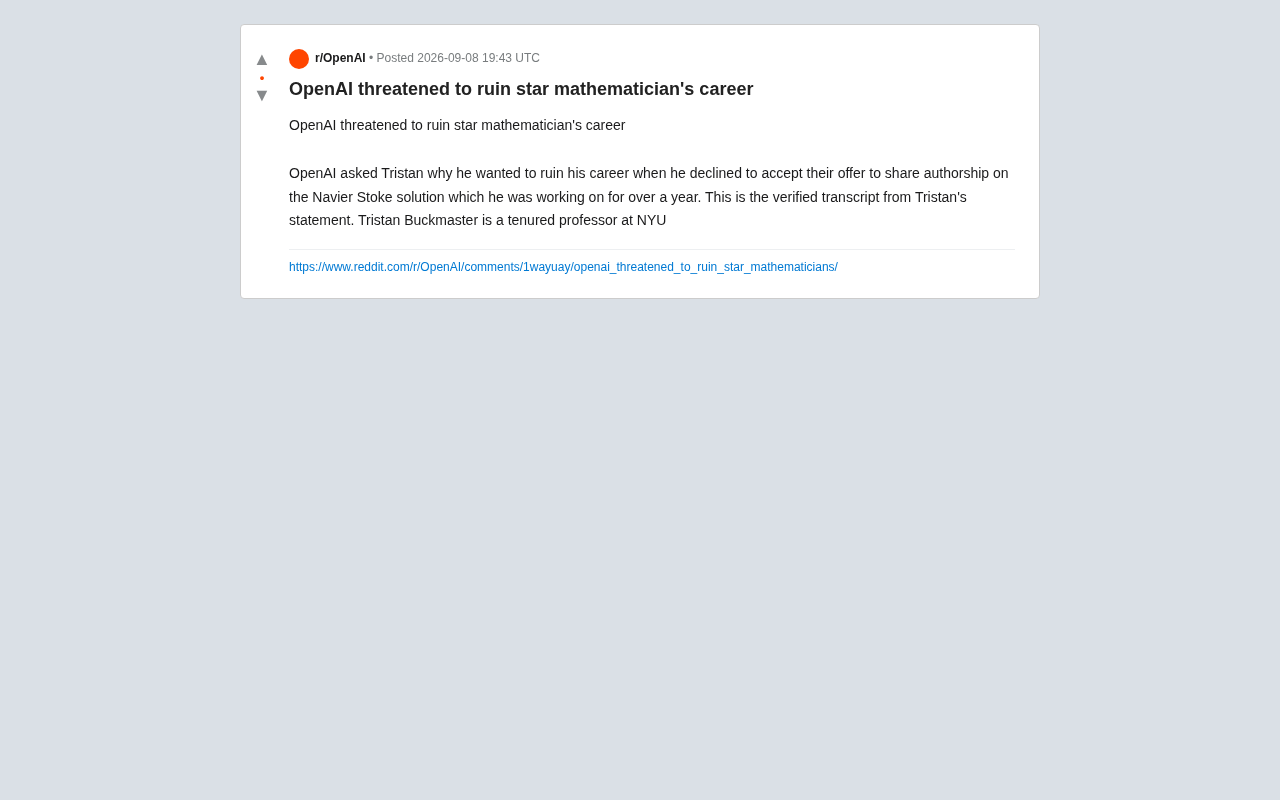
OpenAI Authorship Dispute: The Battle Over Academic Boundaries in the AI Era
OpenAI disputes authorship with mathematician Tristan Buckmaster over Navier-Stokes research, raising ethical questions about AI involvement in science.