Building a Reasoning Model From Scratch: Motivations and Setup from Sebastian's Lecture 1

Sebastian Raschka's new course uses small models to demonstrate RL-driven reasoning, building up from traditional LLMs.
Sebastian Raschka has launched a new course series, *Build A Reasoning Model From Scratch*, with an accompanying book. The core argument: reasoning models are not new architectures but standard LLMs enhanced through reinforcement learning training. The evolution chain runs from traditional LLM → reasoning model → agent harness. The course uses a from-scratch approach, treating code as the most precise way to verify how mechanisms work. The roadmap covers loading pre-trained models, evaluation, inference-time techniques, RL training, and distillation. UV is recommended over pip for fast, reproducible dependency management. The goal is not to replicate massive models but to clearly explain the underlying principles using small models that run on a Mac or modest GPU.
Renowned deep learning educator Sebastian Raschka has launched a brand-new course series, Build A Reasoning Model From Scratch, with an accompanying book now available. The series follows the same philosophy as his earlier Build a Large Language Model From Scratch, starting from traditional LLMs and progressively working up to training a genuine reasoning model via reinforcement learning. The first lecture lays out the overall roadmap and covers the code environment setup needed for the hands-on portions.
The Evolution from Traditional LLMs to Reasoning Models
Sebastian begins by sketching a clear technical evolution chain: Traditional LLM → Reasoning LLM → Agent Harness.
The original ChatGPT was essentially a conventional, chat-style LLM. The methodology behind reasoning models was truly popularized by the startup DeepSeekAd. He emphasizes a key insight: reasoning models are not a new architecture — they are a "modified" version of a regular LLM. The architecture is the same; they simply possess certain capabilities that older-style LLMs lack.
Today, virtually all mainstream models are reasoning models — whether it's Claude Opus, the latest GPT series, Grok, or open-source models like Kimi and GLM. We still tend to call them LLMs because, at their core, a reasoning model is a type of LLM.
He also introduces the concept of the "Agent Harness." Coding agents like Codex and Claude Code are essentially software frameworks built around a model, while the reasoning model is the "engine" powering the entire system. Understanding how the engine works is a necessary step for going deep into AI.
The core difference between a Reasoning LLM and a standard LLM lies in how they are trained, not in their architecture. A standard LLM goes through pre-training (learning language patterns) and supervised fine-tuning (SFT, imitating human-demonstrated answers). A reasoning model adds a reinforcement learning (RL) phase on top of this, using reward signals to teach the model a behavior pattern of "think first, then answer." DeepSeek-R1 is the landmark open-source example of this paradigm — before answering, it generates a visible chain-of-thought, then outputs the final answer. This internal reasoning process is typically wrapped in special tags (e.g., <think>...</think>) and is a product of RL training, not manually annotated text. This is precisely why Sebastian stresses that the focus of reasoning models is on how to train them, not on designing new architectures.
Why Stick with the "From Scratch" Teaching Approach
Sebastian spends considerable time making the case for the educational value of the from scratch approach. He offers an interesting observation: if "a picture is worth a thousand words," then in certain contexts, "a piece of code is worth a thousand pictures."
Diagrams are intuitive, but they are ultimately just abstract descriptions — they can't prove that a mechanism actually works the way you claim. Code, on the other hand, is precise and unambiguous. Running it and seeing the results is the actual "proof" that the mechanism works. He uses temperature sampling as an example: introducing the concept with a diagram, then concretely demonstrating it with a few lines of code and observing the effects, leads to much better learning outcomes.
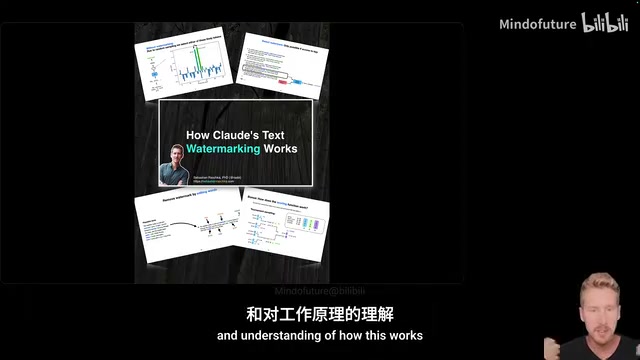
He also shares a real-world example: the Claude text watermarking technique recently became a hot topic, with people asking how it works, whether it can be removed, and how to detect it. These questions are hard to answer clearly with just text or images. But because he had a solid from scratch understanding of LLM sampling, random seeds, and token-by-token generation, he was able to put together a 15-minute talk addressing all these questions within a day or two.
This is what he calls "an investment in your future self": the stronger your foundational knowledge, the easier it becomes to tackle new, complex LLM topics down the road.
Course Structure and Resources
The entire series is organized around the new book Build A Reasoning Model From Scratch, which is designed to be read as a standalone — there is no requirement to have read the previous book, Build a Large Language Model From Scratch first. The reading order is entirely up to the reader and their current interests.
The core roadmap covers:
- Loading a standard pre-trained LLM (architecture details are in the appendix, not the main focus)
- Model evaluation — verifying that reasoning techniques actually make the model better
- Inference-time techniques — improving performance without any training
- Training a reasoning model — using reinforcement learning to teach the model to "reason"
- Distillation — both for improving pre-training efficiency and for training high-quality small models
On the question of whether models like Claude Opus and GPT "count" as reasoning models, Sebastian explains: first-generation reasoning models often had an explicit switch, with the base model and reasoning model as two separate entities. Today, it's more common for a single model to exhibit both behaviors, controlled by a dial ranging from "no reasoning" to "heavy reasoning." He also has a separate article analyzing how various open-source LLMs implement reasoning intensity control and uses that to speculate about GPT's likely mechanism — though he suggests readers finish this course series before diving into that more advanced material.
Environment Setup: UV Over Traditional pip
For the hands-on portion, Sebastian recommends getting the code from the official GitHub repository (rasbt/reasoning-from-scratch), which he actively maintains. The repo contains only code (about 5 MB) and no large checkpoint files (he'll explain how to download weights later).
Prerequisites are a working knowledge of PyTorch and Python. The code relies heavily on from scratch implementations but still uses PyTorch for low-level details like backpropagation, so learners can focus on the LLM implementation itself.
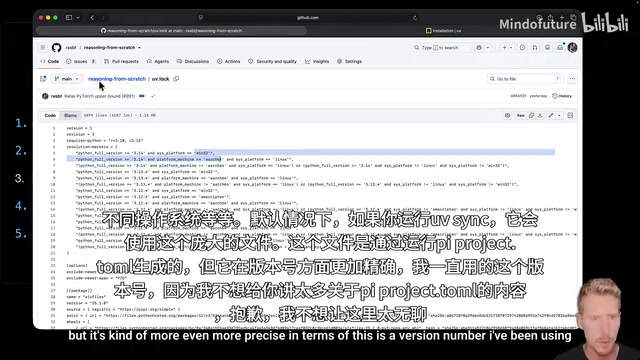
For installation, he explicitly recommends UV over traditional pip. UV combines virtual environment management and dependency installation into a single tool — it's extremely fast and works out of the box. The core workflow is just a few steps:
git clonethe repositorycdinto the directory- Install UV
uv sync(resolves dependency versions for each OS precisely from the lock file)uv run jupyter labto launch the environment
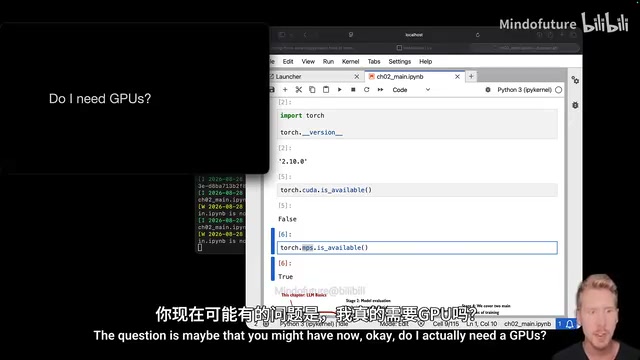
He also shares a tip for debugging environment conflicts: print sys.prefix and sys.executable in the Notebook to confirm you're using the Python inside the project's .venv, not some other installation on your system. If you expect CUDA GPU support, check with torch.cuda.is_available(). A return value of False typically means there's a mismatch between the PyTorch version and your GPU driver.
UV is a next-generation Python package manager written in Rust by the Astral team (the same team behind the Python formatter Ruff). Its core advantage is speed — dependency resolution and installation are 10 to 100 times faster than traditional pip. Compared to traditional solutions like pip + virtualenv or conda, UV unifies virtual environment creation, dependency resolution, lock file generation, and installation into a single tool. This eliminates common pitfalls like "forgetting to switch environments after activation" or "inconsistent dependency versions across machines." The uv sync command reads the uv.lock file to ensure that dependencies installed by different team members or on different operating systems are exactly the same version — especially valuable for reproducible research and teaching. uv run executes commands directly in the project's isolated environment without manually activating it, further reducing the risk of configuration errors.
Practical Advice on GPUs and Mac
On the perennial question of "do I actually need a GPU," Sebastian gives a pragmatic answer: he runs most of his code on a Mac mini, precisely so that as many people as possible can follow along.
The goal of the course is not to replicate a massive model like DeepSeek V3/V4 — that requires a whole team, months of training, and millions of dollars in costs, and those models are already open-source anyway. The real goal is to use small models to clearly demonstrate how reasoning techniques work.
He does acknowledge that Chapters 6, 7, and 8 are more compute-intensive, and having a GPU will make a noticeable difference — otherwise the runtimes get quite long. For Apple Silicon users, using MPS (Metal Performance Shaders) is reasonably safe in this book. He notes that during the earlier Build a Large Language Model From Scratch era, MPS training was still unstable and would sometimes fail to converge, but things have improved significantly since then.
For users renting remote GPUs or using local devices like the DGX Spark, you can connect via VS Code's Remote SSH and open Jupyter Notebooks — the workflow is identical to local development. If you run into missing CUDA support, you can upgrade PyTorch with uv sync --upgrade-package torch, or reinstall using the appropriate command from pytorch.org.
The next lecture will officially load a standard LLM, walk through the fundamentals of text generation, and gradually move into model evaluation, inference scaling, and training.
MPS (Metal Performance Shaders) is Apple's GPU acceleration framework for its in-house chips (M1/M2/M3/M4 series). PyTorch has officially supported the MPS backend since version 1.12. To use it, simply set the device to torch.device("mps") to move tensors and models onto the Apple GPU, achieving significantly faster inference and training compared to pure CPU. Early MPS support had numerical stability issues that caused training to diverge, but these have been greatly improved with successive updates to PyTorch and macOS. For learners without an NVIDIA GPU, MPS is currently the most convenient local acceleration option. If more compute is needed, on-demand GPU instances from platforms like Lambda Labs, Vast.ai, or RunPod — combined with VS Code Remote SSH — provide a development experience identical to working locally.
Related articles
Tired of Manually Tuning RAG? Open-Source Tool Muffakir Automates Your Experiments
Muffakir is an open-source RAG experiment runner that automates chunking, embedding, retrieval, reranking, and top-k combinations, comparing results by metrics, latency, and cost.
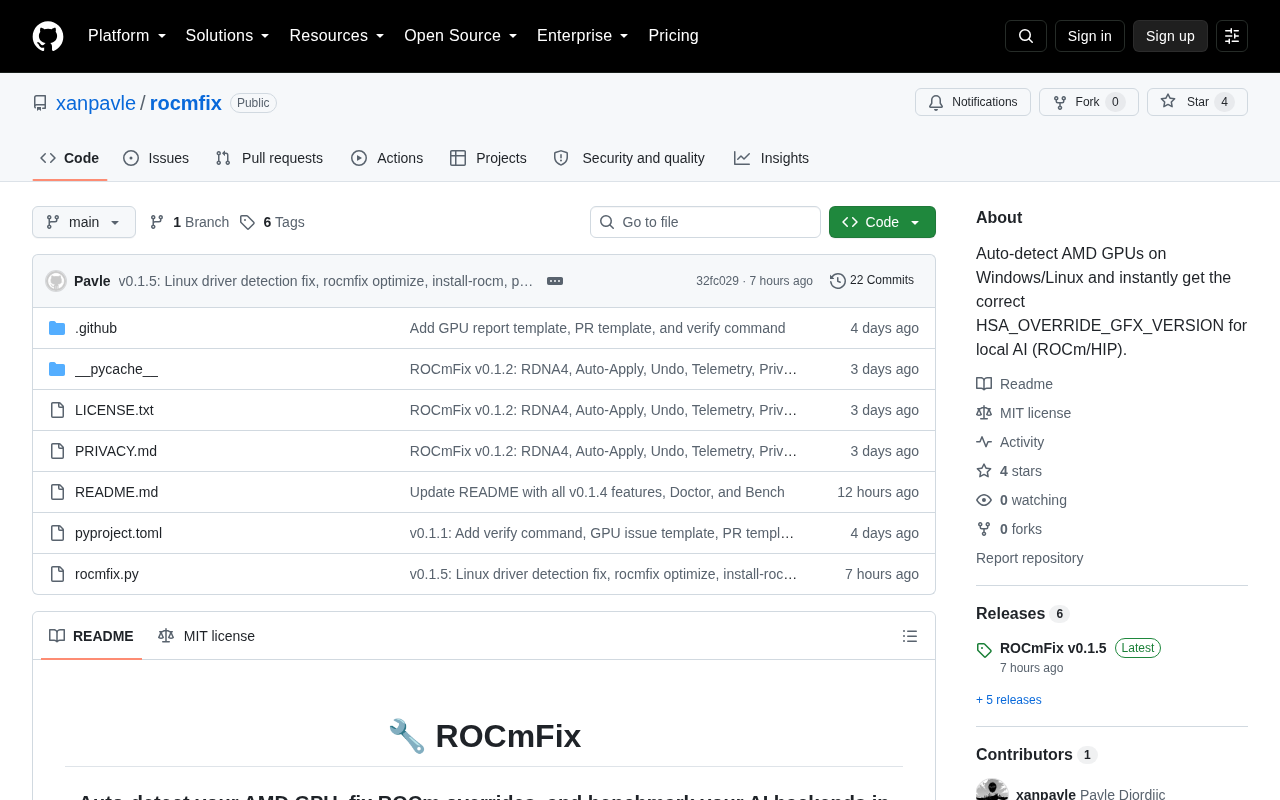
ROCmFix and InferBench: Running Local LLMs on AMD GPUs — A Practical Look
ROCmFix simplifies AMD GPU ROCm setup for local LLMs, while InferBench benchmarks Vulkan vs. HIP backend performance — practical tools for AMD local inference users.
The AI Deployment Evaluation Challenge: Unpacking Accenture's Embedded Evaluation Partnership
Explore the significance of embedded evaluation in enterprise AI deployment, covering LLM-as-a-judge, hallucination monitoring, and why Accenture-style partnerships matter.