Claude Code Beginner's Guide: From Installation and Configuration to Hands-On Projects

A comprehensive beginner's guide to Claude Code from installation to building a complete web app.
This guide walks complete beginners through Claude Code, Anthropic's command-line AI programming tool. It covers installing Git, VS Code, and Claude Code, connecting third-party models via tools like CC Switch, understanding the permission system, and mastering core features including Tools, Hooks, Skills, SubAgents, and automated scheduling. A hands-on project demonstrates building an AI copywriting web app from scratch.
Claude Code is a command-line AI programming tool from Anthropic that's becoming a productivity powerhouse for more and more developers. But for complete beginners, concepts like terminal operations, permission systems, and plugin ecosystems can feel intimidating. Based on a systematic tutorial by Chinese YouTuber Muzi, this article walks you through everything from installation and configuration to core features and a hands-on project, giving you a comprehensive mastery of Claude Code.
Installation and Environment Setup
The Essential Trio: Git, VS Code, and Claude Code
Before using Claude Code, you need to install three foundational tools:
- Git: A code version management tool — think of it as an "undo button" for AI programming. When AI modifies code incorrectly, you can roll back to a previous version at any time. You don't need to learn how to use Git yourself — it's there for the AI. You just need to install it. Git is a distributed version control system created by Linux creator Linus Torvalds in 2005, and it has since become the de facto standard in global software development. Its core concept is creating snapshots (commits) for every change in a project, forming a complete historical timeline. In AI programming scenarios, Git's value is amplified even further — since AI may modify large numbers of files at once with unpredictable results, Git's rollback capabilities (git revert/reset) act as a safety net, letting users experiment boldly without worrying about breaking their project.
- VS Code: A code editor that provides a visual workspace. Without it, you'd be stuck interacting with Claude Code in a plain terminal, unable to see the file tree or code. Once installed, you can browse files on the left, view code on top, and chat with AI at the bottom — a massive productivity boost.
- Claude Code: The core tool itself, installed via a single command provided on the official website.
All three are straightforward to install — just search for the official website, download the installer, or run the command-line instructions.
Connecting Third-Party Models: Bypassing Usage Restrictions
Claude Code isn't limited to Anthropic's own models. For users who can't directly access Claude models, open-source projects allow you to connect models from other providers. The tutorial recommends two tools: CC Switch and Claude Code Router — you only need one.
Taking CC Switch as an example: after installation, open the app, click the plus icon in the upper right corner, select an LLM provider (such as MiniMax, DeepSeek, etc.), enter your API Key, and click enable. The next time you open Claude Code, the default model will switch to the third-party model you added. This feature is crucial for users with access restrictions.
The API Key (Application Programming Interface Key) mentioned here is an identity credential and billing reference for accessing cloud-based AI model services. When you enter a provider's API Key through CC Switch, you're essentially having Claude Code forward each conversation request to that provider's servers, where their model performs inference and returns results. Billing methods vary by provider, but typically charges are based on input and output Token counts separately, with output Token pricing usually 2-4x higher than input. This pay-per-use model is more flexible than subscriptions, but users need to monitor usage to control costs.
Interface and Permission System Explained
Reading the Terminal Interface
After launching Claude Code in the terminal, the interface displays the following key information:
- Version and model info: The current model and reasoning intensity in use
- Working directory: Which folder you're currently working in
- Token consumption: Cumulative Tokens consumed in the current conversation (note: cumulative, not per-message)
- Context usage: e.g., CTX 9% means 9% of the context window has been used
- Quota usage: Subscription quota usage percentages for 5-hour and 7-day windows
Understanding Tokens and context windows is essential for using Claude Code efficiently. A Token is the basic unit of text processing for large language models — one Chinese character typically corresponds to 1-2 Tokens, while one English word corresponds to roughly 1-4 Tokens. The context window is the maximum number of Tokens the model can "see" in a single conversation. Claude 3.5 Sonnet has a context window of 200K Tokens, roughly equivalent to a medium-length novel. When context usage approaches 100%, the model begins to "forget" earlier conversation content — that's why monitoring the CTX percentage is so important: it directly affects the AI's ability to understand the full scope of your project.
Graphical Interface: VS Code Extension
If you're not comfortable with terminal operations, Claude Code also offers a graphical interface. Search for "Claude Code" in the VS Code extension marketplace and install the official Anthropic extension. Claude Code icons will appear in both the left and right sidebars.
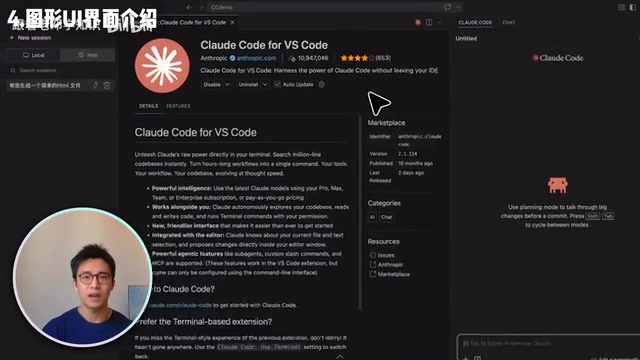
It's recommended to drag the Chat window to the left sidebar and keep only Claude Code on the right, so you can view the file tree and chat with AI simultaneously. The graphical interface provides conversation history, new conversation creation, file uploads, context management, and other features — the experience is similar to web-based AI chat interfaces.
Four Permission Modes
Claude Code offers four permission modes ranging from conservative to aggressive:
- Plan Mode: Only creates plans, doesn't modify any files at all
- Ask Before Edit (default): Asks for user approval before each modification
- Edit Automatically: Common edit commands execute automatically, but high-risk operations like network requests still require confirmation
- Bypass Permissions (full access): All operations execute automatically — maximum efficiency but also maximum risk
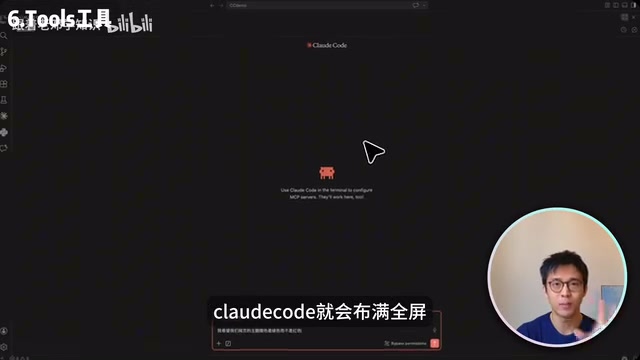
In practice, it's recommended to start with Plan Mode, review the plan, and then gradually loosen permissions. During development, you can switch between permission modes at any time — it's very flexible.
Deep Dive into Core Features
Tools: Giving AI the Ability to Act
A large language model on its own can only think and output text — it can't change its environment. Tools are what give it the ability to take action. If the LLM is the brain, tools are its hands.
Claude Code comes with several built-in tools: Write (write files), Read (read files), Batch (execute commands in bulk), Web Search, Web Fetch, and more. When you give an instruction like "change the theme color to green," the AI sequentially calls Batch to view the file list, Read to examine file contents, and Edit to modify the code. The entire tool-calling process is clearly visible in the interface.
The underlying technology for tool calling is Function Calling, a capability first popularized by OpenAI in 2023 and subsequently adopted by major model providers. The principle works like this: developers predefine a set of functions with names, parameters, and descriptions. During inference, the model determines when to call which function and generates structured call parameters. The model itself doesn't execute the functions — an external program receives the call request and performs the actual execution. Claude Code leverages this mechanism to wrap file I/O, command execution, network requests, and other operations as tools, allowing the model's "thinking" to translate into real actions on the development environment.
Hooks: A Supervision Mechanism to Keep AI in Line
Hooks are mechanisms for inserting custom logic at critical points during program execution. Common trigger points include:
- Stop: Before the main agent finishes a task
- SubAgentStop: Before a sub-agent finishes a task
- PreToolUse / PostToolUse: Before and after a tool is called
- PostToolUseFailed: After a tool call fails
Hooks aren't a Claude Code invention — they're a time-honored design pattern in software engineering. Git itself has pre-commit, post-merge, and other hooks. React's useState/useEffect are variations of hooks. WordPress's entire plugin system is built on action/filter hooks. The core idea is to reserve "slots" at key points in a program's execution flow, allowing users to inject custom logic without modifying the main program's code. Claude Code brings this classic pattern into the AI Agent domain, enabling users to exert precise control over AI behavior without altering the core reasoning process.
The most practical use case is solving the pain point of "AI says it's done but it actually isn't." For example, you can create a Stop hook that makes the AI automatically check before finishing a task: Did the code pass tests? Is every item on the to-do list completed? If not, it keeps working. Creating one is simple — just describe your requirements to Claude Code in natural language.
Skills: Reusable Capability Packages
Skills are capability modules that package frequently used prompts and workflows. At their core is a skills.md file that defines when to use the skill, how to use it, what steps to follow, and what output format to produce.
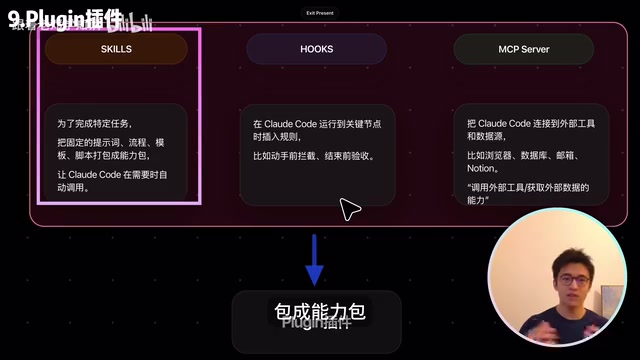
Taking Anthropic's official PPTX skill as an example, its folder structure includes:
skills.md: The master file that defines the overall workflowediting.md: Guide for editing existing PPTspptxjs.md: Guide for creating PPTs from scratchscripts/: Code scripts that perform the actual operations
You can also create your own Skills. For instance, with a single sentence you can have Claude Code create a "Research to Slide" skill — after the user provides a topic, it first searches for information, then calls the PPTX skill to generate a presentation, automating the entire flow from research to slide deck.
SubAgent: Specialized Assistants Working in Parallel
Sub-agents are specialized assistants dispatched by the main agent. Their most important characteristic is that they have independent context and working permissions. They complete subtasks in isolated spaces and only report results back to the main agent, without polluting the main conversation's context. This means multiple sub-agents can work in parallel, dramatically improving efficiency for complex tasks.
The SubAgent design draws from Multi-Agent Systems (MAS), a major trend in current AI application architecture. Stanford University's 2023 "Generative Agents" paper demonstrated 25 AI Agents autonomously collaborating in a virtual town, while open-source frameworks like AutoGPT, CrewAI, and LangGraph are driving the engineering implementation of multi-agent collaboration. Independent context is a critical design choice in multi-agent architectures — if all subtasks shared the same context, it would not only quickly exhaust the context window but also cause information interference between different tasks, reducing the quality of each subtask's output.
You can create sub-agents using the _agents command in the terminal, selecting the scope (project-level or global), and then describing your requirements in natural language. For example, when creating an "information search and cross-verification" sub-agent, you can specify its tool permissions, model selection, and even memory storage method.
Automated Tasks: Scheduled Execution Without Pause
Using the _schedule command, you can create scheduled tasks. For example, you could set up a task to automatically call a sub-agent every morning at 8 AM to search for the previous day's AI news and cross-verify the information.
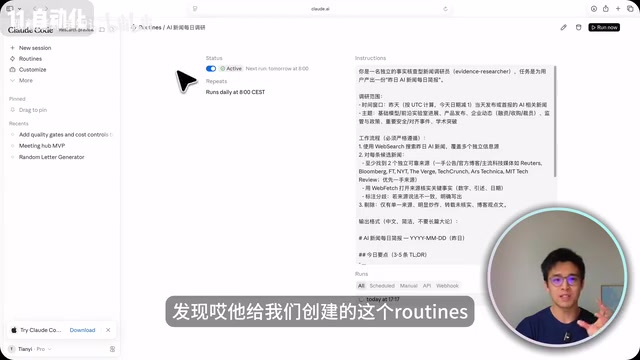
Note that Claude Code's automated tasks run in the cloud. If you're using a third-party model rather than a Claude subscription, cloud tasks won't execute — this is a current limitation.
Hands-On Project: AI Copywriting Web App
The tutorial concludes by combining all features to build an "AI HookLab" web application from scratch — users enter a topic, select a platform and content type, and the AI generates 10 different-style viral opening hooks in one go.
Development Workflow
Step 1: Requirements Gathering
Install the Superpowers plugin and use its Brainstorming skill for ideation. The plugin proactively asks questions: What language for the copy? Which model provider? How should results be returned? How should style presets work? These questions precisely cover blind spots in the initial requirements.
Step 2: Plan Creation
The Superpowers Writing Plans skill generates a detailed development plan and recommends a sub-agent-driven parallel development approach.
Step 3: Automated Execution
Enable Bypass Permissions mode, and Claude Code automatically completes all development tasks, including the frontend interface, backend API integration, and feature implementation.
Step 4: Configuration and Acceptance Testing
Enter the DeepSeek API Key in the .env.local file, start the local server, and verify — topic input, copy generation, copy, favorites, history, and all other features pass on the first try.
The .env.local file is a standard practice for managing environment variables in frontend development, popularized by the dotenv library in 2013. Environment variables store sensitive configuration information like API keys and database connection strings. Separating them from code has two core benefits: first, security — .env files are typically added to .gitignore to prevent keys from leaking into code repositories; second, flexibility — the same codebase can seamlessly switch between development, testing, and production environments by swapping different .env files.
Project File Structure Breakdown
The completed .claude folder clearly demonstrates Claude Code's extensibility system:
agents/: Custom sub-agentsagent_memory/: Persistent memory for sub-agentsskills/: Skill packagesplugins/: Plugins (project-level)claude.md: Project specification that tells Claude Code about the tech stack, how to run the project, important notes, etc.
The claude.md file can be auto-generated using the _init command. It enters the context at the start of every work session, but it's a soft guideline — keep it concise.
Summary
Claude Code's core features can be summed up in one sentence: Tools let AI take action, Hooks keep AI in line, Skills give AI experience, SubAgents let AI delegate, and automation keeps AI working around the clock.
Together, these features form a complete AI programming workflow. For beginners, the recommended approach is to start with installation and configuration, gradually experiment with each feature module, and ultimately tie everything together through a hands-on project. Once you've mastered this toolchain, you can leverage AI to build everything from simple scripts to full applications — even without a programming background.
Related articles
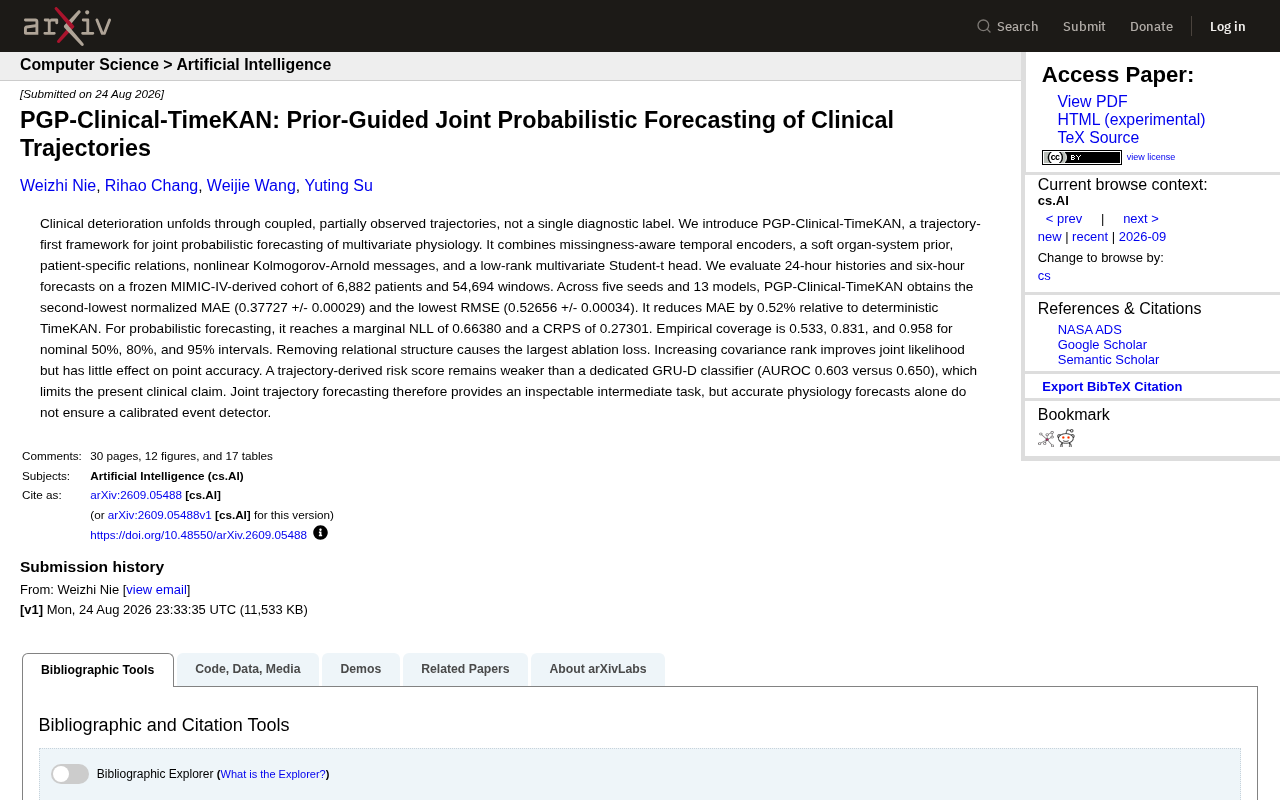
PGP-Clinical-TimeKAN: A Detailed Guide to the Multivariate Physiological Indicator Joint Prediction Framework
An in-depth analysis of the PGP-Clinical-TimeKAN framework for joint probabilistic prediction of multivariate physiological indicators, covering trajectory-first paradigm, KAN message passing, MIMIC-IV validation, and ablation studies.
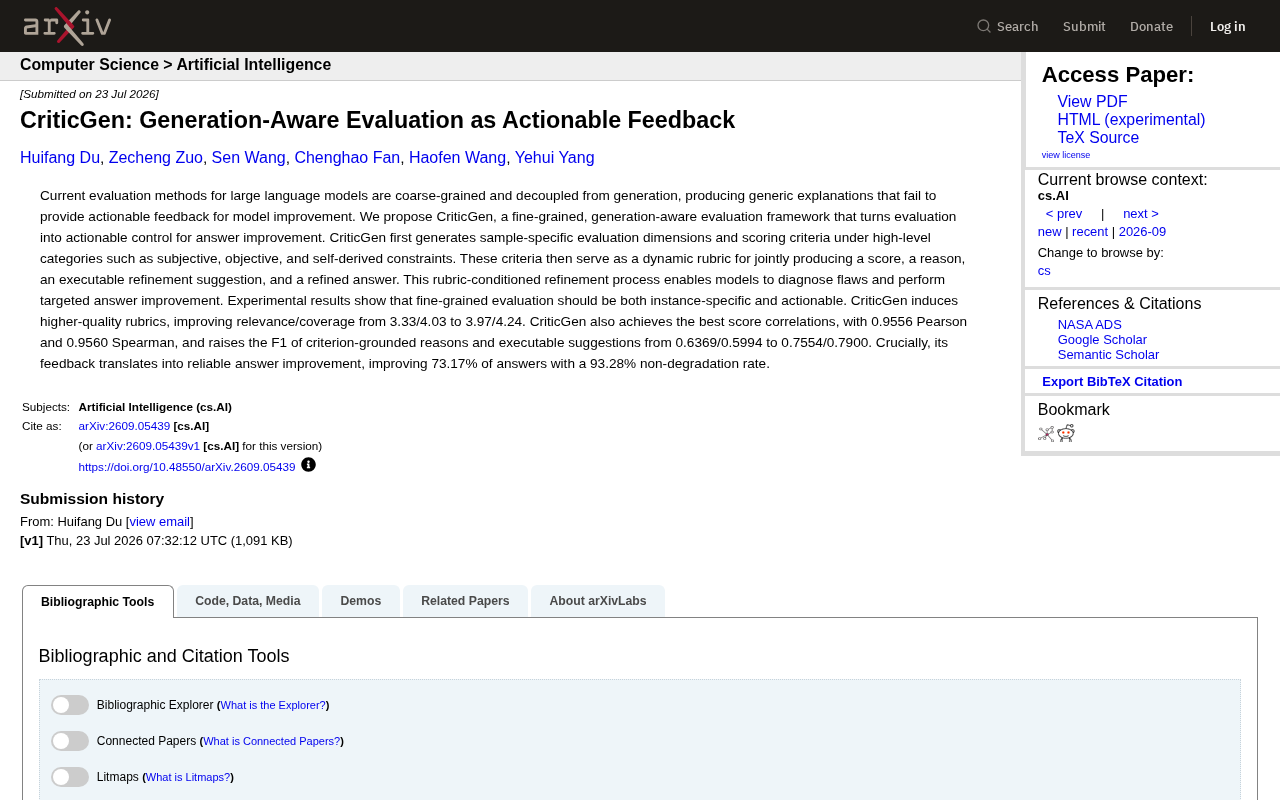
CriticGen: A New Framework That Transforms AI Evaluation into Actionable Improvement Feedback
CriticGen proposes a generation-aware evaluation framework that transforms AI assessment from passive scoring to an active optimization loop, achieving 73.17% answer improvement and 93.28% non-degradation rate.
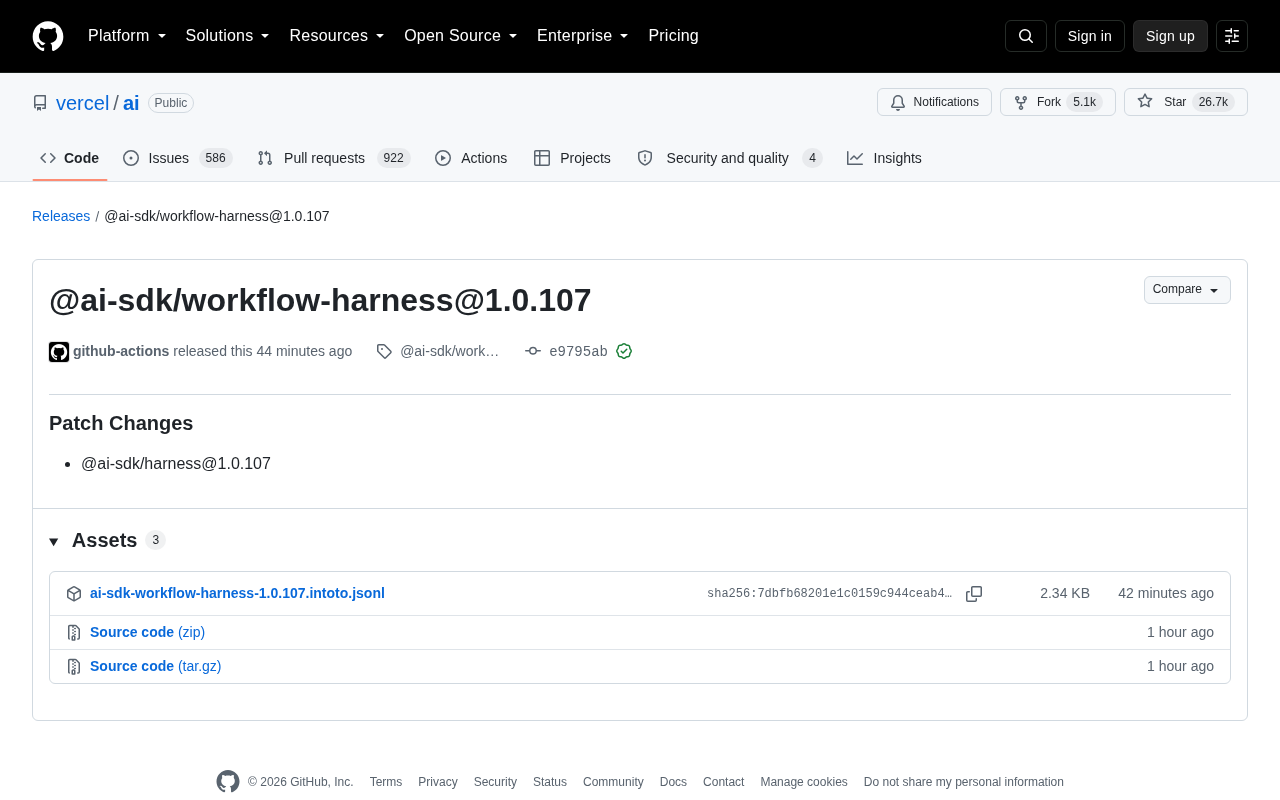
Vercel AI SDK workflow-harness Update Analysis
Deep analysis of Vercel AI SDK workflow-harness 1.0.107 update: architecture design, engineering practices, and developer value for building reliable AI apps.