Claude Code Hands-On Tutorial: Complete Guide from Installation to Automated Development

A comprehensive Claude Code tutorial covering installation, permissions, Go Goals, Skills, MCP, and version control.
This article provides a complete walkthrough of Claude Code based on a systematic tutorial by a former Amazon/Microsoft engineer. It covers environment setup with VS Code, tiered permission modes for security, the Go Goals autonomous loop mechanism for self-refinement, the Skills system for reusable SOPs, MCP protocol integration for connecting external tools, context management strategies to combat context rot, and Git version control best practices.
Introduction: A Complete Claude Code Tutorial for Beginners
With the rapid proliferation of AI programming tools, Anthropic's Claude Code has become a hot topic in the developer community. Claude Code is a command-line development tool launched by Anthropic in 2025. Unlike traditional chat-based AI assistants (like ChatGPT) or embedded code completion tools (like GitHub Copilot), it runs directly in the terminal environment, capable of reading and modifying the local file system, executing shell commands, and deeply integrating with version control systems. This design philosophy draws from the Unix tradition of "everything is a file" — letting AI operate on projects directly as a developer, rather than merely offering suggestions. Anthropic chose the terminal as its primary interface because terminals inherently have complete control over file systems, process management, and network requests, enabling Claude Code to evolve from a "code suggester" into a "code executor."
Recently, a senior software engineer named Eric, formerly at Amazon and Microsoft, published a systematic Claude Code hands-on tutorial on Bilibili, promising "60 minutes from beginner to proficient."
Unlike the abundance of fragmented tutorials online, the value of this content lies in its complete knowledge chain — from local installation, environment configuration, and file structure, to goal setting (Go Goals), the Skills system, MCP protocol integration, version control, and finally application deployment, covering virtually every key step of Claude Code in a real development workflow. This article provides a structured walkthrough and in-depth analysis of its core content.
Claude Code Environment Setup: Why VS Code + Terminal Is Recommended
Eric first highlighted three ways to use Claude Code, offering clear trade-off guidance:
- Desktop Application: Aimed at non-technical users; simple to operate but limited in customization with no access to the full feature set.
- Pure Terminal: Powerful functionality, but the interface isn't beginner-friendly.
- IDE (VS Code) + Built-in Terminal: The author's strongly recommended approach. You can run Claude Code in the terminal while viewing file changes in real-time through an intuitive interface.
VS Code's built-in terminal isn't simply an embedded command-line window — it's a complete terminal emulator implemented through PTY (pseudo-terminal) technology, supporting all standard shell operations. When Claude Code runs in the VS Code terminal and modifies files, VS Code's File Watcher detects changes in real-time and highlights diffs in the editor. This instant visual feedback is crucial for reviewing AI-generated code. Additionally, VS Code's Source Control panel synchronously displays all uncommitted changes, giving developers a clear view of what Claude Code has modified in the project.
The installation process is also straightforward: select the local installation command from the official documentation, copy it to the terminal, and execute. Then open VS Code, create a project directory via "Open Folder," press Ctrl + backtick to open the terminal, and type claude to start a session. This combination of "visual files + command interaction" is the most suitable mode for beginners to get started.
Permission Modes: Key Configuration for Secure Operation
An easily overlooked but critically important part of the tutorial is the permission mode system. Claude Code's tiered permission system draws from the operating system's Principle of Least Privilege — in computer security, this principle requires that any process or user should only have the minimum set of permissions necessary to complete its task. Claude Code offers multiple permission levels:
- Plan Mode: Plans only without executing; ideal for complex refactoring, code review, or architectural design before building an application from scratch. Requires manual approval before taking action. Equivalent to read-only permissions.
- Accept Edits Mode: Can automatically create and modify files, but requires authorization to run commands. Equivalent to file write permissions without execution rights.
- Auto Mode: Can automatically run Bash scripts while an AI classifier evaluates script safety, notifying humans to intervene when necessary. The AI safety classifier acts as a runtime guard.
- Dangerously Skip Permissions Mode: Runs without restrictions; only recommended for virtual or test environments.
This design is particularly important because AI models carry the risk of "hallucinations" — they may generate seemingly reasonable but actually harmful shell commands (such as accidentally deleting files or exposing ports). Tiered permissions effectively control the scope of potential damage. Properly configuring permissions is the core prerequisite for running Claude Code safely on your local machine.
Go Goals: Claude Code's Autonomous Loop Execution Mechanism
The most "advanced" segment of the tutorial is the autonomous loop execution mechanism represented by the slash command /go goal.
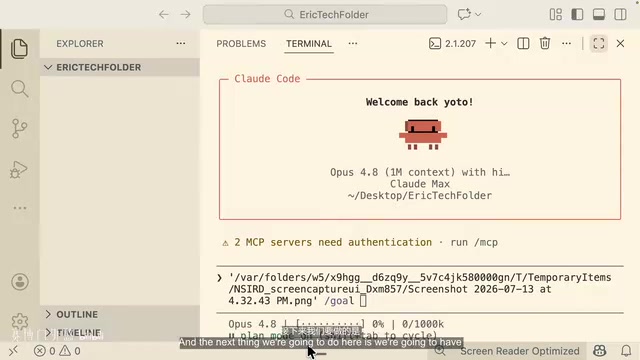
Unlike regular prompts with their "one input, one output" pattern, introducing Go Goals puts Claude Code into loop mode: after submitting a prompt, the system employs a built-in Evaluator that assesses output results against the user's initially defined requirements. If the output doesn't meet requirements, feedback is sent back for the model to revise and regenerate, continuing until the evaluation criteria are fully satisfied before returning the final result.
This evaluator is essentially an LLM-based automated acceptance testing mechanism. In traditional software engineering, acceptance testing involves manually writing test cases to verify whether requirements are met; Claude Code's evaluator automates this process — it leverages the reasoning capabilities of large language models to transform user-defined natural language requirements into evaluation criteria, then scores generated results across multiple dimensions. This "generate-evaluate-revise" loop is known in academia as "Self-Refinement," and research shows it can significantly improve LLM output quality, particularly in tasks requiring precision like code generation and mathematical reasoning.
The author demonstrated the complete workflow with a "clone a leaderboard app" case study: first using Plan Mode to have the AI analyze the target application and reverse-engineer the tech stack (Next.js + React), then through clarifying questions to establish acceptance criteria such as "pixel-perfect accuracy (no more than 2% difference)," and finally launching the Go Goal loop for automated building. Compared to traditional prompt-output patterns, this evaluation feedback mechanism significantly improves result accuracy.
Skills System: Reusable Standard Operating Procedures
If Go Goals solve "self-iteration," then Skills solve "workflow reuse."
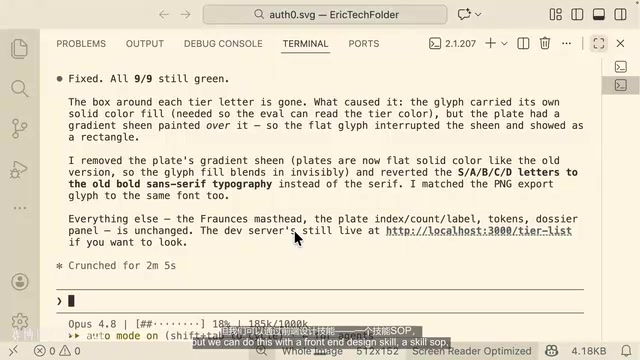
Eric defines a Skill as an SOP (Standard Operating Procedure) — a Markdown file that precisely guides Claude Code or any large language model on how to complete a specific task. Using his own "Fix Ticket" skill as an example, he breaks down a bug-fixing workflow into a nine-step fully automated process: read the ticket (integrating with Jira / Linear / GitHub) → reproduce the issue with Playwright browser → multi-agent research → implement the fix → review and verify → commit and push code → deploy → close the ticket.
On the practical level, the author demonstrated how to install ready-made Skills like "Frontend Design" and "Vercel React Best Practices" from Anthropic's official repository. Installation can be scoped to user-global, project-level, or personal project-level. After installation, they take effect via /reload plugins and can be triggered through natural language or slash commands like /frontend-design. These reusable skills essentially crystallize team best practices into AI-executable standard processes.
MCP Protocol and CLI: Letting Claude Code Take Over Your Daily Development Tools
The climax of the tutorial covers how to let Claude Code connect to and control commonly used third-party applications.
The author likens MCP (Model Context Protocol) to "AI's USB port." MCP is a standardized protocol open-sourced by Anthropic in late 2024, using a client-server architecture. The MCP Server acts as a middleware layer, abstracting the capabilities of various external services (databases, APIs, file systems, etc.) into three standardized primitives: "Tools," "Resources," and "Prompts." Each MCP Server runs independently and communicates with AI clients via JSON-RPC 2.0 protocol, meaning a single MCP Server can simultaneously serve Claude Code, Claude Desktop, or any compatible AI application.
Before MCP existed, developers needed to write custom scripts to let AI access Google Drive, GitHub, databases, and other external resources. MCP provides a standardized, secure bridging approach for connecting tools like Slack, Jira, Stripe, Vercel, and more. MCP's security model requires explicit authorization for each connection, with strict schema definitions for tool inputs and outputs, fundamentally solving the security and predictability issues of "letting AI call external APIs."
Besides MCP, CLI tools offer another path. The trade-offs between the two deserve careful consideration:
- CLI Tools: Rely on AI generating and running commands in the local terminal. Lower token consumption, faster speed — preferred when pursuing efficiency.
- MCP: Provides a standardized protocol with precise control over which tools are exposed to AI, supports authentication boundaries and audit logs. Stronger security and team collaboration capabilities, but tool schema definitions continuously load into context, resulting in higher token consumption.
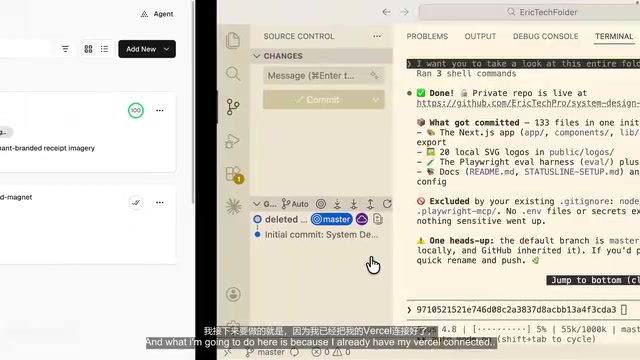
The author used "deploy the current app to Vercel" as an example, demonstrating how Claude Code can automatically complete deployment via CLI/MCP, and even perform the reverse operation of "deleting a specified project" — the AI first identifies three projects in the account before taking action, confirms accuracy, then deletes only the target project while preserving the other two. This ability to "act on your behalf" is what transforms Claude Code from a code assistant into an automation agent.
Context Management and Version Control Best Practices
The author also dedicated time to two engineering details.
The Context Rot Problem and Solutions
As conversation tokens accumulate, model performance and accuracy gradually decline — this is known as "Context Rot." The root cause relates to the Transformer architecture's attention mechanism: although modern models support ultra-long contexts (Claude supports approximately 200K token input), attention weights become diluted across extremely long sequences — the model must distribute limited attention resources across more tokens, weakening its "memory" of earlier information and key details. This phenomenon is called the "Lost in the Middle" problem in academia: research has found that LLM retrieval accuracy for information in the middle of context is significantly lower than for information at the beginning and end. Therefore, even though technically a model can accommodate 1 million tokens, the effectively utilized context is usually far less.
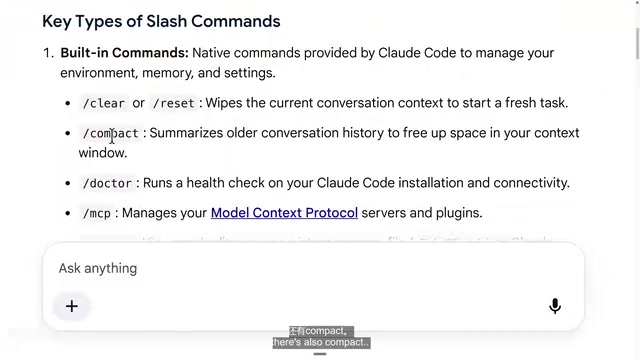
Claude Code's status bar displays context window usage percentage in real-time (default upper limit approximately 1 million tokens). The author recommends using 50% as an empirical threshold — beyond that, start a new session or use the /compact command to summarize and compress the conversation. The /compact command works by having the model summarize its own conversation history to "compress" context, essentially replacing the original dialogue with summaries, trading detail for attention concentration — but note that the compression process may lose some important information.
Git Version Control Integration
The author strongly recommends using free GitHub repositories, letting Claude Code automatically create projects, commit, and push code. Properly configuring .gitignore (ignoring node_modules, .env, and other temporary or sensitive files) keeps the repository clean and prevents credential leaks. When rollback is needed, simply provide the commit ID to Claude Code for precise restoration to a specified version.
Clarifying the Relationship Between Skills, MCP, and Agents
During the Q&A section, the author clarified three easily confused concepts — arguably the most essential summary of the entire tutorial:
- Skills: Reusable standard operating procedures (SOPs).
- MCP (Tools): Bridges connecting external applications like Slack, Jira, Vercel, etc.
- Agents: Executors with specific personalities or expertise that can invoke multiple skills, while skills internally can trigger different MCPs.
The relationship between the three is nested layers: Agent handles execution → invokes Skills to define workflows → Skills internally trigger MCP/CLI to operate specific tools.
This architecture reflects the paradigm shift in AI programming tools from "completion" to "autonomous execution." In academia, an Agent is defined as an autonomous system capable of perceiving its environment, making decisions, taking actions, and learning from feedback. Current mainstream AI Agent architectures typically include four core modules: Planner (task decomposition), Memory system (context maintenance), Tool Use (executing operations), and Reflector (evaluating results). Claude Code's Go Goals + Skills + MCP combination corresponds precisely to these four modules: Go Goals provide planning and reflection, Skills provide memorized process knowledge, and MCP provides tool invocation capabilities. This architecture enables AI to handle complex development tasks requiring multi-step reasoning and cross-system collaboration, rather than being limited to single-instance code completion.
Conclusion: Mastering Fundamentals to Unlock Advanced Capabilities
Regarding frequently asked questions like "Is the $20 plan sufficient?" and "How does it compare to Codex or Gemini?", the author offers pragmatic advice: the $20 plan is sufficient for beginners; power users might consider local models or connecting through OpenRouter (with cost-effective models like DeepSeek). As for Claude Code, Codex, and Gemini — they're all essentially "frameworks," driven by the models behind them. The author personally considers Claude Code's plugin ecosystem and feature completeness to be the best.
The most interesting answer was to "will this tutorial become outdated?": Although models and features continue to evolve, the fundamentals of installation, file structure, permissions, context management, Skills, MCP, and version control remain permanently relevant. Only by mastering these core concepts first can you progress to understanding sub-agents, dynamic workflows, orchestration systems, and other advanced capabilities. This is precisely where the true value of this tutorial lies.
Key Takeaways
Related articles
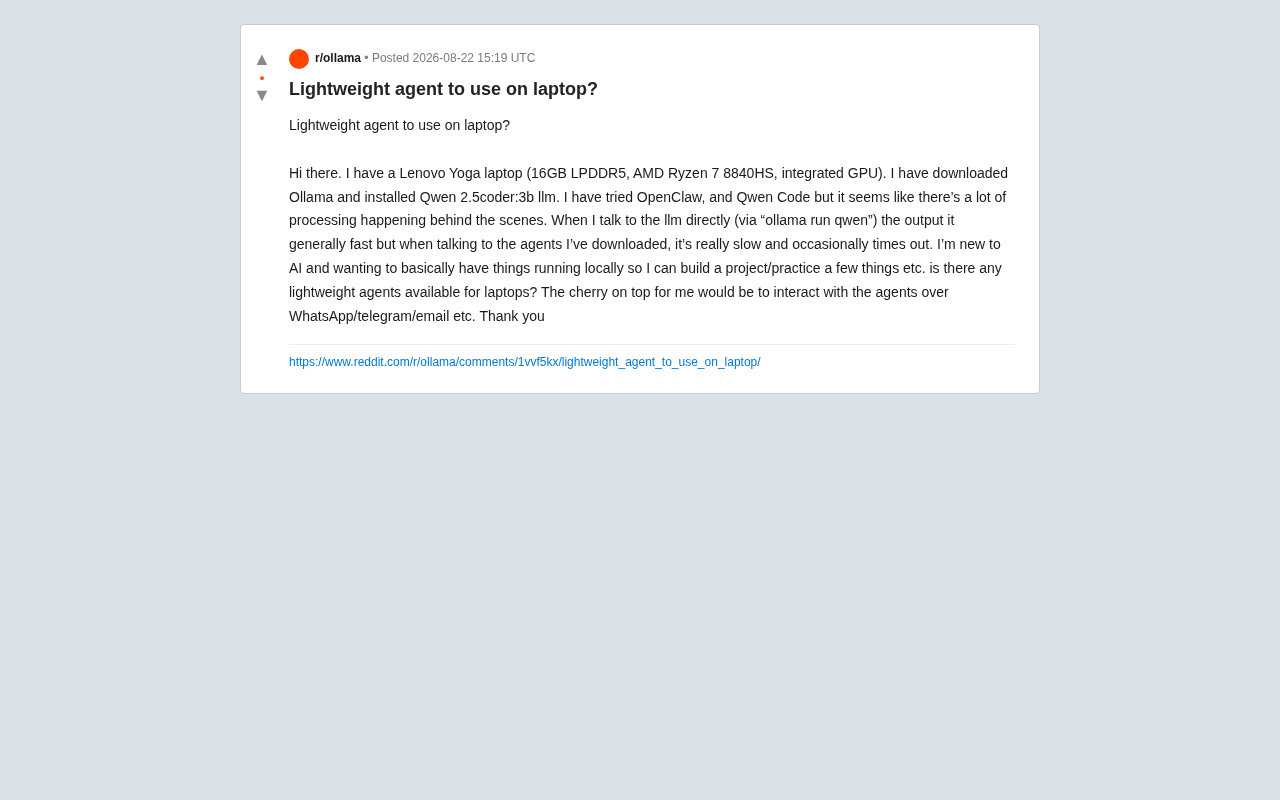
Local AI Agent Deployment Too Slow? A Lightweight Optimization Practical Guide
Local AI Agent deployment slow and timing out? This guide covers Agent framework overhead, hardware bottlenecks, and practical optimizations including context trimming, quantization, and Telegram Bot integration.

Choosing a Laptop for AI Studies: MacBook vs NVIDIA Laptop — An In-Depth Comparison Guide
In-depth analysis for AI students choosing laptops: MacBook Air M5 with remote GPU vs NVIDIA laptop, comparing CUDA support, portability, battery life, and value.

Self-Hosted LLM Tech Stack: A Complete Guide to Managing Your Local AI Cluster from the Terminal
A deep dive into self-hosting LLM tech stacks: inference engines, model management, vector databases, and how to manage your local AI cluster from the terminal.