Dell OptiPlex 3080 Self-Hosting Server: System Options Compared & Selection Guide

Comparing system options for turning a Dell OptiPlex 3080 into a self-hosting server and desktop hybrid.
This guide compares three system approaches for running a Dell OptiPlex 3080 as both a self-hosting server and desktop: Lubuntu + Docker, Debian + GUI + Docker, and headless Debian with VMs. It analyzes each option's pros and cons regarding isolation, stability, and ease of use, then explains why Proxmox VE is the community-recommended choice for machines with 64GB RAM, offering enterprise-grade virtualization management for free.
Introduction: The Self-Hosting Potential of Retired Office PCs
In the self-hosting community, the Dell OptiPlex series has long been a popular choice for beginners. Self-hosting refers to running internet services (such as cloud storage, email, media servers, etc.) on your own hardware rather than relying on third-party cloud platforms—a philosophy rooted in the pursuit of data privacy, service autonomy, and technical learning. Homelab is a broader concept encompassing the entire ecosystem of building servers, networking equipment, and storage systems at home for learning and experimentation. Reddit communities like r/selfhosted and r/homelab boast hundreds of thousands of active users, forming a vast knowledge-sharing network.
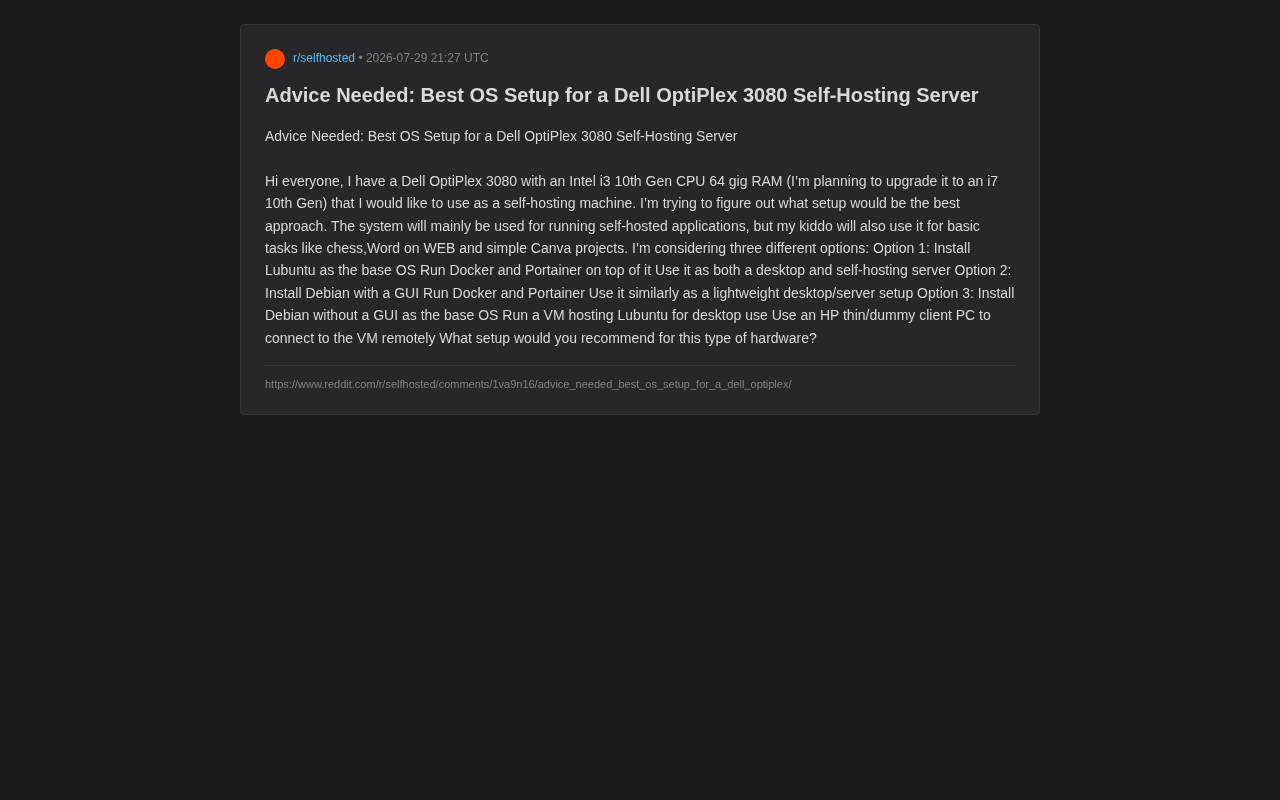
The Dell OptiPlex series is so highly regarded because enterprises retire these machines in bulk, driving second-hand prices extremely low (typically $50–$200), yet their enterprise-grade design delivers thermal management, reliability, and expandability far superior to consumer-grade products at the same price point. These enterprise micro PCs draw little power, cost little money, and offer excellent stability—making them ideal starting points for a Homelab. Recently, a Reddit user sought community advice about their Dell OptiPlex 3080, configured with a 10th-gen Intel i3 processor and 64GB of RAM (with plans to upgrade to a 10th-gen i7), hoping to turn it into a multi-purpose machine that handles both self-hosting and everyday desktop use.
This is a very typical use case: running Docker-containerized self-hosting applications while also letting the kids use it for playing chess, web-based Word, and simple Canva designs. How to balance the "server" and "desktop" roles on limited hardware is a decision dilemma many beginners face.
Hardware Analysis: What Can the Dell OptiPlex 3080 Handle?
Performance Positioning of 10th-Gen i3/i7 + 64GB RAM
Let's start with the machine's fundamentals. The 10th-gen i3-10100 is a 4-core, 8-thread processor based on Intel's Comet Lake architecture (14nm process), with a base clock of 3.6GHz and boost up to 4.3GHz. While not exactly a powerhouse, it's more than sufficient for running dozens of lightweight containers (such as Nginx, Pi-hole, Home Assistant, Nextcloud, etc.). The real highlight is the 64GB of RAM—a rather luxurious amount for self-hosting scenarios, meaning you can run a large number of containers simultaneously, or even spin up multiple virtual machines without worrying about memory bottlenecks. For reference, a typical lightweight container (like Pi-hole) needs only 50–100MB of RAM; even running 50 such containers would consume less than 5GB, leaving enormous headroom with 64GB.
After upgrading to a 10th-gen i7 (such as the i7-10700 with 8 cores and 16 threads), multi-threaded CPU performance will improve significantly, supporting heavier workloads like media transcoding (Jellyfin/Plex converting video in real-time to client-compatible formats), database services, or running multiple VMs in parallel. Notably, the 10th-gen i7 also integrates Intel UHD 630 graphics with Quick Sync hardware transcoding support, meaning media servers like Jellyfin can leverage GPU-accelerated transcoding instead of consuming precious CPU resources. In terms of hardware capability, this machine is fully capable of handling the dual role of "server + desktop."
In-Depth Comparison of Three Self-Hosting System Options
The original post outlined three typical deployment approaches, each representing a different design philosophy. Let's analyze the pros and cons of each.
Option 1: Lubuntu Desktop + Docker/Portainer
This is the most straightforward "all-in-one" approach. Use lightweight Lubuntu (based on the LXQt desktop environment) as the base system, install Docker and Portainer directly on it for container management, and also use the same machine as the kids' everyday desktop computer.
Docker is an OS-level virtualization technology that packages applications and all their dependencies into isolated "containers." Unlike traditional virtual machines, containers share the host operating system's kernel, resulting in fast startup times (seconds) and low resource overhead (typically tens of MB of RAM). Portainer is a graphical management interface for Docker—through a web browser, you can create, monitor, and manage containers, significantly lowering the barrier of command-line operations. In self-hosting scenarios, virtually all popular applications offer official Docker images, allowing users to deploy them with a single command or a few clicks.
Pros: Simple to set up, quick to get started, desktop and server share one system with no need for remote connections. Lubuntu, based on the LXQt desktop environment, consumes fewer resources than GNOME or KDE (only about 300–400MB RAM at idle), delivering a smooth desktop experience.
Cons: The desktop environment and server workloads are tightly coupled. Accidental actions by the kids on the desktop (such as shutting down the machine or deleting files) could affect self-hosted services; conversely, heavy server loads could slow down desktop responsiveness. Security isolation is weakest here—the desktop user and the Docker daemon share the same OS instance. If the desktop environment is compromised by malware, all containerized services are exposed to risk.
Option 2: Debian + GUI + Docker/Portainer
Same concept as Option 1, but with Debian plus a graphical interface as the base system. Debian is renowned for its stability and is a classic choice for self-hosting servers, with mature package management and extensive community support. Debian follows a strict release cycle (approximately one major version every two years), and all packages in its Stable branch undergo extended testing and verification. This conservative approach means software versions are older, but it dramatically reduces system failures caused by updates—critical for self-hosted services running 24/7.
Pros: Debian offers superior stability compared to Ubuntu derivatives, making it more reliable for long-term operation and the preferred server OS for many Homelab veterans. A minimal Debian installation occupies only about 1–2GB of disk space with streamlined system services, leaving more resources for containerized applications.
Cons: Same as Option 1—the desktop and server still share a single system, providing insufficient isolation. Additionally, Debian's default desktop experience is less user-friendly than Ubuntu derivatives for regular users (especially children)—driver support, multimedia codecs, font rendering, and other out-of-the-box niceties require additional configuration.
Option 3: Headless Debian + Virtual Machine + Thin Client
This is the most "professional" architecture of the three. Install a CLI-only Debian system (no desktop) as the base, run a Lubuntu virtual machine on it for desktop use, and connect to that VM remotely via an HP thin client.
A thin client is a terminal device with minimal computing power. It doesn't run complex applications locally; instead, it connects to a virtual desktop on the server via a remote desktop protocol. HP's t430/t630 thin clients are popular on the second-hand market, typically priced at $20–50, drawing only 5–15W. Common remote desktop protocols include: RDP (Remote Desktop Protocol, developed by Microsoft, with low latency and a mature ecosystem); SPICE (developed by Red Hat, optimized for KVM virtualization environments, supporting USB redirection, audio transmission, and adaptive compression); and VNC (cross-platform but weaker in performance). For light use cases like chess and web-based office work, modern remote desktop protocols typically deliver sub-20ms latency on a LAN—perfectly acceptable.
Pros: Achieves complete isolation between server and desktop. The host machine focuses solely on running Docker services, while the desktop runs in an independent VM with no interference between the two. Anything the kids do inside the virtual machine cannot affect the self-hosted services on the host, providing the highest security and stability. Even if the VM crashes, services on the host continue running normally.
Cons: Complex architecture with a high configuration barrier, requiring knowledge of virtualization technologies like KVM/QEMU (a combination of the Linux kernel virtualization module and userspace emulator). Remote desktop experience depends on network quality and configuration—while acceptable for simple tasks, it still falls short of directly operating a local desktop, especially for video playback and high-refresh-rate scenarios.
Community Recommendation: Why Proxmox Is the Better Choice
Although the original post didn't mention it, based on the general consensus in the self-hosting community, for a machine with 64GB of RAM, Proxmox VE is often a better choice than any of the three options above.
Proxmox Virtual Environment (Proxmox VE) is an open-source server virtualization management platform based on Debian Linux, developed by the Austrian company Proxmox Server Solutions and first released in 2008. It integrates two technologies: KVM (Kernel-based Virtual Machine) full virtualization and LXC (Linux Containers) containerization. KVM allows running complete operating systems (including Windows), with each VM having its own independent kernel—ideal for scenarios requiring full isolation. LXC containers are more lightweight, sharing the host kernel, starting in just seconds with far less resource overhead than full VMs, making them suitable for running Linux services.
Proxmox's core advantage lies in its web management interface—no client installation needed, just access https://server-IP:8006 in a browser to manage all virtual resources. Additionally, it includes built-in ZFS storage support (providing data checksumming and self-healing), cluster management, live migration, scheduled backups, and snapshot rollback—all enterprise-grade features. These capabilities typically require expensive licensing in commercial virtualization platforms (like VMware vSphere), but Proxmox is completely free to use (paid subscriptions only provide enterprise-level technical support).
In a practical Proxmox deployment, you can:
- Create an LXC container dedicated to running Docker + Portainer for self-hosted applications. While both LXC and Docker are containerization technologies, they differ in design philosophy—LXC is closer to a lightweight VM, running a complete Linux userspace (including an init system and multiple processes), whereas Docker focuses on packaging and distributing individual applications. Creating an LXC container in Proxmox and installing Docker inside it (a "nested container" approach) preserves Proxmox's unified resource management while leveraging Docker's rich application ecosystem.
- Create a Lubuntu/Windows VM for the kids to use via remote desktop;
- Add or remove VMs at any time for experimentation, with snapshot and backup support allowing one-click rollback from mistakes.
This approach combines the isolation of Option 3 with a much friendlier management experience, fully leveraging the value of 64GB of RAM. It's also the mainstream practice in today's Homelab space. According to Proxmox's official statistics, over 800,000 servers worldwide run Proxmox VE, with adoption rates in home labs and small-to-medium businesses rising year after year.
Selection Advice: Match the Solution to Your Skill Level
Overall, the right choice depends on your technical level and goals:
- Prioritizing simplicity and quick setup: Go with Option 1 or Option 2. Choose Lubuntu if you prefer desktop-friendliness, or Debian if you prefer server stability. These are suitable for first-time self-hosters. Such setups typically go from zero to usable in 1–2 hours, with a gentle learning curve.
- Prioritizing isolation, stability, and scalability: Go straight to Proxmox (an evolved version of Option 3). While the learning curve is steeper (requiring an understanding of virtualization, network bridging, storage pools, etc.), it's a one-time investment that sets you on the right path for long-term Homelab use. Proxmox's official documentation is comprehensive, and YouTube features numerous Homelab creators (such as Techno Tim and Learn Linux TV) offering complete tutorials from installation to advanced configuration.
For this particular user with 64GB of RAM and a clear desire to "balance server and desktop use," the virtualization approach (Proxmox or Option 3) is undoubtedly the choice that makes the best use of the hardware. Having a dedicated thin client connect to a virtual desktop ensures an independent environment for the kids' daily use while letting the host machine devote itself entirely to self-hosted applications. The 64GB of RAM can easily allocate 8–16GB to the desktop VM, with all remaining memory reserved for containers and services—no competition between the two.
Conclusion
Retired office machines like the Dell OptiPlex 3080 are excellent vehicles for getting started with self-hosting. There's no absolutely right or wrong system choice—the key is matching your needs and abilities. From the simplest single-system all-in-one setup to a professional virtualization platform, each step is part of the learning and growth process. For beginners, start with a simple approach; once you're comfortable with Docker and Linux, evolve toward virtualization platforms like Proxmox and gradually build your own home data center. The appeal of self-hosting lies not only in the services you ultimately deploy, but in the deep understanding of computer systems, networking, and security gained along the way—knowledge that will continue to generate value in both your career and digital life.
Related articles

An OpenAI Researcher's Deep Dive: The Truth About 10,000 AI Agents and Recursive Self-Improvement
OpenAI researcher Noam Brown breaks down multi-agent systems, recursive self-improvement, and alignment risks — from 10,000 agents cracking Millennium Problems to the Hugging Face incident.
27B Dense Model Tops Hugging Face All-Time Likes: Frontier-Level Agentic Ability on 16GB VRAM
A 27B dense model from Hangzhou tops Hugging Face's all-time likes chart. Quantized to 16GB VRAM, a single RTX 4090 delivers frontier-level Agentic performance locally.
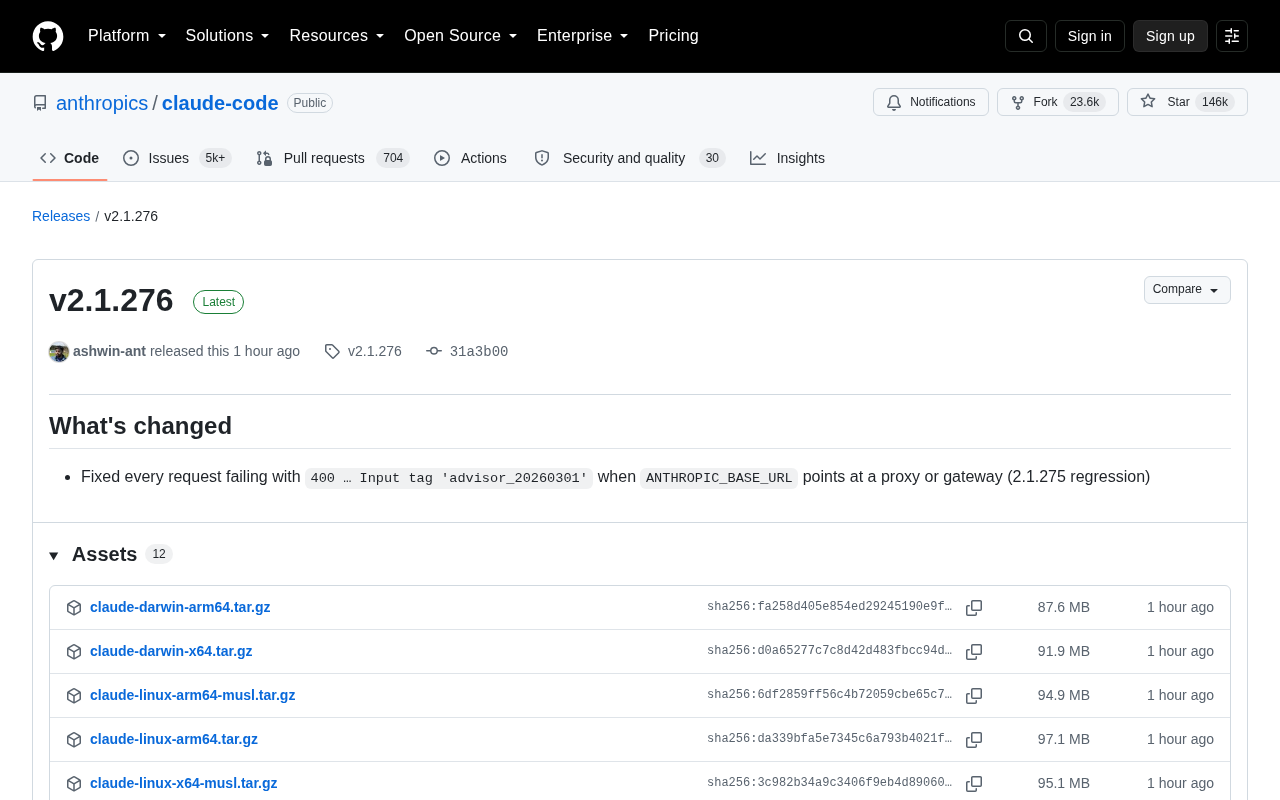
Claude Code v2.1.276 Released: Fixes Proxy/Gateway 400 Error Regression
Claude Code v2.1.276 fixes a critical regression from v2.1.275 where all requests via proxy or gateway failed with a 400 error (Input tag 'advisor_20260301'). Upgrade now.