DIY Desktop Emotion Robot: A Complete Tutorial for Replicating Ortomi from Scratch

Complete guide to building a DIY desktop emotion robot by replicating Ortomi with ESP32 and open-source tools.
This tutorial walks through replicating the Ortomi desktop emotion robot from scratch, covering display options (IPS LCD, OLED), graphics libraries (TFT_eSPI, LVGL, U8g2), ESP32 microcontroller selection, memory optimization for smooth animations, 3D printing enclosures, and an iterative MVP development approach—from first smile to AI integration.
A Hobbyist's Robot Replication Experiment
Driven by the open-source hardware movement and the consumer AI wave, more and more DIY enthusiasts are attempting to build their own desktop emotion robots. The open-source hardware movement originated around 2005 with the Arduino project, built on the core philosophy of making electronic design schematics, PCB layouts, and firmware code fully public—allowing anyone to freely copy, modify, and commercialize them. Over the past two decades, this movement has spawned thousands of development board ecosystems, from the Arduino Uno to the ESP32 to the Raspberry Pi series, with each generation lowering the barrier to hardware creation. The consumer AI wave, meanwhile, began with the release of ChatGPT in late 2022, when the opening of large language model APIs enabled even amateur developers to add natural language understanding capabilities to their hardware projects. The convergence of these two forces is giving rise to an entirely new "AI + Hardware" DIY ecosystem.
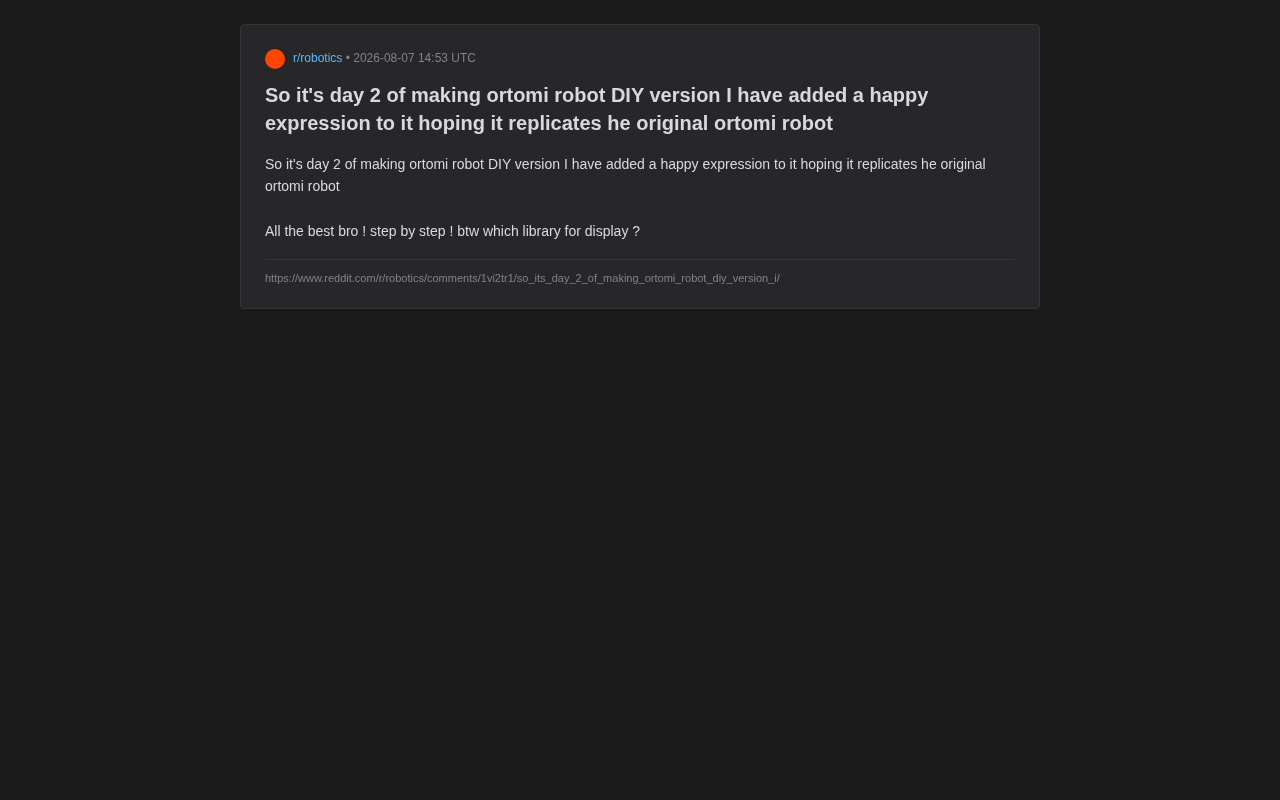
Recently, a Reddit user shared their second day of progress replicating an Ortomi robot—they successfully added a "happy" expression to their homemade robot, hoping to capture the charm of the original Ortomi. Ortomi is a desktop emotional companion robot whose design draws inspiration from cute character designs in Japanese animation. It typically uses a circular display as its "face," simulating biological emotional states through rich dynamic expressions (such as blinking, smiling, puzzlement, etc.). These products fall under consumer-level applications of "Affective Computing"—a field formally defined by Professor Rosalind Picard of the MIT Media Lab in 1997, aimed at enabling computers to recognize, understand, and simulate human emotions. Ortomi's design philosophy is: through minimalist hardware form and highly expressive screen animations, create a "low-function but high-emotional-value" companionship experience.
These projects may seem simple, but they're actually comprehensive challenges combining software and hardware. They involve display driving, expression rendering, enclosure structural design, and eventual voice interaction and AI capability integration. For an average hobbyist, getting a robot to "smile" by day two is already a milestone worth documenting.
The Core of Desktop Emotion Robots: Expression System Design
Why Expressions Are the Soul of an Emotion Robot
For desktop companion robots, "expressions" are the primary gateway to establishing emotional connections. Unlike industrial robots that pursue precision and efficiency, emotion robots emphasize anthropomorphic interactive experiences. A screen face that can display joy, anger, sadness, and happiness can instantly close the psychological distance between humans and machines.
The original Ortomi robot won users' hearts precisely through its vivid dynamic expressions. Therefore, the replicator's choice to make "adding a happy expression" an early goal captures the soul of this product category—first make the robot "come alive," then gradually refine other features.
Display Solutions and Graphics Library Selection Guide
In the comments section, a user raised a key question: "Which display library are you using?" This precisely highlights the technical core of DIY expression robots.
Currently, common display solutions used by hobbyists for building these robots include:
-
Round/Square IPS LCD + TFT_eSPI library: Suitable for Arduino, ESP32, and other microcontrollers, with enough performance to drive smooth animated expressions. TFT_eSPI is a high-performance Arduino graphics library developed by Bodmer, deeply optimized specifically for ESP8266 and ESP32 platforms. Unlike generic graphics libraries, TFT_eSPI directly manipulates low-level SPI bus registers, utilizing DMA (Direct Memory Access) technology to achieve parallel data transfer and CPU computation, resulting in extremely high screen refresh rates. It supports over 40 common TFT driver chips (such as ST7789, ILI9341, GC9A01, etc.) and includes built-in Sprite functionality, allowing developers to pre-render graphics in memory and push them to the screen all at once, avoiding the screen tearing caused by pixel-by-pixel drawing—which is crucial for smooth expression animations.
-
OLED screen + Adafruit GFX/U8g2 library: Low power consumption and high contrast, suitable for simple monochrome pixel expressions. OLED (Organic Light-Emitting Diode) screens have the advantage of each pixel emitting light independently, with black areas consuming zero power. This makes them excellent for displaying high-contrast patterns like eyes, with overall power consumption far lower than LCD solutions that require backlighting.
-
LVGL graphics library: Suitable for projects requiring complex UI and smooth animations, supports GIF rendering, and enables more refined expression transitions. LVGL (Light and Versatile Graphics Library) is an open-source embedded graphics library originally created by Hungarian developer Gábor Kiss-Vámosi in 2016, designed to achieve smartphone-level UI experiences on resource-constrained microcontrollers. LVGL supports anti-aliased rendering, 60fps animations, touch input, and over 30 built-in widgets. For emotion robot projects, LVGL's Animation Engine is particularly critical—it supports property animations with Bézier curve interpolation, enabling smooth, natural transitions between different expression states rather than abrupt frame switching.
For projects aiming to replicate Ortomi's lively eye expressions, you typically need to play pre-made animation frames on dual-eye screens or a single high-refresh-rate screen, which places significant demands on the display library's performance and memory management. On embedded devices, the biggest challenge for achieving smooth expression animations is memory management. Taking a 240×240 pixel 16-bit color screen as an example, a single frame requires approximately 112KB of storage space, while the ESP32's available RAM typically doesn't exceed 300KB. Therefore, developers need to employ multiple optimization strategies: first, using Run-Length Encoding (RLE) to compress frame data, leveraging the large solid-color areas in expression patterns to significantly reduce data size; second, storing only keyframes and generating intermediate frames in real-time through interpolation algorithms; third, storing frame data in external Flash (W25Q series chips connected via SPI interface) and loading them into RAM buffers on demand during runtime. These techniques may seem low-level, but they're the key to making a small robot's expressions "silky smooth."
Iterative Development Process for DIY Robots
Here's a notable detail: the community's feedback to this creator was overwhelmingly positive—"Keep it up bro! One step at a time!" This brief encouragement perfectly embodies the core culture of the open-source DIY community: iterative development with emphasis on sharing the process.
Unlike commercial products that aim for perfection on the first release, DIY robot projects often adopt a "Minimum Viable Prototype" (MVP) approach. This concept originates from Lean Startup methodology, systematically articulated by Eric Ries in his 2011 book The Lean Startup. The core idea is to build a product prototype that can validate key assumptions with minimal resources, then use rapid iteration and user feedback to guide subsequent development. In the hardware DIY space, this methodology is particularly relevant—because hardware development involves irreversible steps like procurement, soldering, and assembly, pursuing perfection from the start often leads to abandoned projects. Instead, first validating functionality on a breadboard circuit, then gradually transitioning to custom PCBs and 3D-printed enclosures, significantly improves project completion rates.
For desktop robot projects specifically, the typical iteration path looks like this:
-
Step One: Set up basic hardware (ESP32 microcontroller, display, power module). The ESP32 is a low-cost, low-power System-on-Chip (SoC) developed by Espressif Systems, integrating a dual-core Xtensa LX6 processor (clocked up to 240MHz), Wi-Fi, and Bluetooth capabilities. It has become the go-to microcontroller for DIY robot projects for several reasons: abundant GPIO pins supporting various peripheral connections, built-in wireless communication for accessing AI services over the network, sufficient RAM (520KB SRAM) and Flash storage for caching animation frame data, and an extremely competitive price (development boards typically under $5). Its successor, the ESP32-S3, adds vector instruction set support, enabling lightweight machine learning inference tasks to run locally.
-
Step Two: Implement static or simple dynamic expressions (the current progress stage).
-
Step Three: Add sensors for touch, gesture, and other interactive feedback.
-
Step Four: Integrate a voice recognition module for wake-word detection and basic commands.
-
Step Five: Connect to a large language model API, giving the robot conversational and emotional understanding capabilities.
This gradual approach lowers the entry barrier and ensures that every small achievement receives positive community feedback, creating a virtuous creative cycle.
From Replication to Creation: The Multiple Values of DIY Robots
Learning Value Far Exceeds the Finished Product
Replicating an existing product might seem like "copying homework" on the surface, but it's actually an excellent learning path. In the process of recreating Ortomi, the maker needs to understand display driver principles, animation frame management logic, embedded C/C++ programming, and 3D-printed structural design—all valuable hands-on engineering experience.
Among these, the popularization of 3D printing technology (particularly FDM—Fused Deposition Modeling) has completely transformed how DIY robot enclosures are manufactured. Previously, hobbyists could only use laser-cut acrylic or handmade cardboard for enclosures, severely limiting form factors. Now, an entry-level 3D printer (such as the Bambu Lab A1 Mini or Creality Ender-3) paired with modeling software like Fusion 360 or Blender can produce smooth, organic-shaped robot enclosures. PLA-printed shells, after sanding and spray painting, can achieve a finish quality approaching injection-molded products. Many Ortomi replication projects share STL files on platforms like Thingiverse or Printables, further lowering the participation barrier for other enthusiasts.
Compared to buying a finished product, building by hand gives hobbyists true mastery of the underlying technical principles, laying a solid foundation for original designs in the future.
How Open-Source Communities Are Driving the Desktop Robot Space
From Hackaday to various Reddit hardware communities, desktop emotion robots have become a popular DIY category. Thanks to the widespread availability of low-cost, high-performance microcontrollers like the ESP32, and the maturity of open-source graphics libraries like LVGL, building a small robot capable of "expressing emotions" has become significantly cheaper and easier.
These projects are also quietly driving innovation in consumer robotics—many commercial products draw their inspiration and technical solutions from these active DIY communities. For example, Wire-Pod, the open-source firmware project for the Vector robot (originally an Anki product), was spontaneously maintained by community developers after the product's services were discontinued, bringing tens of thousands of "bricked" robots back to life. Similarly, open-source desktop robot projects like Wally and Emo have accumulated substantial code contributions and technical discussions on GitHub, forming a technology pipeline from hobbyists to startups.
Getting Started: Teaching Your First Robot to Smile
This Reddit user's Ortomi replication project, while just one of many DIY works, reflects the vibrant energy of today's emotion robot hobbyist community. Starting with a simple "happy expression" and building step by step toward your own desktop companion—this is the maker spirit in action.
For readers who want to get started with desktop emotion robot creation, here are the recommended first steps:
- Choose an ESP32 development board as your microcontroller (ESP32-S3-DevKitC recommended, around $5, supports direct USB flashing)
- Pair it with a 1.28-inch round IPS screen (GC9A01 driver chip) or a 0.96-inch OLED screen (SSD1306 driver chip)
- Use the TFT_eSPI or LVGL library to draw your first smiley face (Arduino IDE or PlatformIO development environment both work)
- Share your progress in the community to get feedback and inspiration
Let your first robot learn to "smile" first—everything else will follow naturally.
Key Takeaways
Related articles

How to Interview Engineers in the AI Era: Practical Insights on Restructuring the Interview Process
When AI coding tools render traditional algorithm interviews ineffective, how should teams restructure? Insights from a year of practice on evaluating systems thinking, problem decomposition, and human-AI collaboration.

AI Agent Observability: A New Paradigm for Production Debugging and Hallucination Governance
Deep dive into AI Agent observability tools for production debugging and hallucination governance, covering full-chain tracing, semantic evaluation, and continuous improvement strategies.

How Theoretical Physicists Can Efficiently Get Started with Machine Learning: Optimal Paths and Resource Guide
A systematic guide for theoretical physicists transitioning to ML, covering math advantages, a three-stage learning path, classic textbooks, and physics-ML cross-disciplinary research directions.