iPhone Duo Setup Tips: 9 Hidden Options That Make the Foldable Better

9 system setting adjustments for Apple's foldable iPhone Duo, covering biometrics, button mapping, and camera tricks.
This article compiles a setup guide for Apple's first foldable iPhone Duo, offering 9 system adjustments around the foldable form factor. Key items include Touch ID shortcuts, customizing the volume key as a shutter or shortcut entry, and camera optimizations for half-folded stands and outer-screen framing. The guide notes that foldables have more hardware variables than slab phones, so users need to calibrate proactively, and it leans toward operational experience without quantitative battery or performance data.
Apple's first foldable iPhone Duo brings new interaction possibilities with its hardware form factor, but what truly determines the day-to-day experience is often those inconspicuous toggles buried in system settings. Compiled from a setup guide for iPhone Duo users, the following 9 adjustments span biometrics, volume control, and camera operation, covering the areas most prone to pitfalls in the foldable form factor.
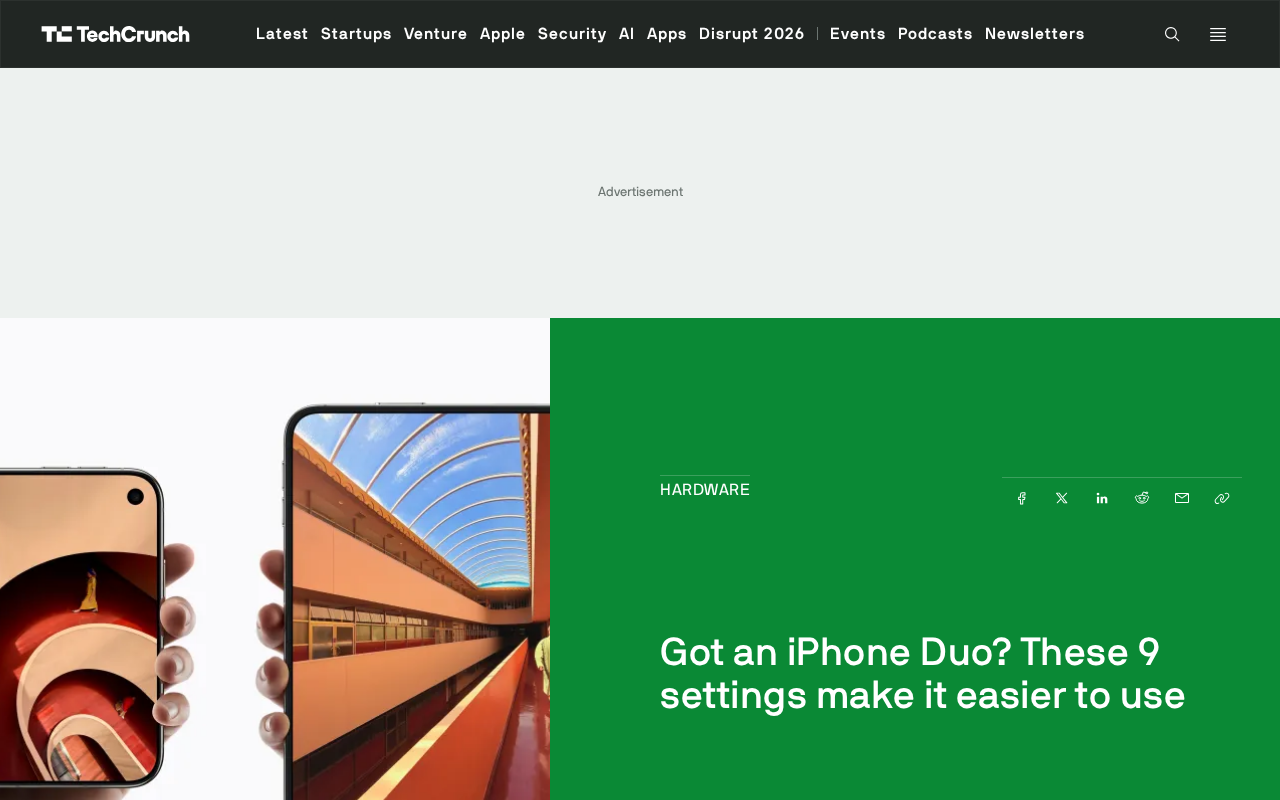
Biometrics in Foldable Form: Touch ID Shortcuts
Unlocking scenarios on the iPhone Duo are more complex than on a slab phone—where your finger lands when unfolded, folded, or held one-handed is completely different. This guide lists Touch ID shortcuts as the top adjustment, and the logic is straightforward: foldable users go through more form-factor switches every day, so binding frequently used actions (quick unlock, payment verification, invoking shortcuts) to fingerprint recognition can significantly cut down the number of times you hunt for entry points across screens.
For users migrating from a Face ID slab phone, this step amounts to rebuilding muscle memory. After completing setup, it's recommended to test several rounds in both unfolded and folded states to confirm the trigger area feels natural in both grip positions.
Touch ID is Apple's biometric solution based on capacitive fingerprint sensing, used in the iPhone 5s through iPhone 8 series before being replaced by Face ID. Its core principle is generating a high-resolution fingerprint image from the capacitance difference between fingerprint ridges and valleys, then comparing it against a template stored encrypted in the Secure Enclave to complete authentication. On foldable devices, fingerprint recognition regains an advantage: users don't need to face the screen directly as with Face ID—when holding one-handed, the thumb naturally lands on a side or under-display sensor to unlock. "Shortcuts" here typically means mapping fingerprint gestures like double-tap or long-press to payment verification, shortcuts, or app launches, merging the authentication action with the function entry point.
The Volume Key Does More Than Adjust Volume
The "smarter volume buttons" mentioned in the guide point to a frequently overlooked fact: on foldable devices, the physical position of the volume keys changes with the folding state, so the system offers more customizable key behaviors. Mapping the volume key to a shutter, recording trigger, or shortcut entry lets it take on responsibilities beyond "adjusting volume" in specific scenarios.
The value of such adjustments lies in reducing UI layers. Once unfolded, the larger screen area increases finger travel distance, making physical buttons a more efficient entry point instead.
Physical button remapping refers to the system allowing users to rebind the single-press, double-press, or long-press behavior of a button to other functions rather than its factory default. In the iOS ecosystem, this capability has long been limited, but with the opening of interfaces like Shortcuts and accessibility features such as "Key Repeat" and "Switch Control," the volume key has gradually become usable as a camera shutter, recording toggle, or automation trigger. On foldable devices, the physical position of the volume key changes with the unfolded or folded state, so the system needs more flexible key event distribution logic. Note that after remapping, the original volume adjustment function can usually still be retained via long-press or key combinations, and users should verify each setting one by one after configuration to avoid accidental touches or lost functionality.
Camera: Shooting Possibilities Brought by the Foldable Form
The camera section is called out separately in the guide because foldables are naturally suited to certain shooting postures that slab phones can't achieve—such as placing the device on a table as a stand in half-folded state, or using the outer screen for framing and the inner screen for operation. Corresponding settings include adjusting the viewfinder interface layout, specifying the default screen to use, and optimizing shutter triggering in the folded state.
For users who frequently shoot video or selfies with their phone, the payoff from these adjustments is the most direct: one less step means one less missed shot.
Half-folded stand shooting means unfolding the foldable device to about 90 degrees and placing it on a table, using the lower half of the screen as a base and the upper half as a viewfinder—like a built-in tripod. In this form, the device can do time-lapse photography, group photos, or low-angle shots without being handheld, while the outer screen can serve as a preview for subjects and the inner screen for the photographer's operation. Outer-screen framing means using the external screen directly as a viewfinder in the folded state, suitable for selfies or vlog scenarios, avoiding the operational burden of unfolding the large screen. Related system settings typically include specifying the default viewfinder screen, adjusting the shutter position in half-folded state, and optimizing the refresh rate and brightness of the outer-screen preview to balance framing experience and power consumption.
The Common Logic Behind the Remaining Adjustments
Although the 9 settings covered in the guide are scattered across different menus, they point to the same principle: foldables have more hardware variables (form factor, number of screens, grip styles) than slab phones, and default system configurations can hardly cover all usage scenarios, requiring users to proactively calibrate once according to their own habits.
As for the order of execution, it's recommended to prioritize the unlock- and key-related items first—they affect every action of picking up the phone; camera and display-related settings can be adjusted gradually afterward. The whole configuration doesn't take much time, but what you get in return is a foldable device that fits your personal habits better.
It should be noted that this guide leans toward operational experience rather than providing quantitative data on the impact of each setting on battery life or performance. For users concerned about these dimensions, it's advisable to observe for a period after adjusting before deciding what to keep.
One-line Summary
A guide to 9 system setting adjustments for Apple's foldable iPhone Duo, covering biometrics, button mapping, and camera tricks.
Paragraph Summary
This article compiles a setup guide for users of Apple's first foldable iPhone Duo, offering 9 system adjustment recommendations centered on the interaction changes brought by the foldable form factor. The top item is Touch ID shortcuts to handle frequent unfolding and folding switches; next is customizing the volume key as a shutter, recording, or shortcut entry to reduce UI layer operations on the large screen; the camera section optimizes viewfinder layout and shutter triggering for foldable-specific scenarios like half-folded stands and outer-screen framing. The article notes that these scattered settings share a common logic: foldables have more hardware variables than slab phones, default system configurations struggle to cover all scenarios, and users need to calibrate proactively. The guide leans toward operational experience and does not provide quantitative data on battery life or performance impact.
Related articles

Abnormal Error Rate Spike in Claude Mythos 5.2 and Fable 5.2
Claude Mythos 5.2 and Claude Fable 5.2 show an abnormal spike in request error rates, marked as investigating on the official status page. This article covers the incident overview, practical impact on developers, and recommended responses.

ReAct Runtime Context Trimming: Why Claude Code Acts at 70%
A deep dive into ReAct runtime context trimming: why Claude Code compresses at ~70% usage, why tool calls dominate, why messages must be dropped in pairs, and why codebases don't need RAG.

AI Agent vs LLM: How Cursor and Claude Code Actually Work
An in-depth analysis of the essential difference between AI Agents and LLMs: LLMs generate code suggestions, while Agents modify files and run tests via tool calls. Using a Spring Boot bug fix as an example, it breaks down the workflows, permission control, and verification mechanisms of Cursor and Claude Code.