The Complete Guide to Gemini CLI Configuration: A Hands-On Tutorial for Connecting to APINebula
Step-by-step guide to configuring Gemini CLI with APINebula on Windows and Mac.
This tutorial walks through the complete process of connecting Gemini CLI to APINebula, a third-party API aggregation platform. It covers installation on both Windows and Mac, configuring the .env file with server address, API Key, and model name, understanding group-to-model matching to avoid common errors, and verifying the setup. The entire integration is accomplished in just two steps: install and configure.
Introduction: Why Use Gemini CLI with a Third-Party Platform
Gemini CLI is an official command-line tool from Google that allows developers to interact directly with Gemini models in the terminal—no need to switch to a browser or write additional scripts. For developers accustomed to command-line workflows, this approach is highly efficient and easily integrates into automation scripts and development pipelines.
From an industry perspective, Gemini CLI is an open-source command-line tool launched by Google in 2025, built on the Gemini 2.5 Pro model. It competes in the same space as GitHub Copilot CLI and Anthropic's Claude Code—command-line-native AI assistants. The core advantage of these tools lies in their ability to directly read the local file system, understand project context, and chain with other CLI tools via pipes, fitting naturally into the Unix philosophy toolchain. Google offers 1,000 free requests per day for Gemini CLI (tied to a personal Google account), with support for an ultra-long context window of up to 1 million tokens, giving it a significant edge when working with large codebases.
However, using the official API directly from within China often runs into network access barriers and account restrictions. By connecting through a third-party API aggregation platform like APINebula, you can call Gemini models using a unified token and server address, bypassing common access obstacles while centralizing quota and billing management.
The technical essence of such third-party API aggregation platforms is that they act as a Reverse Proxy and API Gateway. They deploy relay servers overseas, forwarding user requests to the original API endpoints of Google, OpenAI, Anthropic, and others, then returning the responses to the user. This architecture solves two core problems: first, network reachability—the platform deploys relay services across multiple global nodes, so users in China don't need to configure their own proxy; second, account and payment barriers—users don't need an overseas credit card or Google Cloud identity verification, just a registration and top-up on the aggregation platform to access models from multiple providers. From a technical implementation standpoint, these platforms typically support the OpenAI API format (the so-called "OpenAI-compatible interface"), so most tools that support custom API endpoints can connect seamlessly.
As the fourth installment in APINebula's official integration guide series, this article focuses specifically on the Gemini CLI configuration process, covering complete steps for both Windows and Mac platforms. The entire process can be summarized as a two-step approach: "Install + Configure." Once mastered, you can complete the setup in just a few minutes.
Installing Gemini CLI: A Guide for Both Windows and Mac
Regardless of the platform, installing Gemini CLI follows a standard routine: "run the install command + verify the version number."
Installing Gemini CLI on Windows
On Windows, open the terminal and run the official installation command. The tool will automatically fetch and install the latest version of Gemini CLI. After installation, run the version query command in the terminal. If the version number is printed correctly, it means Gemini CLI has been installed successfully.
This verification step is crucial—a properly printed version number indicates that the CLI tool has been correctly registered in the system's environment variables, ensuring that subsequent calls won't throw a "command not found" error.
Installing Gemini CLI on Mac
Mac users should first press Command + Space to open Spotlight Search, type "Terminal," and press Enter to open a terminal window. All subsequent commands will be entered and executed in this window.
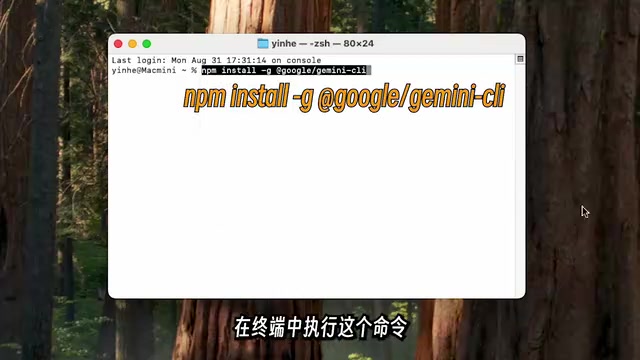
Run the installation command in the terminal, and the tool will automatically download the latest version of Gemini CLI. If you encounter insufficient permissions, you'll need to run the command with elevated privileges and enter your system password as prompted. After installation, verify success using the version query command—a properly displayed version number confirms the installation is complete.
Configuring the .env File to Connect to APINebula
After installation, the real core of the integration lies in configuration. Gemini CLI stores its main configuration in a file called .env.
The .env file is a widely used method for configuring environment variables, originally popularized by the Ruby community's dotenv library and later adopted broadly across the Node.js, Python, and other ecosystems. Its format consists of simple KEY=VALUE pairs, one per line. When Gemini CLI starts, it reads the .env file from the configuration directory and loads the key-value pairs as environment variables, overriding the default API endpoint, authentication token, and model selection. The benefit of this design is that it separates sensitive information (like API Keys) from code, preventing token leaks into version control systems—which is why .gitignore templates almost always include .env.
Navigate to the Gemini CLI Configuration Directory
Run the command to enter the configuration directory in the terminal. This command will automatically create (or navigate to) Gemini's configuration directory, generate the corresponding .env file, and open it with Notepad (or the default text editor). The logic is the same on Mac and Windows, with only minor differences in command implementation.
The .env file is the main configuration file for Gemini CLI—all critical connection parameters go here.
Fill in the Three Key Configuration Parameters
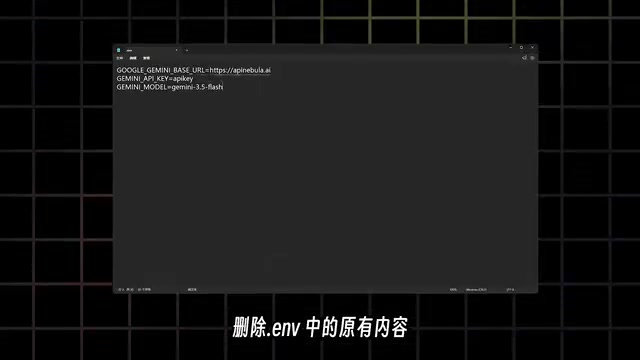
After opening the .env file, delete all existing content, then paste the following three lines of configuration and save:
- Line 1 — Server Address: This is the endpoint URL provided by APINebula. If the official address is updated later, you can check the latest one in the "Dashboard" section of the APINebula console and simply replace this line.
- Line 2 — API Key (Token): Replace this with the token you obtained from the APINebula platform. This is the core credential for authentication—keep it safe.
- Line 3 — Model Name: Enter the actual Gemini model name available under your current group. Pay special attention here: the model name must correspond to the group you selected when creating your API Key. It may not be exactly the same as what's shown in the demo screenshots—always refer to the groups actually available in your own account.
Common Pitfalls with Group and Model Matching
This is the step where mistakes happen most frequently. Many users simply copy the model name from the tutorial screenshots, only to get errors when making calls. The reason is that different API Keys belong to different groups, and each group has access to a different set of models. The correct approach is to log in to the APINebula console, check the list of available models under the group associated with your token, and enter the corresponding name on line 3.
From a technical perspective, APINebula's "group" mechanism is essentially a set of routing rules that define which model names can be called by API Keys under that group and which upstream provider each model request is actually forwarded to. For example, a group named "Gemini Premium" might include gemini-2.5-pro and gemini-2.5-flash, while a "Basic" group might only include gemini-2.0-flash-lite. When the model name in your .env file isn't on the available list for your API Key's group, the platform returns a 404 or 403 error. This design borrows from the routing and authentication patterns of API gateways in microservices architecture, enabling fine-grained access control while allowing the platform to implement differentiated pricing based on each model's cost.
Verifying That Gemini CLI Configuration Was Successful
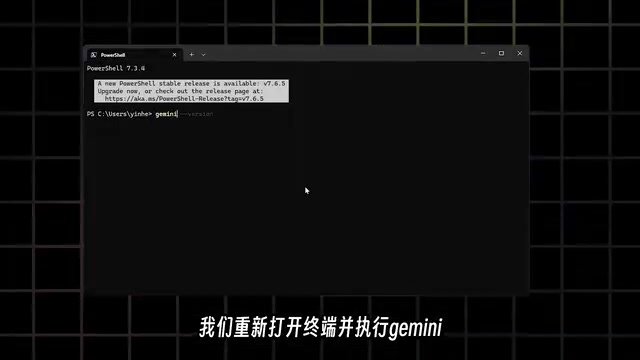
After updating the token and saving the .env file, you need to reopen the terminal (so the new environment variables take effect), then run the gemini command to enter the interactive interface. Note that most shells (such as bash, zsh, and PowerShell) only read environment configurations once at startup, so you must restart the terminal after modifying the .env file for the new settings to take effect.
Once in the interactive interface, type any message as a test. If Gemini CLI returns a normal response, the entire configuration process has been successfully completed.
If the response is abnormal or an error is returned, troubleshoot in these three areas:
- Server Address: Is it entered correctly? Has it been updated to the latest address?
- API Key: Is the token valid? Does the account still have available quota?
- Model Name: Does it match the group associated with the token?
Checking these three points one by one will resolve the vast majority of Gemini CLI configuration issues.
Summary: Two Steps to Complete Gemini CLI Integration
Looking back at the entire process, connecting Gemini CLI to APINebula boils down to two steps:
- Install: Run the installation command + verify the version number.
- Configure: Edit the
.envfile with three parameters—server address, API Key, and model name—then restart the terminal to verify.
This workflow is highly consistent across Windows and Mac, with differences mainly in how the terminal is opened and minor implementation details of the installation commands. For developers, the command-line integration approach is not only quick to set up but also easy to incorporate into automation scripts—making it a practical solution for boosting AI tool efficiency.
In practice, integrating Gemini CLI into automated workflows unlocks many advanced use cases. For example, you can call Gemini CLI in a CI/CD pipeline to perform code reviews on Pull Requests, automatically generating review comments; pipe log files into Gemini CLI in shell scripts for anomaly analysis; or add a target in a Makefile that lets AI automatically generate unit tests for new code. The key to these use cases is that Gemini CLI supports non-interactive mode, allowing it to communicate with other programs via standard input/output—fully in line with the Unix pipe philosophy. Compared to writing Python scripts that call REST APIs, the command-line approach has lower startup costs and more flexible integration, making it especially well-suited for the daily workflows of DevOps engineers and full-stack developers.
Once you've mastered this configuration logic, you'll be able to quickly migrate and adjust whenever the platform updates its addresses or models.
Related articles
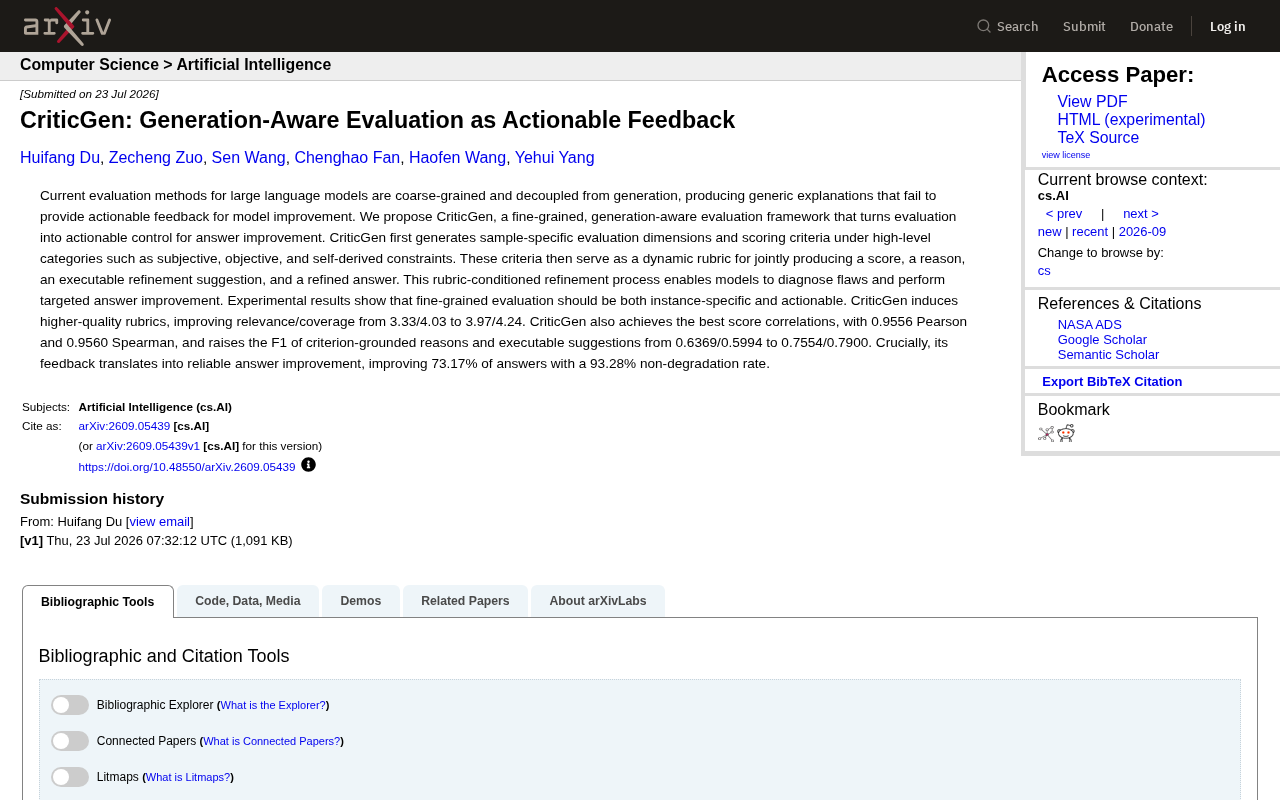
CriticGen: A New Framework That Transforms AI Evaluation into Actionable Improvement Feedback
CriticGen proposes a generation-aware evaluation framework that transforms AI assessment from passive scoring to an active optimization loop, achieving 73.17% answer improvement and 93.28% non-degradation rate.
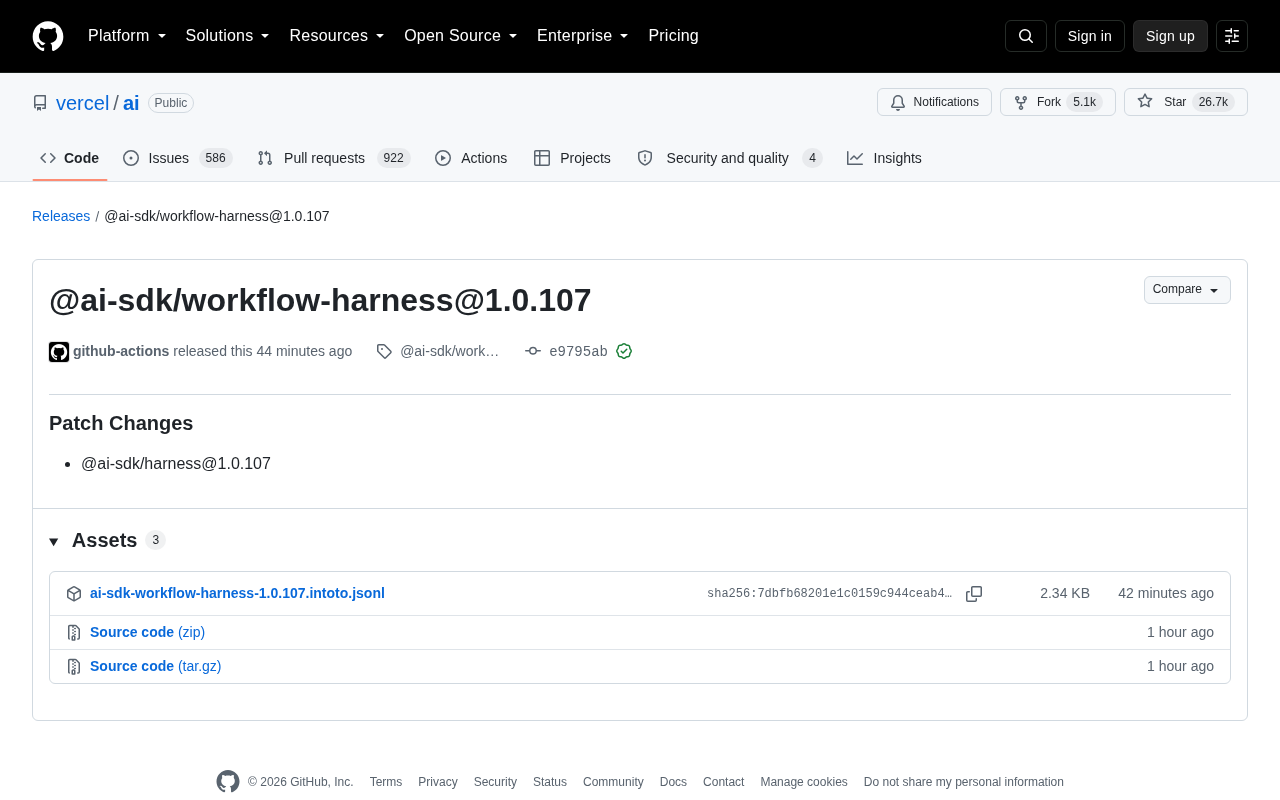
Vercel AI SDK workflow-harness Update Analysis
Deep analysis of Vercel AI SDK workflow-harness 1.0.107 update: architecture design, engineering practices, and developer value for building reliable AI apps.
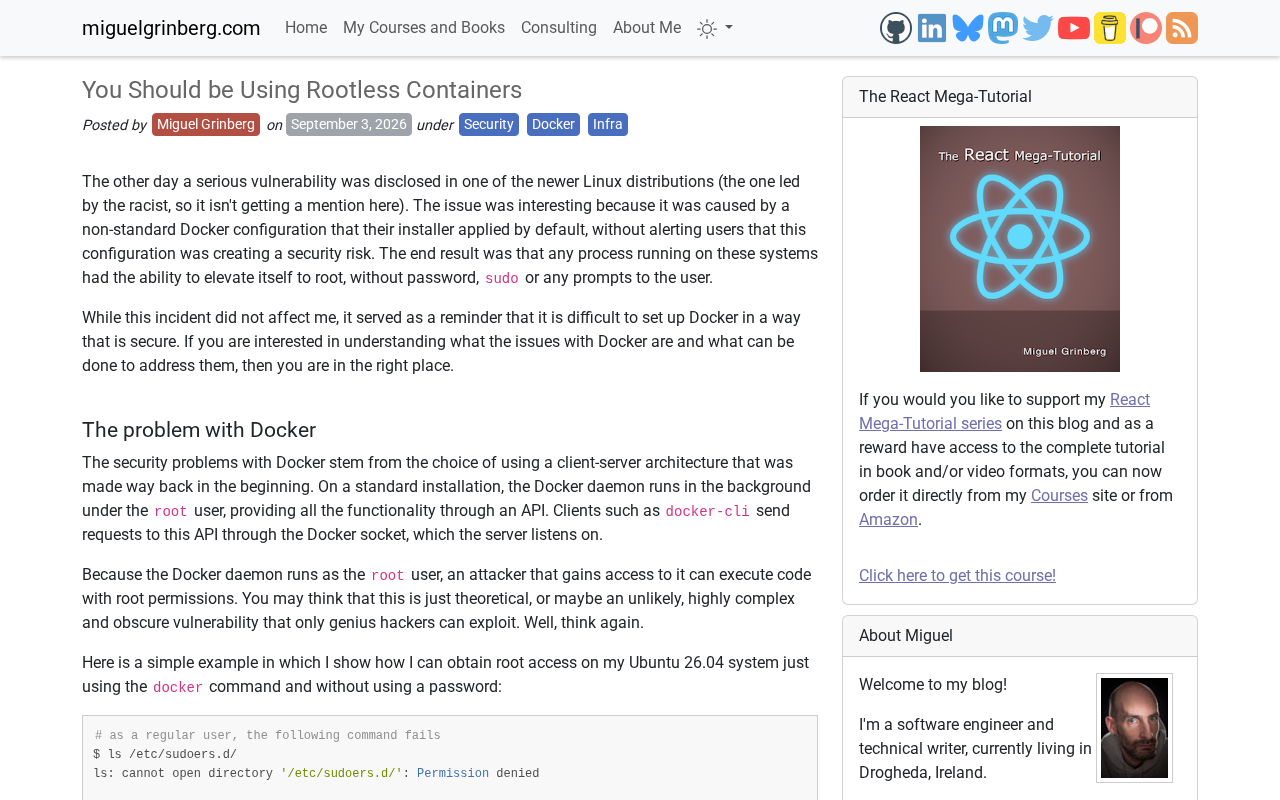
Rootless Containers Explained: Principles, Benefits, and Leading Implementation Approaches
A deep dive into rootless container principles and security benefits, comparing Podman, Docker Rootless mode, and Kubernetes integration with practical migration advice.