A Complete Beginner's Guide to Building Your First AI Agent in Python

From chatbot to agent: build an AI assistant in Python with the OpenAI Agents SDK that calls tools, remembers context, and runs on schedule.
This beginner-friendly article explains how to build an AI Agent that can "do things" using Python and the OpenAI Agents SDK. It first clarifies the essential difference between agents and chatbots: agents have goals, tools, and loops, and the model only requests tool calls rather than executing code directly. It then walks through setting up the environment (Python, VS Code, virtual environment), securing the API key (environment variables, spending limits), and writing your first agent in ten lines of code. Next it adds memory (SQLiteSession for conversation persistence and user isolation) and tools (the @function_tool decorator, with docstrings determining when tools are called), plus web search. Finally it covers running the agent on a schedule with GitHub Actions, away from your laptop, and lists common beginner errors and fixes.
Why Chatbots Aren't Enough: Agents Can Actually Do Things for You
A chatbot can only "talk," while an agent can "do." If you ask a bot what's on your calendar, it can only reply "I can't see your calendar"—but an agent will call tools on its own, read the data, and turn the result into plain language. The difference isn't in the model itself, but in three extra things the agent has: goal, tools, and loop.
A typical agent loop works like this: you ask "what's on my schedule for Monday," the agent takes "answer this question" as its goal, chooses the calendar tool, the program runs the tool and returns events, the agent checks whether the information is sufficient—if so it writes the answer, if not it loops again. Once you understand this pattern, you can apply it to almost any task—checking email, looking up orders, updating spreadsheets.
The most critical safety design is: the AI model never runs your code directly. It only "requests" a tool call; what actually executes is your program, and the result is passed back to the model. You control what it can and can't touch.
Setting Up: Python + VS Code + Virtual Environment
You need two free tools: Python and VS Code. Download the latest version from python.org and install it—Windows users must check "Add Python to path." After installing, verify in the terminal: python --version (use python3 on Mac).
Install VS Code from code.visualstudio.com, then add Microsoft's official Python extension. Then create a project folder and virtual environment: run python -m venv .venv once, activate it each time you open a new terminal, and finally install the OpenAI Agents SDK with pip install openai-agents. This single package provides agents, tools, memory, and more.
Virtual environment (venv) is a dependency isolation mechanism built into Python. Each project creates its own .venv folder, and packages installed there are visible only to that project, without polluting the global system environment. This lets different projects coexist even when they depend on different versions of the same library, avoiding conflicts. The creation command python -m venv .venv only needs to run once; afterward, each time you open a new terminal, activate it first: on Windows use .venv\Scripts\activate, on macOS/Linux use source .venv/bin/activate. After activation, a (.venv) marker appears before the terminal prompt, and only then will pip install install packages into that environment. If you forget to activate, you'll hit the classic "package is installed but import fails" problem.
API Key: Treat It Like a Password
Go to platform.openai.com to create a key—it's shown only once, so copy it immediately. API usage is billed separately from your ChatGPT subscription, on a pay-as-you-go basis, so before you start, set a spending limit in your billing settings.
Never hardcode the key into your code; instead store it as an environment variable named OPENAI_API_KEY, which the SDK reads automatically. If you write it into a .env file, remember to add that file to .gitignore to prevent leaks when pushing to GitHub. If a key leaks, delete it and create a new one.
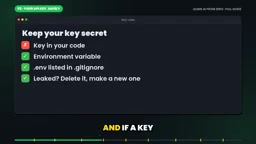
Environment variables are key-value configuration pairs the operating system provides to processes. Programs can read them at runtime, but they never appear in source code. Once you set OPENAI_API_KEY as an environment variable, the OpenAI SDK automatically finds and uses it—no need to pass it explicitly in code. How you set it depends on your system: on macOS/Linux, add export OPENAI_API_KEY="sk-..." to ~/.zshrc or ~/.bashrc; on Windows, use the graphical "System Properties → Environment Variables" dialog or the setx command. Note that after using setx you need to open a new terminal for it to take effect. If you use a .env file, you'll need a library like python-dotenv to load it, and be sure to add it to .gitignore.
Write Your First Agent in Ten Lines of Code
Create a new file agent.py and import Agent and Runner from the agents package. An agent needs a name and instructions—instructions are the most important line you'll write. Treat it like briefing a new assistant: be explicit about responsibilities, tone, and length. Vague instructions only produce a vague agent. Use Runner.run_sync to send the task and wait for the result. Run python agent.py and you've got an agent that can output a plan.
But at this point it's still just "a chatbot in code." The next two steps are what make it truly useful.
Memory: Let the Agent Remember You
By default every run starts from a blank slate—tell it your name, run it again and ask, and it has no recollection. The solution is a session: import SQLiteSession, create a session with an id and a database file, then pass the session to every Runner call. History is stored in memory.db in your project folder and loaded at the start of the next round.
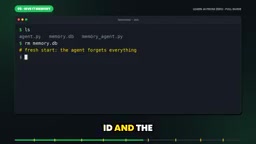
Want to start over? Just delete the file or switch to a different session id. Assign each user their own session id and conversations are naturally isolated—this is exactly how customer service bots prevent two customers from seeing each other's chat history.
SQLite is a lightweight, serverless embedded database where the entire database is a single file (such as memory.db), with no extra service to install. SQLiteSession uses it to persist conversation history to disk, automatically reading and writing each time the agent runs. Compared with in-memory storage, SQLite's advantage is that memory survives process restarts; compared with a full database, it's zero-config and suited to local and small applications. Session isolation is achieved through session_id: the same id shares history, different ids are completely independent. In production, if you need multi-user concurrency, be aware of SQLite's write-lock limitations and consider switching to PostgreSQL or similar—but for getting started, SQLite is more than enough.
Tools: One Decorator Lets the Agent Take Action
A tool is just a Python function with the @function_tool decorator. The docstring is crucial—the agent relies on it to decide what the tool does and when to use it. The example tool returns demo data for safe testing; later swap in a real calendar without touching any other code. Put the tool in the tools list, keep the session, and wrap it in a loop, and you can have an ongoing conversation until the user types quit.
Watch the type hints: day is a string. The SDK translates the function name, docstring, and type hints into a description the model can read. If the agent ignores a tool, the usual fix is to write a clearer docstring, not to add more code. You ask "what's on my calendar for November 9," and the agent decides on its own to call get_events, read the result, and answer in natural language—you never told it which function to call.
The same pattern works for any scenario: reading email and drafting replies, looking up orders, updating spreadsheets. For risky actions like sending email, have it only write a draft and let a human press send.
Web Search and Running Beyond Your Laptop
An agent only knows its training data unless you let it search. The web search tool is built into the SDK—import it, add it to the tools list, and require the agent to attach a source link to every claim. But you still need to click those links and verify—search makes answers fresher, not more correct.
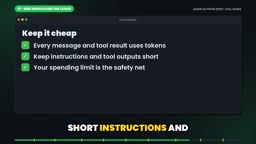
On cost: every message, every tool result, and every search consumes tokens, and tokens are the billing unit. Short instructions and short tool results keep costs down, and a spending limit is your safety net.
One last problem: when your laptop sleeps, the agent stops. A free solution is GitHub Actions—push your project to GitHub, store the API key as a repository secret, add a workflow file, set the schedule on a cron line, and you can watch each run and its output in the Actions tab.
GitHub Actions is a CI/CD service offered by GitHub that lets you define automated workflows in a repository. Workflows are described by YAML files under .github/workflows/, where the on.schedule.cron field uses cron syntax to set timed triggers (e.g., 0 9 * * * means every day at 9 UTC). The runtime is a temporary virtual machine provided by GitHub, destroyed after each execution, making it suitable for stateless tasks. Sensitive information (like API keys) should be stored as repository Secrets and referenced in the workflow via ${{ secrets.OPENAI_API_KEY }}, so it never appears in logs. Free accounts get a monthly quota, usually enough for personal scheduled tasks. Note that cron uses UTC, so convert to your local time.
The Four Most Common Beginner Errors
- No module named agents: The virtual environment isn't activated, or the package was installed somewhere else. Activate the environment and reinstall.
- Missing credentials: The current terminal can't read the environment variable—set it again; on Windows you must open a new terminal after setting it.
- Error code 429: Requests are too fast, or your account balance is insufficient. Check billing and limits.
- Python not recognized: Use
python3on Mac; on Windows, rerun the installer and check "Add Python to path."
When you're stuck, read the last line of the error first—it usually tells you exactly what's wrong.
What You've Built
To recap: you installed Python and VS Code, secured your API key, wrote an agent, gave it memory with sessions, gave it tools with a single decorator, hooked up web search, and learned how to run it on a schedule. This pattern can be reused for almost any task. The next step is to run it, then think: what will be the first tool you give your agent?
One-line Summary
From chatbot to agent: build an AI assistant in Python with the OpenAI Agents SDK that can call tools, remember context, and run on a schedule.
Related articles
 Tech Frontiers
MuJoCo: An Analysis of DeepMind's Open-Source General-Purpose Physics Simulator
An in-depth analysis of Google DeepMind's open-source physics simulator MuJoCo: high-performance C++ kernel, MJCF modeling format, contact solving principles, MJX GPU acceleration, and robot reinforcement learning use cases.
 Tech Frontiers
Claude API Quick Start: The Official Quickstarts Project Collection
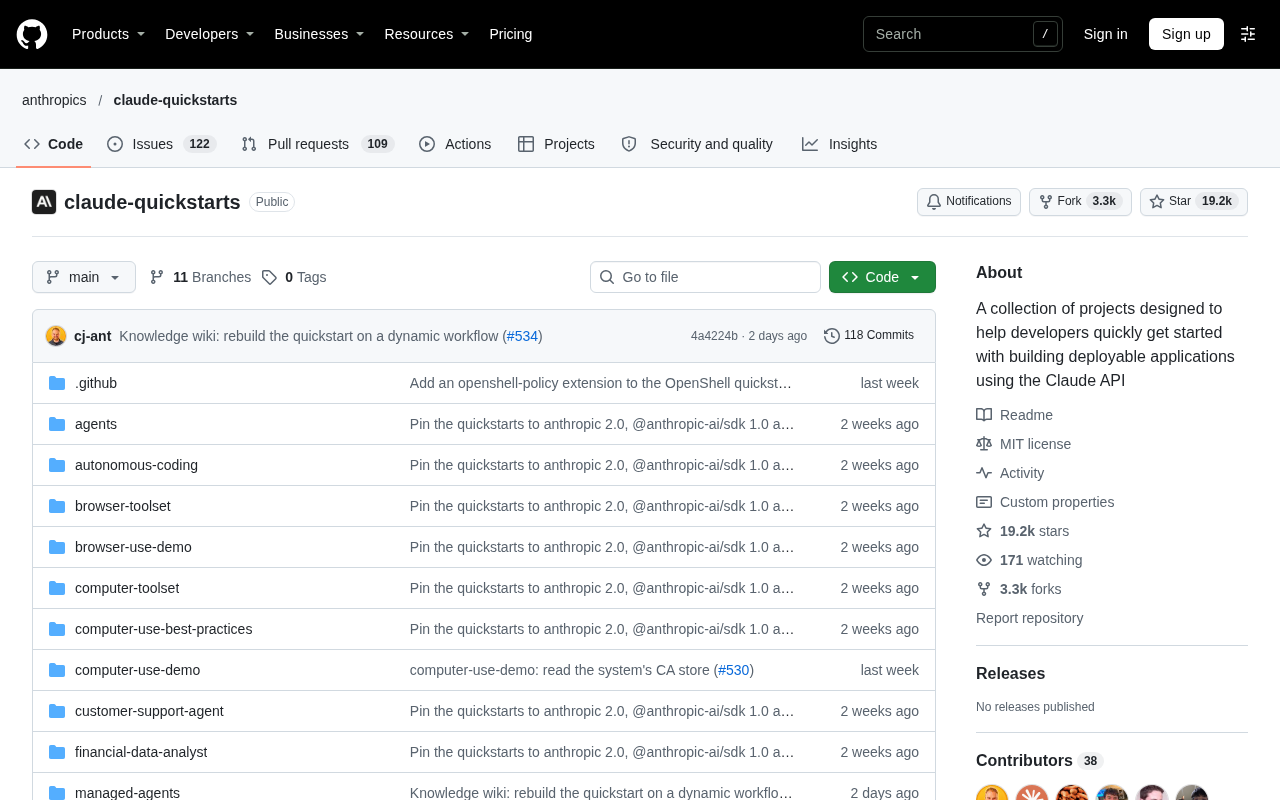
Anthropic's official claude-quickstarts project collection helps developers quickly build deployable apps with the Claude API. Nearly 20k stars, Python-based, great for beginners and prototyping.
 Tech Frontiers
AI Agents Connecting Directly to APIs: Which Calls Can Be Safely Allowed?
AI agents can call any API, but the real challenge is deciding which calls can be safely allowed. This article analyzes allowance decisions from three dimensions—intent matching, least privilege, and controllable impact—and argues that the control layer should sit outside the agent, combined with audit traceability to build a trustworthy API call governance mechanism.