ChatGPT + Codex: Complete Registration & Installation Guide in 5 Steps
A complete 5-step guide for registering ChatGPT and installing Codex, tackling email, API, and 2FA hurdles.
This guide walks through the full process of setting up ChatGPT and Codex in five steps: registering an overseas email, creating a ChatGPT account, generating an API key (with a one-time-copy warning), upgrading to Plus via a third-party payment proxy, and handling phone-based 2FA during Codex installation using SMS verification sites. The article also flags the security and compliance risks of third-party services, recommending official channels for users who prioritize long-term account stability.
For many users outside the US, getting started with ChatGPT and OpenAI's latest coding tool Codex is often blocked not by actual usage — but by the most basic step: account registration. Unsupported email addresses, missing verification codes, failed API payments, Plus upgrade errors… every step can trip up a newcomer. This guide is based on a hands-on tutorial by Bilibili creator Claire, condensed into a complete step-by-step walkthrough from zero to fully set up.
Note: This is a process-oriented tutorial. Third-party SMS verification and payment proxy services carry account security and compliance risks — evaluate carefully before proceeding.
Step 1: Register a Usable Email Address
The tutorial strongly emphasizes that domestic Chinese email providers are often blocked when registering for ChatGPT. So the first step is to set up an overseas email account.
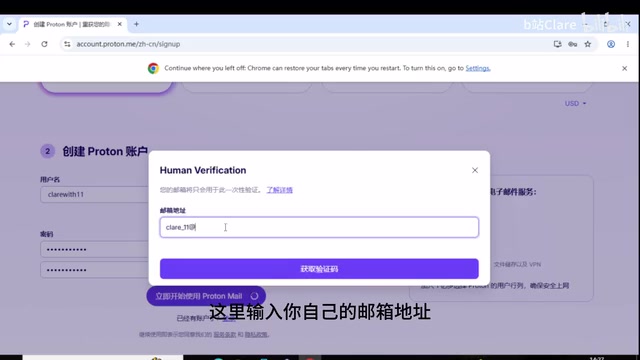
The process is straightforward: open the email provider's registration page in your browser, click "Create Account", and switch the language to your preference using the top-right menu. Select the Free tier — no paid plan is needed.
Next, set a username and password. Note that usernames must be unique — this is one of the most common errors new users encounter. Enter your existing email address to receive a verification code, paste it back in, complete the human verification checkbox, fill in your display name, and your account is created.
The core value of this step: securing an inbox that ChatGPT won't reject, laying the groundwork for every verification step that follows.
Step 2: Register a ChatGPT Account
With a working email in hand, registering for ChatGPT itself is the smoothest part of the process.
Open a new tab and go to the ChatGPT website (chatgpt.com), then click "Sign up" in the top-right corner. Paste in the email address you just registered, click Continue, and set a password. The system will send a verification code to your inbox — refresh your email, copy the code, and paste it back in.
Finally, enter your full name and date of birth. The tutorial recommends entering an age of 18 or older to avoid triggering underage restrictions. Click Continue a couple of times, and your ChatGPT account is ready to use.
The whole process is fairly smooth — the main variable is whether your email from Step 1 is reliable.
Step 3: Generate an API Key
If you only need the chat interface, Step 2 is all you need. But to integrate ChatGPT into your own programs or use Codex, you'll need an OpenAI API key.
Open OpenAI Platform (platform.openai.com) and log in with the ChatGPT account you just created. There's one easy-to-miss prerequisite: the API is billed based on usage, and your account balance must be greater than zero before you can make any calls. Click the top-up option and follow the prompt — the tutorial recommends using a Visa or Mastercard for payment.
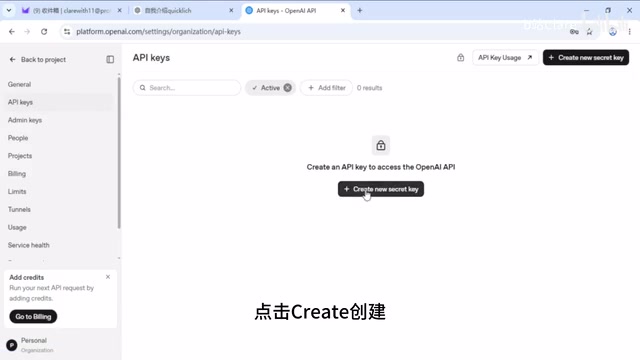
Once you've added funds, find the API section in the left sidebar, click Create, enter a name for the key, select the default project, and confirm. The key is only shown once — copy it immediately and store it somewhere safe. If you lose it, you'll need to generate a new one. You can also monitor API usage and activity from the dashboard.
What is an API Key? An API key is a unique string that identifies you when making calls to OpenAI's services and links usage to your billing account. Every request sent to OpenAI's servers includes this key in the header for verification — which is exactly why it's only shown once. Sharing it with someone else is equivalent to letting them spend from your balance on your behalf.
OpenAI's API uses a token-based pricing model. Tokens are roughly chunks of text (approximately 4 characters = 1 token in English; roughly 1–2 Chinese characters = 1 token). Pricing varies significantly between models — GPT-4o is substantially more expensive than GPT-3.5. When your balance hits zero, API calls immediately return an error, which is one of the most common sources of confusion for beginners during debugging. It's a good idea to start with a small top-up (e.g., $5 USD) and monitor consumption on the Usage page to avoid unexpected overages caused by bugs in your code.
Step 4: Upgrade to Plus
To unlock more powerful models and higher usage limits, you'll need to upgrade to the $20/month Plus plan. Due to payment restrictions for users outside the US, attempting to upgrade directly within ChatGPT often fails at the payment step.
The tutorial's approach involves using a third-party payment proxy service (the video demonstrates a service similar to WildCard). The general flow is: register on the proxy platform and verify your email → select the ChatGPT Plus top-up option → follow the instructions to log into ChatGPT in your browser and copy the current page URL back into the platform → confirm your email address → scan the QR code to pay via WeChat Pay.
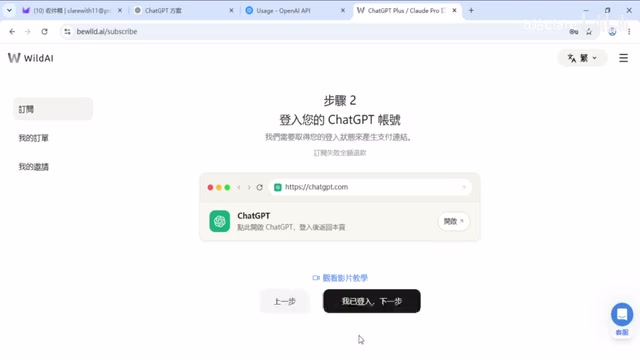
Once payment is successful, your ChatGPT account will automatically be upgraded to Plus. Worth noting: these third-party proxy services involve financial transactions and account authorization, so verify the platform's trustworthiness before proceeding.
Step 5: Download, Install, and Log Into Codex
Finally, it's time to install Codex. Go to the Codex website, download the version for your operating system (the tutorial demonstrates the Windows version), double-click the installer, and wait for the installation to complete — the app will open automatically.
Click "Continue to sign in", which redirects you to a browser window. Enter the ChatGPT account credentials you registered earlier. At this point, you'll hit the most challenging part of this entire tutorial: two-factor verification via SMS.
The tutorial offers two solutions:
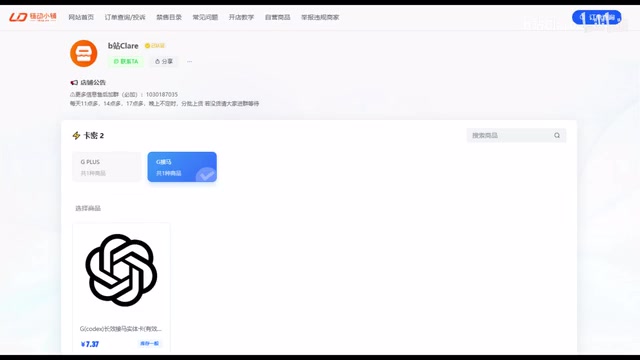
- Purchase a phone number for 2FA verification — convenient but costs money;
- Use an SMS verification site — register and add a small balance, then select the OpenAI service, pick an available country (the tutorial uses Mexico as an example), and purchase a number to receive the SMS code. If no code arrives within two minutes, you can cancel the order for a refund and try again.
Once the verification code is entered successfully, skip the initial setup prompts, click "Go to ChatGPT" to finish configuration, and Codex is ready to use.
A note on terminology: The Codex referred to here is OpenAI's AI coding agent — distinct from the earlier code-completion model of the same name. The new Codex is capable of autonomously executing multi-step programming tasks within a sandboxed environment, such as reading and writing files, running tests, and fixing bugs. It's a standalone developer-focused client within the ChatGPT ecosystem.
SMS verification sites are services that provide temporary virtual phone numbers — typically from overseas carriers — for receiving one-time verification codes. These numbers are widely used to work around phone number registration requirements. However, the same number may be reused by multiple people, creating a risk that your verification code could be intercepted. Additionally, some platforms have low-quality number pools, and OpenAI flags numbers that have been used for registration too many times and rejects them outright — which is exactly why the tutorial emphasizes "cancel and retry if no code arrives within two minutes."
A Few Usage Tips and Risk Warnings
Looking at the full process, the real friction points are concentrated in three places: a usable email address, API payment, and phone-based two-factor verification. Once you've cleared those three hurdles, the remaining steps are fairly mechanical.
It's worth being candid: the video tutorial relies heavily on third-party pre-registered accounts, payment proxy services, and SMS verification platforms. While these approaches do lower the barrier to entry, they also introduce risks including account suspension, payment disputes, and privacy exposure. SMS verification sites also involve a degree of luck when it comes to success rates. For users who prioritize stability, the official channels — though more demanding — are far more reliable in the long run.
If you just want to try ChatGPT's conversational features, a free account is all you need. Only go through the full payment and installation process if you have a genuine need for API access or Codex's coding agent capabilities.
Related articles
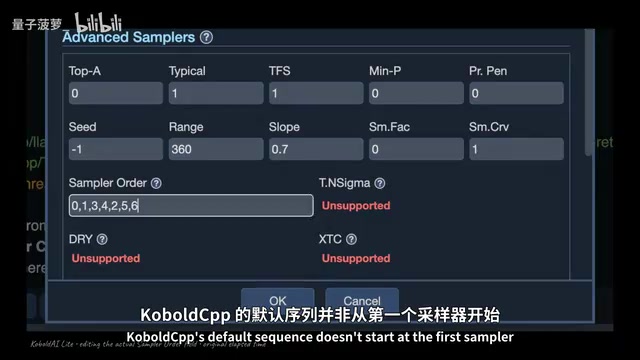
Can KoboldCpp Replace Ollama? A Deep Dive into Local AI Tool Control
KoboldCpp and Ollama both run on llama.cpp. This deep dive compares control granularity, default settings, context shifting, and exclusive features to help you decide which local AI tool to use.
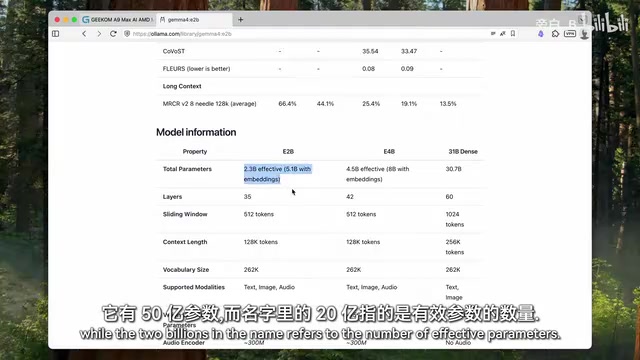
Running Local LLMs on a Regular Home PC: Which Models Are Actually Worth Keeping?
A Bilibili creator tested local LLMs on a Geekom mini PC with 24GB VRAM. MoE models like Gemma 26B hit 31 tok/s; Qwen3 27B runs at 14 tok/s — no workstation needed.

Structural Infertility: Why This Generation Finds Having Children Nearly Impossible
Vox podcast interview with journalist Anna-Louise Sussman unpacks "structural infertility": how housing costs, childcare, the anxious class, climate anxiety, and financialized fertility tech make family formation feel impossible.