DeepSeek Harness for Beginners: Installation, Deployment, and AI Agent Advanced Guide
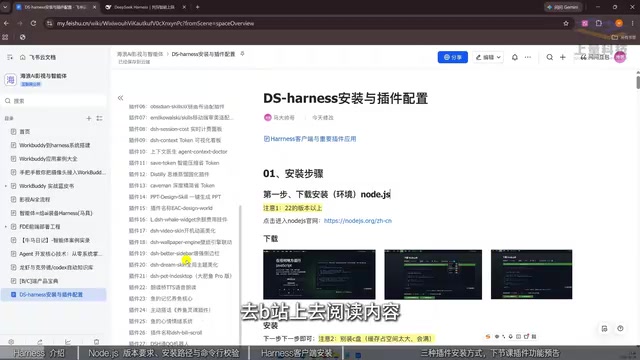
DeepSeek Harness turns AI from a Q&A tool into a local work assistant that can install plugins and run workflows.
The article introduces DeepSeek Harness's positioning and onboarding path. It connects task decomposition, tool invocation, local file read/write, command execution, and plugin extension, turning AI from a chat partner into a capable work assistant. Installation requires Node.js 20+, preferably on the D drive to avoid filling the C drive, verified with node -v. The client can add local folders for file read/write. Plugins are the core of capability expansion, with three installation methods: chat, marketplace, and command line. A vision plugin gives DeepSeek image recognition. Once running, multiple Agents can divide labor across tasks like reading Bilibili content and writing to a knowledge base.
If an AI assistant only stays at "you ask, I answer," you still have to break down complex tasks step by step, organize files, run code, and look things up yourself—so the efficiency ceiling is actually quite low. What really makes the difference is whether the AI can get moving on its own and complete an entire workflow. DeepSeek Harness is a tool headed in that direction: it strings together task decomposition, tool invocation, local file read/write, command execution, and plugin extension, turning the AI from a chat partner into a work assistant that can actually get things done.
This installment starts from zero and clearly explains installation, plugin extension, and real-world usage paths.
Why DeepSeek Harness Is Worth Paying Attention To
DeepSeekAd's models have always had an edge in cost-effectiveness, but previously there was no client that brought model capabilities into local workflows. Harness fills this gap: it is no longer limited to Q&A and content generation, but can invoke tools around tasks, process files, analyze data, execute commands, search for information, and write and run code.
Even more critical is the plugin mechanism. Harness follows Codex's plugin architecture, and with the right plugins installed, the capability boundary expands significantly. Scenarios mentioned in the video include: having Harness read content on Bilibili and organize the information into a knowledge base, generate videos, organize knowledge directories, and even connect to chat software for conversations. None of these scenarios is remarkable on its own, but being able to string them together within a single client through plugins is what makes it truly interesting.
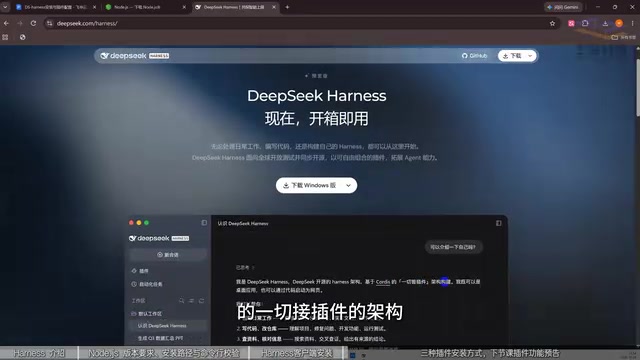
Pre-Installation Preparation: Node.js Environment
Installation has two steps. The first is installing Node.js, because many AI tools run on this environment, and it must be present before installing Harness.
The operation is not complicated: open the Node.js official website, and the page will automatically adapt to your system—download the Windows version on Windows, the Mac version on Mac. For version selection, it is recommended to use version 20 or above, and not go below this line. You can download either the MSI or the ZIP installer; the advantage of MSI is that you can double-click to install directly, while ZIP requires manual extraction.
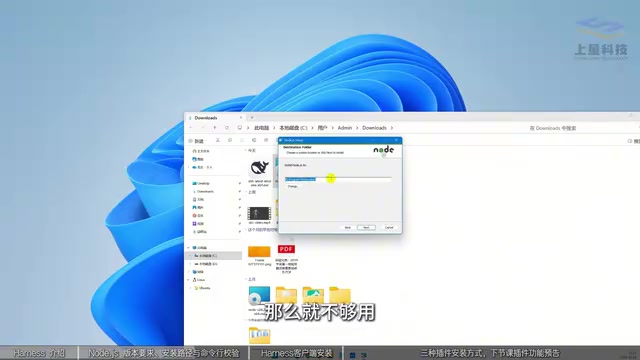
It is recommended to change the installation path to the D drive. There are two reasons: first, installing on the C drive takes up space; second, quite a few cache files will be generated during operation, and the C drive can easily fill up. Just click Next all the way to the end.
After installation, verify it. Open the command line (enter CMD if you can't find it) and type node -v—note that there is a space between node and -v. If a version number appears and is greater than or equal to 20, the environment is ready.
Node.js is a JavaScript runtime environment based on the Chrome V8 engine that lets JavaScript run locally outside the browser. Many AI clients and command-line tools rely on it to execute plugins, scripts, and network requests. The LTS (Long Term Support) version is usually more stable, and version 20 or above means compatibility with newer syntax and dependency packages, avoiding installation failures or runtime errors caused by too low a version. Choosing the MSI installer automatically configures the system path when installing, saving the step of manually setting environment variables.
Installing the Harness Client
Once the environment is ready, click the Harness download link to enter the page, where client files for the corresponding systems are listed. Windows users should choose the Windows version to download, right-click to open and install, and it is likewise recommended to place the installation location on the D drive. After installation, click Finish, and you can open the DeepSeek Harness interface.
The interface looks similar to a web chat window, but there is one key difference: it can add local folders. After adding, Harness can read folder contents, modify contents, and save files into it—something the web version cannot do. As for model selection, several DeepSeek models are all selectable in the interface.
Three Ways to Install Plugins
The real power of Harness lies in plugin integration. There are three paths for installing plugins, suitable for users with different levels of familiarity.
Method 1: Let the AI Install Itself
If you know the plugin name, just send the GitHub link to it in the chat window and let it install itself. This method is the most direct, but it consumes Tokens and requires spending credits.
Method 2: Install via the Plugin Marketplace
If you don't want to spend credits, take this path. Click "Add Plugin," enter the plugin name in the pop-up input box, for example type DSH Market, and click Install. Once installation is detected as complete, click "Launch Now" to enter the plugin marketplace. The marketplace entrance is in "Settings" under "More"; after entering, you can search and filter, and there are many plugins inside, along with recommendations and introductions. Fun plugins like the little goldfish widget and desktop pets can be installed with a single click.
Method 3: Command-Line Installation
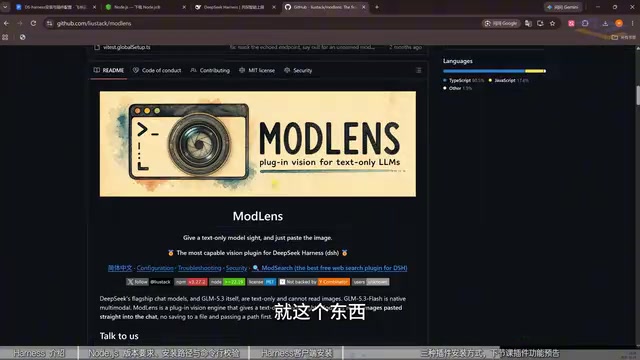
Some plugins provide installation commands on their GitHub pages. For example, the strongest external vision plugin for DeepSeek Harness: native DeepSeek cannot read local images, but after installing this plugin it gains image-reading capability and can identify how many people are in an image and what each person is wearing. To install, find the install command at the bottom of the plugin page, click Copy, and paste it into CMD to execute.
This method is rather abstract for those unfamiliar with the command line, so the first two are more recommended. If you don't know which plugins are available, you can also ask DeepSeek directly to give you a list of popular plugins, and then pick the ones you need from it.
Tokens are the basic billing unit when calling large models, usually accumulated based on the amount of input and output text. Letting the AI install a plugin itself essentially means sending the GitHub link and installation instructions to the model, which then generates and executes commands, thus consuming Tokens and credits. Plugin marketplace installation and command-line installation do not go through model inference and do not incur additional Token consumption, making them suitable for scenarios with limited budgets or frequent plugin installation.
CMD is the Windows command prompt, where users can enter text commands to execute programs. When executing plugin installation commands, you usually need to first enter the plugin's directory, or directly paste a command containing the full path. After copying the installation command, right-click in the CMD window to paste and press Enter. If the command executes without errors and a completion prompt appears, it generally means the plugin has been written to the local plugin directory, and you can see it after restarting Harness or in the plugin list.
From Tools to Workflows
After Harness is installed and plugins are working, your approach to using it will change. Previously, you opened the AI, asked a question, waited for an answer, and executed it yourself; now you can hand off organizing files, executing code, looking up information, and handling projects to it, and multiple Agents can also divide labor and collaborate.
The Bilibili content reading plus knowledge base management demonstrated in the video is a typical chain: Harness reads content, extracts it, and then writes it into the knowledge base for management. Once this kind of workflow runs smoothly, it can be reused.
For people who have not yet seriously learned AI, Harness is a good entry point, because it fully presents the path of environment installation, plugin extension, and task execution. The next step is to pick a few plugins relevant to your own business and actually run through your common workflows.
An Agent here refers to an AI execution unit that can autonomously plan steps, invoke tools, and complete tasks. When multiple Agents divide labor and collaborate, each Agent can be responsible for a different part, for example one responsible for retrieving information, one for organizing files, and one for running code, connecting with each other through task descriptions or message passing. This model is suitable for complex tasks with long processes and parallelizable steps, but it also requires clear responsibility division and result verification to avoid information loss or duplicated work between stages.
One-line Summary
DeepSeek Harness turns AI from a Q&A tool into a local work assistant that can install plugins and run workflows.
Paragraph Summary
The article introduces the positioning and onboarding path of DeepSeek Harness. It strings together task decomposition, tool invocation, local file read/write, command execution, and plugin extension, turning AI from a chat partner into a work assistant that can get things done. Before installation, you need Node.js version 20 or above, and it is recommended to install on the D drive to avoid caches filling up the C drive, and to verify the environment with node -v. The Harness client can add local folders, enabling file read/write that the web version cannot do. Plugins are the core of capability expansion, supporting three installation methods: chat installation, plugin marketplace installation, and command-line installation. The vision plugin can give native DeepSeek, which does not support image reading, image recognition capability. Once running smoothly, you can hand off organizing files, executing code, looking up information, and other steps to multiple Agents for division of labor and collaboration; a typical chain is reading Bilibili content and writing it into a knowledge base.
Related articles
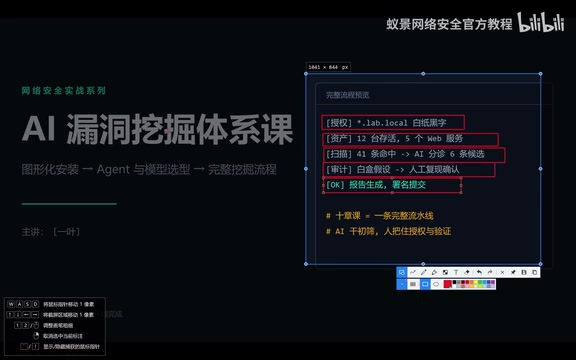
The Complete AI Vulnerability Discovery Pipeline: From Authorization to Reporting While Avoiding Compliance Red Lines
Bilibili creator Yi Ye's AI vulnerability discovery course explained: an eight-stage pipeline from authorization to reporting, emphasizing compliance red lines and manual review as the key to AI bug hunting success, with all demos in authorized lab environments.
WorkBuddy for Absolute Beginners: Building a Complete AI Self-Media Workflow
Based on the Bilibili WorkBuddy beginner tutorial, this breaks down the full AI self-media workflow: instruction thinking, context chaining, five stages of human-AI division, and AI content labeling compliance—ideal for beginners.
How Codex Turned Everyone Into a Developer: Holiday Extras' AI Practice
Holiday Extras uses OpenAI Codex to let everyone from the CEO to call center staff build, shipping a new app eight times in two weeks with a self-built Builders deployment platform.