Getting Started with DeepSeek Harness: Installing a Plugin-Based AI Agent Framework and Understanding Its Plugin Ecosystem

DeepSeek's open-source agent framework Harness lowers the agent-building barrier with a plugin architecture; this guide covers installation and its plugin ecosystem.
DeepSeek's open-source AI Agent framework Harness uses an 'Everything is a Plugin' architecture—model integration, tool invocation, memory management, and agent runtime logic can all be composed and replaced via plugins, with hundreds of thousands of GitHub stars. The article walks through the full onboarding path: install Node.js 22+ on the D drive to avoid cache buildup on the system drive, then install the client, which supports reading and writing local folders (unlike the web version). Three plugin installation methods exist—conversational (consumes tokens), marketplace (credit-free), and command-line (for developers)—suited to different skill levels. It also notes Harness can connect to Skills, MCP, and other extensions for scenarios like Bilibili content import, video generation, and multi-agent collaboration.
DeepSeek's open-source AI Agent framework Harness is becoming a focal point in the agent development space. The project has already accumulated hundreds of thousands of stars and tens of thousands of forks on GitHub, ranking among the most-watched open-source AI Agent projects globally. For developers and enthusiasts who want to understand how AI Agents actually work—or even build their own—it offers a rare entry point.
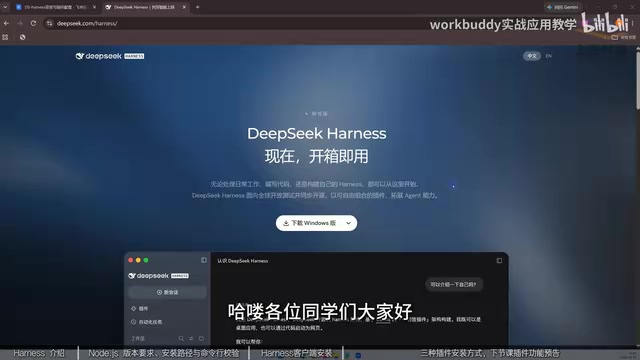
Why Harness Is Worth Watching: Everything Is a Plugin
Harness is positioned not merely as an AI assistant, but as an agent runtime framework that gives AI execution, extension, and collaboration capabilities. Its core design philosophy is "Everything is a Plugin"—from LLM integration, tool invocation, and memory management to the agent's runtime logic, the entire system can be composed, replaced, and extended through plugins.
This means you're no longer dealing with a fixed-feature AI tool, but a system you can assemble on demand. Code development, office automation, file processing, multi-agent collaboration, and professional capability extensions like Skills and MCP can all be realized within this framework. The framework itself is released under the MIT open-source license, allowing free use and extension, and it supports flexible integration of different models—leaving substantial room for both developers and ordinary users.
According to a tutorial by a Bilibili creator, after the Harness client launched, its capability boundaries expanded significantly when paired with some excellent plugins—including having Harness read content on Bilibili and import it into a knowledge base, generate videos, organize knowledge directories, and even connect to chat apps for conversations.
MCP (Model Context Protocol) is a standardized protocol proposed and open-sourced by Anthropic for connecting LLMs to external tools, data sources, and services in a unified way. You can think of MCP as the "USB interface" of the AI world: whether the backend is a database, a file system, or a third-party API, as long as it implements an MCP server, the model can call it through the same protocol. This solves the previous problem of having to write dedicated adapter code for every tool. Harness's support for MCP means its plugin ecosystem can directly reuse existing MCP services in the community rather than building from scratch.
Skills in the AI Agent context usually refer to encapsulated, reusable capability modules—such as "read a webpage and summarize it" or "generate a video script"—which are more task-level encapsulations compared to plugins. Combined with MCP, an Agent gains both standardized tool access and the ability to organize complex workflows as skills—which is the foundation for Harness's expansion into scenarios like Bilibili content import and video generation.
Installation Prep: The Node.js Environment Is Key
Installing Harness involves two main steps. The first is installing the Node.js environment, since many AI tools are built on Node.js. The tutorial specifically advises choosing Node.js version 22 or above—not below 22.
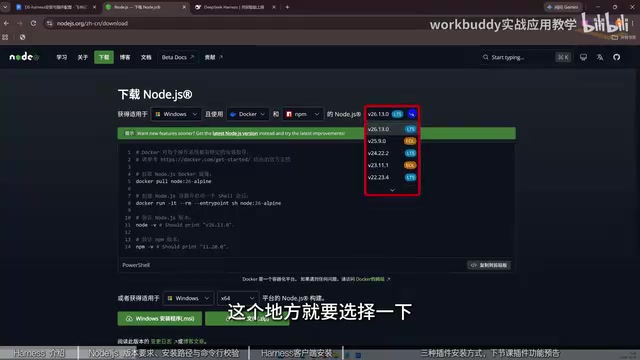
When downloading from the Node.js official site, the website automatically adapts to your operating system for Windows or Mac. As for download format, MSI can be installed with a single click, while ZIP requires extra extraction. One practical tip during installation: change the install path to the D drive instead of the C drive. There are two reasons—installing on C consumes system space, and the running process generates a large number of cache files that can easily fill up the C drive.
After installation, verify the environment is ready. Open the command line and enter node -v (note the space between node and -v). If a version number appears and is roughly 20 or above, the environment is set up.
Node.js is a JavaScript runtime built on the Chrome V8 engine that lets JavaScript run locally outside the browser. Many AI tools, CLI clients, and plugin ecosystems are built on Node.js, so it's often regarded as a prerequisite dependency for such tools. Node.js major versions are updated regularly; new versions typically bring performance improvements and new APIs, while older versions gradually reach end-of-life (EOL). That's why the tutorial recommends version 22 or above—to avoid compatibility issues and security risks.
Whether to choose MSI or ZIP during installation depends on your habits: MSI is Windows' standard installer that automatically handles registration and path configuration; ZIP is a portable archive that requires manual environment variable configuration after extraction to use the node command globally. For ordinary users, MSI is more convenient; for developers who need multiple versions side by side or portable use, ZIP is more flexible.
Client Installation and Local Folder Capabilities
Once the environment is ready, choose the file for your system from the Harness client download page, and again it's recommended to change the install path to the D drive. After installation, open the interface—the overall layout resembles the web version of the DeepSeekAd chat window, but with one key difference: the client can add local folders to read, modify, and save folder contents—something the online version cannot do.
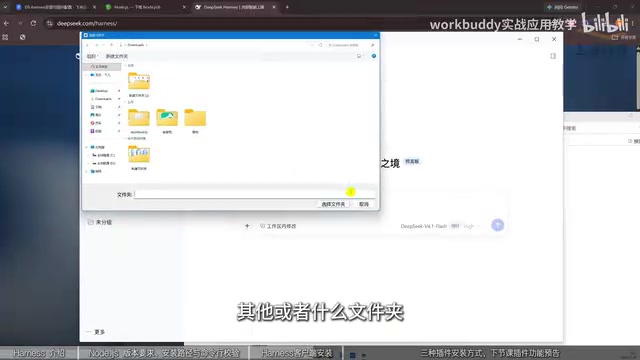
You can also select models in the interface, and several DeepSeek models are available. This echoes Harness's plugin-based architecture: model integration itself is a replaceable component.
Comparing Three Plugin Installation Methods
Plugins are where Harness truly shines. The tutorial presents three installation paths, each suited to different scenarios.
First: Conversational installation. If you already know the plugin name, you can send its GitHub link directly in the chat window and let it install itself. This is the most direct method but consumes tokens and credits.
Second: Plugin marketplace installation. This method doesn't consume credits. Click "Add Plugin," enter the plugin name (e.g., DSH market), click install once the system detects it, then click "Launch Now" to enter the plugin marketplace. The marketplace entry is under "Settings" in the "More" menu. It contains thousands of plugins with search and filtering support, plus recommended lists—plugins like a goldfish widget or desktop pet can be installed with one click.
Third: Command-line installation. This method is relatively abstract. Take an external vision plugin as an example—native DeepSeek cannot read local images or recognize image content; after installing the plugin, it can identify how many people are in an image and what they're wearing. To install, find the installation code on the plugin page, copy it, and paste it into the command line to execute.
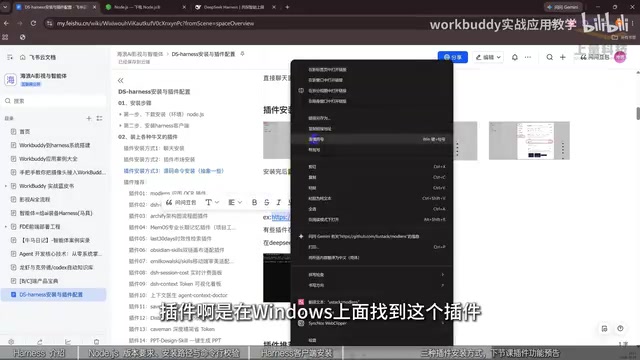
If you don't know what plugins are available, you can also just ask DeepSeek for a list of popular and useful plugins, then pick what you need.
Token is the basic unit of measurement for text processed by large models, roughly understood as a "word fragment." Conversational installation consumes tokens and credits because having the model understand the plugin link, plan installation steps, and execute them all require model reasoning—each step is billed based on input and output token counts. Marketplace installation is handled directly by the local client for downloading and registration without going through model reasoning, so it produces no token consumption.
Command-line installation hands the installation command provided by the plugin (usually npm install or a similar script) directly to the system shell, bypassing the graphical interface and the model—suitable for developers familiar with the Node.js ecosystem. The three methods are essentially different entry points to the same plugin mechanism; understanding this helps you decide which approach is most cost-effective in which scenario.
The Possibilities Opened Up by a Plugin-Based Architecture
As the installation process shows, Harness leaves complexity to the plugin ecosystem and gives choice to the user. Conversational installation lowers the barrier, the plugin marketplace provides a discovery channel, and command-line installation preserves flexibility for developers. This three-tier design serves users of different skill levels—a common evolution path for open-source frameworks.
The tutorial author mentions spending three months reorganizing their knowledge system from basic architecture to advanced features and designing numerous hands-on examples covering model integration, plugin development, Skills and MCP, agent collaboration, and agent-tuning gameplay like "raising fish." This indirectly shows that Harness's learning curve isn't a straight line—installation is only the starting point; the real value lies in understanding how agents work and then mastering how to build, tune, and extend them.
For beginners with zero experience, it's recommended to start with the plugin marketplace and build intuition using ready-made plugins; for researchers who want to go deeper, command-line installation and plugin development are the gateway to understanding the framework's design philosophy.
One-line Summary
DeepSeek's open-source agent framework Harness lowers the barrier to agent building with a plugin-based architecture; this article details its installation and plugin ecosystem.
Paragraph Summary
DeepSeek's open-source AI Agent framework Harness adopts an "Everything is a Plugin" architecture—model integration, tool invocation, memory management, and agent runtime logic can all be composed and replaced via plugins, and it has reached hundreds of thousands of GitHub stars. The article covers the complete getting-started path: first install Node.js version 22 or above and change the path to the D drive to avoid caches filling the system drive, then install the client; the client supports reading and writing local folders—a capability the web version lacks. There are three plugin installation methods—conversational installation consumes tokens, marketplace installation is credit-free, and command-line installation suits developers—each corresponding to different skill levels. The article also notes that Harness can connect to capability extensions like Skills and MCP, enabling scenarios such as Bilibili content import, video generation, and multi-agent collaboration.
Related articles

Abnormal Error Rate Spike in Claude Mythos 5.2 and Fable 5.2
Claude Mythos 5.2 and Claude Fable 5.2 show an abnormal spike in request error rates, marked as investigating on the official status page. This article covers the incident overview, practical impact on developers, and recommended responses.

ReAct Runtime Context Trimming: Why Claude Code Acts at 70%
A deep dive into ReAct runtime context trimming: why Claude Code compresses at ~70% usage, why tool calls dominate, why messages must be dropped in pairs, and why codebases don't need RAG.

AI Agent vs LLM: How Cursor and Claude Code Actually Work
An in-depth analysis of the essential difference between AI Agents and LLMs: LLMs generate code suggestions, while Agents modify files and run tests via tool calls. Using a Spring Boot bug fix as an example, it breaks down the workflows, permission control, and verification mechanisms of Cursor and Claude Code.