H3 Singularity Optimization: 40% Speed Boost With Better Image Quality
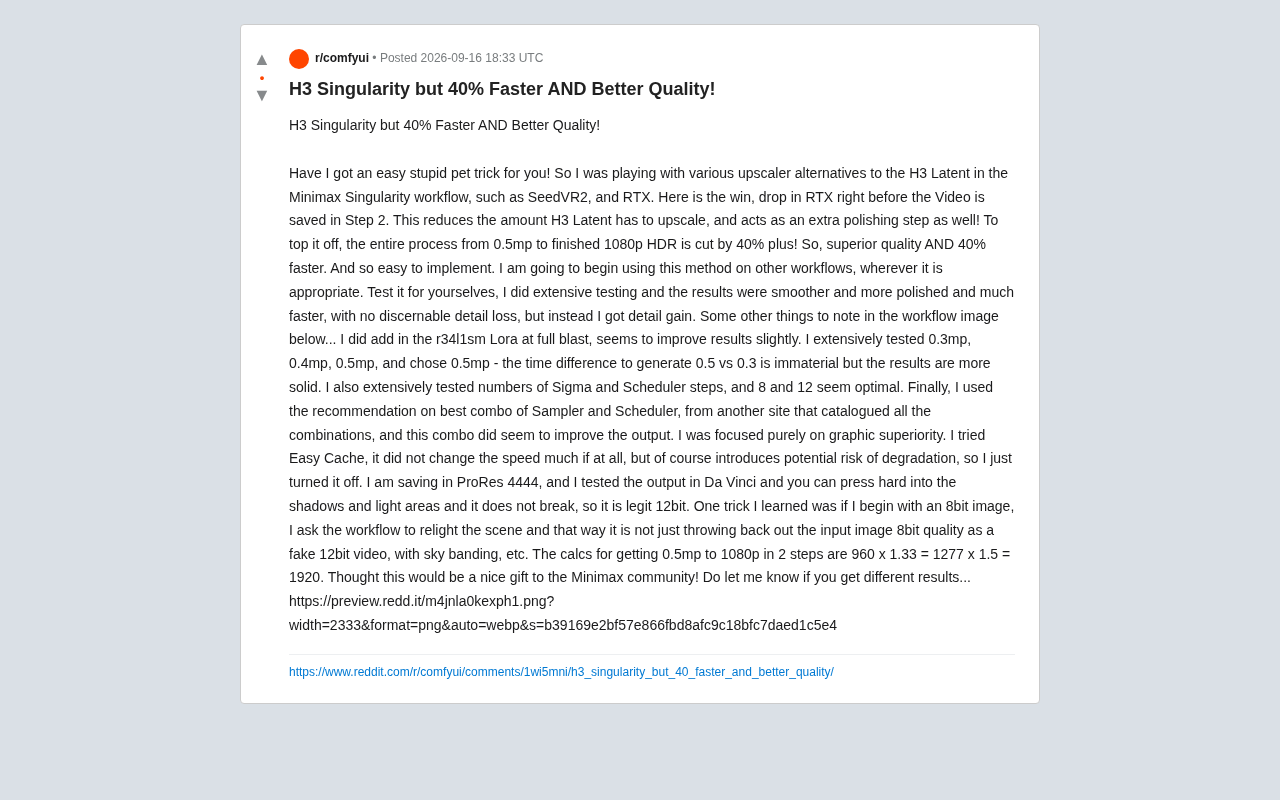
Insert an RTX upsampler before H3 Latent in Minimax Singularity to cut render time by 40% while improving quality.
A Reddit user shared a low-cost optimization for the Minimax Singularity (ComfyUI-based AI video) workflow: inserting an RTX upsampler node before the H3 Latent upscaling step offloads work to NVIDIA's dedicated AI units, reducing H3 Latent's processing burden while adding an extra quality-refinement pass. The result is a 40%+ reduction in pipeline time from 0.5MP generation to 1080p HDR output, with improved quality. The post also covers starting resolution selection (0.5MP over 0.3MP), recommended sampling steps (8 or 12), disabling Easy Cache to avoid quality degradation, and using in-workflow scene relighting to avoid sky banding from 8-bit inputs. Output is saved as ProRes 4444 for true 12-bit color depth.
A Simple Trick That Wins on Both Fronts
In AI video generation, speed and quality are often at odds — better results usually mean longer wait times. But a Reddit user sharing tips for the Minimax Singularity workflow seems to have broken that rule: by inserting an RTX upsampler before the H3 Latent upscaling step, they achieved a 40%+ speedup across the entire pipeline while actually improving output quality.
The core idea is straightforward. While testing various alternative upsampling approaches for H3 Latent (such as SeedVR2 and RTX), the author discovered that inserting an RTX node before the Step 2 video save reduces the amount of upscaling work H3 Latent has to do — while the RTX node itself acts as an additional quality-refinement pass. The full pipeline, from a 0.5MP starting generation to a final 1080p HDR output, saw its processing time cut by over 40%.
Minimax Singularity is an AI video generation workflow built on ComfyUI, integrating Minimax's video generation models. H3 Latent upsampling is a critical step in this pipeline: video is first generated in a low-resolution latent space, then upsampled to the target resolution via upsampling nodes — a step that has a major impact on both final quality and render time. The RTX upsampler is NVIDIA's AI super-resolution technology for RTX GPUs (based on the DLSS/DLISR lineage), using dedicated tensor cores to accelerate inference and reconstruct image detail at relatively low computational cost. Inserting the RTX node earlier in the pipeline essentially offloads part of the upscaling work to the GPU's dedicated AI acceleration units, reducing the magnification ratio that the subsequent H3 Latent node needs to handle — creating a collaborative, pipelined division of labor.
The Trade-off Logic Behind Key Parameters
The author emphasizes extensive comparative testing and offers several concrete parameter recommendations that should be useful for anyone trying to replicate this approach.
On starting resolution, they compared 0.3MP, 0.4MP, and 0.5MP, ultimately settling on 0.5MP. The reasoning: the time difference between 0.5MP and 0.3MP is negligible, but 0.5MP produces more solid and reliable results. This suggests that a lower starting resolution isn't always faster in any meaningful way — there's a balance to strike between time cost and output stability.
On sampling steps, the author tested various combinations of Sigma and Scheduler steps, finding 8 and 12 steps to be the sweet spots. They also referenced a site that catalogues all sampler and scheduler combinations, using what it recommended as the best pairing — and found it genuinely improved output quality in practice.
Also worth noting: the r34l1sm Lora model, loaded at full strength, was found to slightly improve output quality. This type of realism-oriented Lora is commonly used in scenarios that prioritize visual authenticity.
Practical Notes on Caching and True 12-bit Output
The author also shares some lessons learned the hard way. They tried Easy Cache but found it offered virtually no speed improvement while introducing the risk of quality degradation — so they turned it off entirely. This is a good reminder that caching mechanisms don't always deliver gains across all workflows; real-world testing is essential.
For output quality, the author saves in ProRes 4444 format and verified the results in DaVinci Resolve — being able to make aggressive adjustments to shadows and highlights without the image breaking down confirms it's genuine 12-bit color depth.
There's a particularly practical tip here: if the input is an 8-bit image, simply generating from it often just disguises 8-bit quality inside a 12-bit video container, leading to issues like sky banding. The author's solution is to have the workflow relight the scene, generating truly high-bit-depth content from scratch rather than passing the input image through unchanged.
ProRes 4444 is Apple's professional video codec format, supporting true 12-bit color depth and an alpha channel. It is widely used as an intermediate format in film and television post-production. Unlike common delivery formats such as H.264/H.265, ProRes 4444 uses intra-frame compression, preserving far richer color information — making it ideal for heavy grading operations in software like DaVinci Resolve without producing banding or blocking artifacts.
Sky banding is a common quality issue in 8-bit video: since 8-bit offers only 256 luminance levels, gradients in areas like skies (transitioning from deep blue to light blue) can exceed the expressible precision, resulting in visible striped boundaries. 12-bit provides 4,096 levels, enabling smoother transitions that fundamentally eliminate this type of artifact. By relighting the scene within the workflow rather than passing the input image through directly, the author ensures the model generates pixel values with a genuine high-bit-depth distribution — rather than amplifying the banding defects of an 8-bit source and wrapping them in a high-bit-depth container.
The Math Behind Two-Stage Upscaling
On getting from 0.5MP to 1080p in two steps, the author lays out the specific calculation: 960 × 1.33 = 1277, then × 1.5 = 1920. The logic behind this staged upscaling is to replace a single large-ratio upscale with two smaller ones — combined with the RTX node inserted earlier, this both reduces the burden on any single step and allows quality optimization at each stage.
There's a signal-processing rationale behind multi-stage upscaling: a single large upscale (e.g., a direct 4×) tends to introduce ringing, blur, or checkerboard artifacts because the model must "conjure" a large amount of high-frequency detail in one shot. Splitting the same total upscale ratio into two or more smaller steps (e.g., 1.33× then 1.5×) makes each step gentler — the model has sufficient contextual information at each stage for reasonable interpolation, producing more natural detail overall. Between steps, you can also insert sharpening, denoising, or stylization nodes to further refine quality, without the compounding error risk that a single large upscale brings.
Worth Exploring — But Verify for Yourself
As a community-shared technique, the biggest value of this approach lies in its accessibility — it's simple to implement, requiring only that you insert an RTX node at the right point in the workflow. The author also mentions plans to extend this method to other applicable workflows.
That said, a caveat is worth noting: all data and conclusions here come from a single source's personal testing, without third-party cross-validation. Claims like "40% speedup," "quality improvement," and "detail enhancement" are all based on the author's subjective testing environment, and actual results may vary depending on hardware configuration, source material type, and parameter tuning. The author themselves invites others to test independently and share different results.
For users actively working with ComfyUI and the Minimax Singularity workflow, this trick is worth spending a bit of time experimenting with — the implementation cost is low, and if it truly delivers on both speed and quality, it's a welcome contribution from the community.
Related articles
Automattic Executives Signed Reciprocal Severance Agreements During Mullenweg's Brief Ouster
Automattic's CFO and General Counsel signed reciprocal severance agreements during Matt Mullenweg's brief ouster, covering one year's salary and accelerated equity vesting, raising corporate governance concerns.
Glyph: A Multi-Strategy Agent System for Automated Enterprise Data Catalog Annotation
Glyph is a multi-strategy LLM agent system for enterprise data catalogs that automates column description generation and sensitivity ontology tagging, grounding outputs in pipeline source code to improve accuracy.

X Launches Cashtag Stock Trading, Blurring the Line Between Social Media and Markets
X (formerly Twitter) is rolling out Cashtag-based stock trading for U.S. users, merging market discussion with trade execution. We break down how it works, the risks of social trading, and what it means for X's everything-app ambitions.