OpenAI Codex CLI Hands-On Tutorial: A Guide to Using the Local Terminal AI Coding Agent

A hands-on guide to using OpenAI Codex CLI, the local terminal AI coding agent.
This tutorial walks through the complete basics of OpenAI Codex CLI: local installation and login, starting a session, issuing refactoring tasks, and manually adding file and image context. Combined with Git branch management, it brings cloud AI agent capabilities into your local development workflow to boost coding efficiency.
In previous tutorials, we mainly explored Codex Cloud, which runs in a remote environment. This article shifts the focus to another powerful tool in the same Codex product family—Codex CLI. It's a coding agent that runs in your local terminal, allowing you to call on AI to modify code directly in any project on your computer. If you've used Claude Code, you can think of Codex CLI as OpenAI's counterpart.
What Is Codex CLI
Codex CLI and Codex Cloud share the same core capabilities—both are AI coding agents. The key difference between them lies in where they run:
- Codex Cloud: Executes tasks in a remote environment, with code changes happening in the cloud;
- Codex CLI: Runs in your local terminal, directly modifying project files on your computer.
An AI coding agent is the product of combining a large language model (LLM) with tool-calling capabilities. Unlike ordinary code completion tools (such as early versions of GitHub Copilot), a coding agent can autonomously plan multi-step tasks, read and write files, execute terminal commands, and dynamically adjust its strategy based on the results. The rise of this paradigm is thanks to the maturation of Function Calling / Tool Use technology, which enables models to iterate in a loop just like a human engineer: "read the code → think → make changes → verify the results." This is exactly why tools like Codex CLI can take over refactoring work that once required engineers to complete line by line.
The greatest advantage of running locally is flexibility—you can launch it at any time in any project on your computer and let it make code changes directly within the current project context, without needing to upload your code to the cloud.
It's worth noting that Codex is still in a phase of rapid iteration, so the interface and commands may change in the future, but its core functionality should remain largely stable. In addition, native support on the Windows platform is currently still experimental—most scenarios work fine, but compatibility issues tend to arise when using MCP servers.
MCP (Model Context Protocol) is an open protocol introduced by Anthropic in late 2024, designed to standardize how AI models communicate with external tools and data sources. Through MCP, an AI agent can connect to a variety of services such as browser automation (e.g., Playwright), databases, and file systems, without needing to develop a separate adaptation layer for each tool. OpenAI's Codex CLI also integrates MCP support, allowing it to reuse the tool servers from the entire MCP ecosystem. Because the underlying implementation of MCP servers relies heavily on Unix-style process communication mechanisms, native Windows environments have weaker compatibility with this—which is precisely the root of the compatibility issues.
Windows 11 users are advised to run it within WSL (Windows Subsystem for Linux) for a smoother experience. WSL 2 uses a real Linux kernel, offering far better file system performance and system call compatibility than WSL 1, making it the preferred solution for running Unix-dependent tools on Windows and effectively avoiding the aforementioned MCP compatibility issues. It's recommended to use it only on disposable test projects at first.
Installation and Login
Installing Codex CLI is very simple, and there are two official methods:
- NPM installation: Works on all platforms;
- Homebrew installation: For Mac users.
Just paste the corresponding command into your terminal and run it. Once installation is complete, open your project in your editor of choice. The demo uses VS Code, but an editor isn't required—all operations are performed within the terminal. The benefit of keeping an editor open is that you can watch the code changes Codex makes in real time.
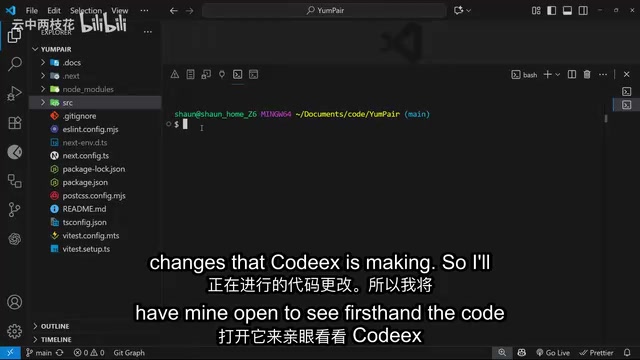
The key step is to switch your terminal to the project's root directory. After navigating to the correct working directory, first run the login command:
codex login
This will open your browser and ask you to authenticate using your ChatGPT account. Once authentication succeeds, the terminal will display a login-complete prompt.
Afterward, run the codex command to start a session in the current project. The first time you run it in a given folder, Codex will ask about your approval preferences: allow it to work directly without confirming each time, or require manual approval for every edit and command execution. Choosing the first option reduces frequent interruptions.
The First Task: Understanding the Project Structure
Once the session has started, begin with a simple question to test the results:
Can you give me a brief summary of this project?
Codex will automatically scan the codebase and provide an overview of the project. In the demo, it accurately identified this as an application built on Next.js and React, containing a landing page, a pair-creation route, and client-side form logic, and using Tailwind CSS, and finally provided specific instructions for running and testing the app.
Tailwind CSS is a "utility-first" CSS framework. It abandons traditional semantic class names (such as .card, .button) in favor of hundreds of fine-grained atomic classes (such as bg-blue-500, px-4, rounded-lg), which developers combine directly in HTML/JSX to build interfaces. Tailwind's theming system supports defining custom colors in a config file or global CSS variables, and by modifying these configurations, the AI can globally adjust the color scheme of the design system. This aligns closely with the later demo scenario where Codex directly manipulates global CSS to generate theme colors.
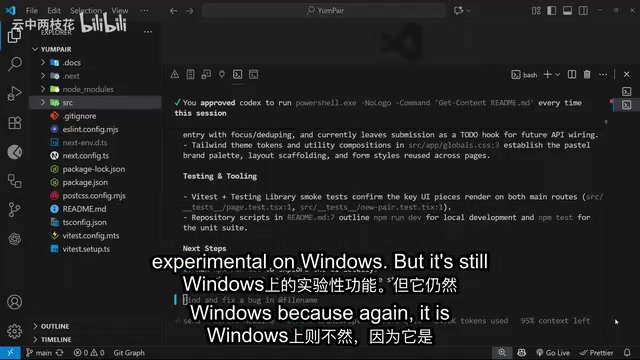
Tip: If Windows users encounter the error "MCP client for playwright failed to start," this is precisely the MCP server compatibility issue mentioned earlier—a known defect of the experimental support—and can be ignored for now.
Refactoring Code with Codex CLI
Before letting an AI agent modify a codebase, there's a crucial best practice: switch to a new branch. In the version control system Git, a branch is a lightweight code isolation mechanism that allows developers to make experimental changes without affecting the mainline code. If the AI produces unexpected changes, you can roll them back with a single git checkout command or simply delete the branch, leaving the main branch code completely unaffected. This workflow is also the foundation of modern CI/CD workflows (Pull Request → Review → Merge). In the demo, a new branch is created and switched to with the following command:
git switch -c refactor/btn-component
After switching, return to the Codex session and issue a specific task:
Could you create a reusable button component and use it to replace the existing buttons on the various pages? It should accept a background (BG) color and a handler function as props.
During execution, Codex will request approval when making code changes, and a single task may trigger multiple approval requests. One point worth noting: when using Codex locally via the CLI, tasks are not automatically synced to Codex Cloud—all work happens only in the local project.
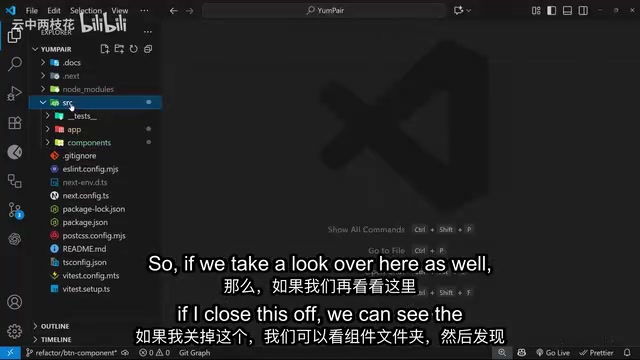
Once the task is complete, Codex provides a clear summary of the changes: it added a typed, reusable button component supporting props such as background color, an optional text color, and a click handler function; wired the new component into the pair-creation form; and introduced a shared button-styling hook. When previewing in the browser, since this was just an extraction refactor rather than a redesign, the button's appearance remains unchanged and its functionality works normally. Interestingly, the AI also went ahead and updated the error feedback message—a classic example of an AI model occasionally taking the initiative to do more than what was asked.
Manually Adding Context: Making Tasks More Focused
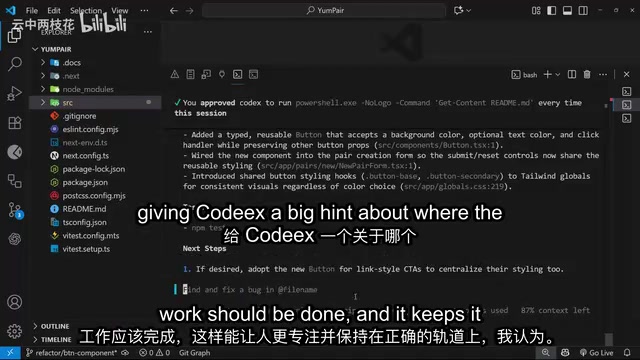
Although Codex can automatically scan the codebase by default, manually adding files to the context gives it clear direction, making its work more focused and reducing the chance of it going off track.
The method is simple: type the @ symbol followed by a filename, and Codex will launch a fuzzy search and list all matching paths. Use the arrow keys to select one and press Tab to add it. The file's path will be shown in the prompt, and its contents will be injected into the underlying prompt as context.
Images Can Also Serve as Context
Codex CLI also supports images as context input. Simply drag an image file into the terminal, and the terminal will display its path. In the demo, a Flutter Logo image was dragged in, and Codex was asked to:
Look at this Flutter Logo image and create two new theme colors in the global CSS file based on the two shades of blue in the image, naming them blue1 and blue2.
At the same time, the global CSS file was added as context via @ to avoid confusion. The capability behind this feature relies on the visual understanding of multimodal large language models (Multimodal LLMs). Models like GPT-4o can recognize visual elements in UI screenshots, design mockups, charts, and even logos. In a development context, this means a designer's visual mockups can serve directly as input for the AI's work, eliminating the intermediate step of manually interpreting design specifications and translating them into code, greatly shortening the path from design to implementation. Codex successfully recognized the blue tones in the logo and generated two "Flutter inspired blue" theme colors in the global CSS, fully demonstrating the practical value of this multimodal capability.
Wrapping Up and Core Best Practices
After completing local code changes, the standard wrap-up workflow is: confirm you're satisfied and commit the changes → push the feature branch to GitHub for code review → merge into the main branch.
The core principle running throughout this tutorial is worth emphasizing again: whenever any AI coding agent starts modifying code, always use a separate branch for isolation. Otherwise, it's easy to unknowingly turn your codebase into a mess.
Through this tutorial, we've mastered the complete fundamentals of using Codex CLI: local installation and login, starting a session, issuing refactoring tasks, and manually adding file and image context. It brings the power of cloud-based AI agents into your local development workflow, and combined with Git branch management, it can become a reliable tool for boosting your day-to-day coding efficiency.
Key Takeaways
Related articles

Alibaba Launches Happy Shrimp: AI-Powered One-Click Complete Song Generation
Alibaba launches Happy Shrimp, an AI music generation tool that creates complete songs with lyrics, melody, arrangement, and vocals from natural language descriptions. In-depth analysis of its core features, differentiation from competitors like Suno, and industry impact.
GPT Sol Ultra vs Grok 4.6: Real-World Task Completion Benchmark in Reasoning Mode
Developer benchmark reveals GPT Sol Ultra completes draw.io scientific diagrams in one iteration while Grok 4.6 fails to converge despite maximum reasoning mode, exposing that reasoning depth ≠ task delivery capability.
OpenAI Authorship Dispute: The Battle Over Academic Boundaries in the AI Era
OpenAI disputes authorship with mathematician Tristan Buckmaster over Navier-Stokes research, raising ethical questions about AI involvement in science.