Complete Guide to Configuring Third-Party APIs with CCSwitch for Codex/ChatGPT (Beginner-Friendly)
A beginner's complete guide to connecting third-party APIs to ChatGPT using CCSwitch.
This beginner-focused guide walks through the full process of connecting a third-party API to the ChatGPT client on Windows and Mac. The core tool is CCSwitch — a graphical API provider manager that supports both one-click import and manual configuration of API keys and endpoint URLs. After setup, you test the connection in CCSwitch, click Enable, and restart the client. The guide also covers model dilution detection, explaining how to use third-party evaluation tools to verify that a relay API is actually serving the advertised model. Key reminders: disable your proxy before downloading, enter API details accurately, and always restart after enabling.
For newcomers just getting started with AI client configuration, connecting a third-party API to a client like ChatGPT or Codex is often the very first hurdle. Based on a hands-on walkthrough from a Bilibili creator, this guide lays out a complete workflow — from downloading the tools to switching APIs and verifying quality — so beginners can get up and running without unnecessary detours.
Step 1: Download the Client
The first step is getting the client itself. On Windows, the most reliable approach is to search for and install the ChatGPT client directly from the Microsoft Store. One important note: turn off any proxy before opening the Store, as an active proxy can prevent the Store page from loading correctly.
Mac users can download the appropriate version from the official website. Worth noting: even if you click the Windows download link on the official site in a browser, it will redirect you to the Microsoft Store anyway — so going straight to the Store is actually more convenient. There's not much technical complexity here; the main goal is simply making sure the client launches properly.
The Core Tool: What CCSwitch Does
To connect a third-party API, the key piece of software is a tool called CCSwitch. It functions as an API provider manager and switcher, letting you quickly toggle between different API keys and endpoint URLs without repeatedly editing configuration files by hand.
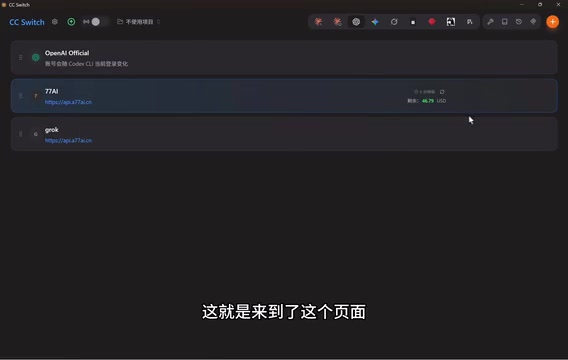
CCSwitch comes in both Windows and Mac versions; Windows users should download the standard X64 build. Once installed and opened, the interface displays a list of configured providers — first-time users will typically see just one default entry.
As shown in the demo, CCSwitch's value lies in centralizing what would otherwise be scattered, error-prone API configurations into one place, with one-click testing and activation — making it very approachable for users unfamiliar with command lines or config files.
From a technical standpoint, CCSwitch is essentially a local proxy layer: it intercepts API requests sent by the ChatGPT or Codex client, redirects them from the official endpoint to a user-specified third-party address, and injects the corresponding API key. This requires no modification to the client itself and doesn't rely on browser extensions or system-level proxies, making it relatively compatible across setups. Similar tools include OpenAI-Forward and one-api, but CCSwitch focuses on a graphical interface to lower the barrier to entry. One thing to keep in mind: while CCSwitch is running, it continuously occupies a local port. If you have other proxy software running simultaneously, port conflicts can occur — this is usually the first thing to check when you encounter connection issues.
Two Ways to Connect: One-Click Import vs. Manual Setup
Option 1: One-Click Import
If your API provider's website offers a "one-click import" feature, the process is extremely straightforward. In the provider's dashboard, create an API key (enter a name, select a group and plan, then click Create). The system will generate both an API key and a request URL. Click the "One-Click Import" button on the provider's site, which will automatically launch CCSwitch and pre-fill the configuration — you barely need to do anything manually. Just confirm and click Import.
Option 2: Manual Setup
The more universal approach is to add a provider manually. Click the + button in the top-right corner of CCSwitch (Add New Provider). You can choose from built-in services like Kimi, or select "Custom Configuration" for any other provider.
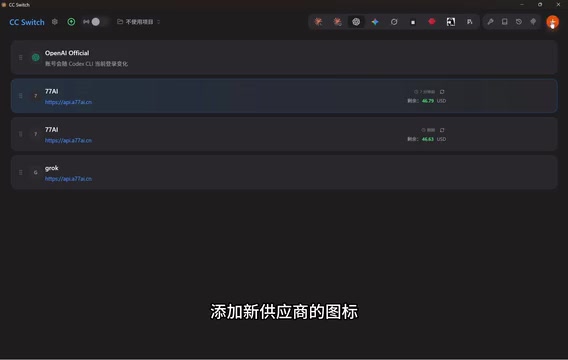
For manual configuration, the provider name can be anything you like, and the website URL is optional — but the API Key and request URL are the two critical fields and must be entered accurately. If the provider doesn't offer a one-click copyable full URL, you can generally just enter the base domain portion of the address.
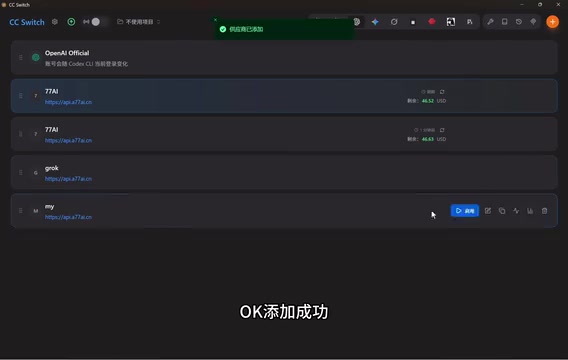
Once filled in, click "Fetch Models" to verify the configuration. If a complete model list loads successfully, the configuration is correct — then click Add.
An API Key is the credential a provider uses to identify and authenticate the caller — typically a random string starting with sk-. The request URL (also called the Base URL or API Endpoint) is the server address that actually receives the requests; for example, the official OpenAI address is https://api.openai.com/v1, while relay providers supply their own substitute address. Both are essential: the Base URL determines where the request is sent, and the API Key determines whether the provider allows the request and bills it to the correct account. The most common mistakes when entering these manually are mixing up the two fields, or appending extra path segments like /chat/completions to the Base URL (CCSwitch auto-completes the path, so you only need to enter up to /v1), which results in 404 errors.
Testing and Activating: Making the Configuration Take Effect
After adding the provider, always run a test first. CCSwitch has a built-in test button — if it returns "Setup Successful," the connection is working. Once confirmed, click Enable. The system will then prompt you to restart the client for the changes to take effect.
After quitting and relaunching ChatGPT, a slightly slow load time is normal — this usually just means the API key is in the process of switching. Once the switch completes, start a new conversation and send a message. If you receive a normal reply, the third-party API is successfully connected and active.
This is also the step where things most often go wrong. Many users report that after clicking Enable and restarting the client, they can't get into the app. Here's how to troubleshoot:
- Use the "Check Connection" feature to confirm whether the configuration is valid — a successful test means the config itself is fine.
- If the client is stuck on the official login screen, this may be a system lag issue. Try restarting your computer, or reconfigure and relaunch.
- If the issue persists, consider seeking help from the community or contacting support for remote assistance.
Advanced: Detecting Whether an API Is "Watered Down"
The walkthrough also highlights a detail worth paying attention to — model dilution detection. Because the quality of third-party relay API services varies widely, some providers substitute lower-tier models while advertising high-end ones. You can use third-party verification tools to check whether an API is actually delivering what it claims.
To do this, go to a detection page, enter the API endpoint URL and your API key (be careful to distinguish between the two and copy the right one), select the model you want to verify (such as a popular flagship model), and click Start Evaluation.
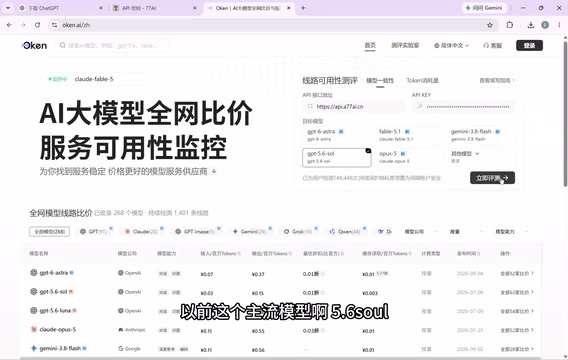
In the demo, the result came back as "100% consistent with official" — confirming the API was not watered down and was reliable. For users paying for relay API access, this verification step is an effective way to avoid getting shortchanged, and an important safeguard for your experience.
"Model dilution" (known colloquially as "掺水") is a common practice in the relay API space: a provider advertises access to high-end models like GPT-4o or Claude 3.5 Sonnet, but the backend actually calls cheaper models (such as GPT-3.5 or earlier versions), or truncates and degrades outputs to cut costs. Detection tools typically work by sending a carefully designed set of prompts — where the correct answers differ significantly across model versions — then comparing the responses against benchmark answers from official models to infer which model version was actually called. In addition to the third-party evaluation pages mentioned here, you can also check the model field in the API response payload as a preliminary check, but since providers can fill in that field themselves, it can't be fully trusted. Behavioral testing is the more reliable verification method.
Summary
The entire workflow can be summarized as: Download the client → Install CCSwitch → Import or manually configure the API → Test the connection → Enable and restart → Verify quality. For beginners, the three most important things to remember are: turn off your proxy before downloading, enter the API Key and request URL accurately, and always restart the client after enabling. Once you have this workflow down, you can apply the same approach to connect Codex, Kimi, or any other relay API with ease.
Related articles
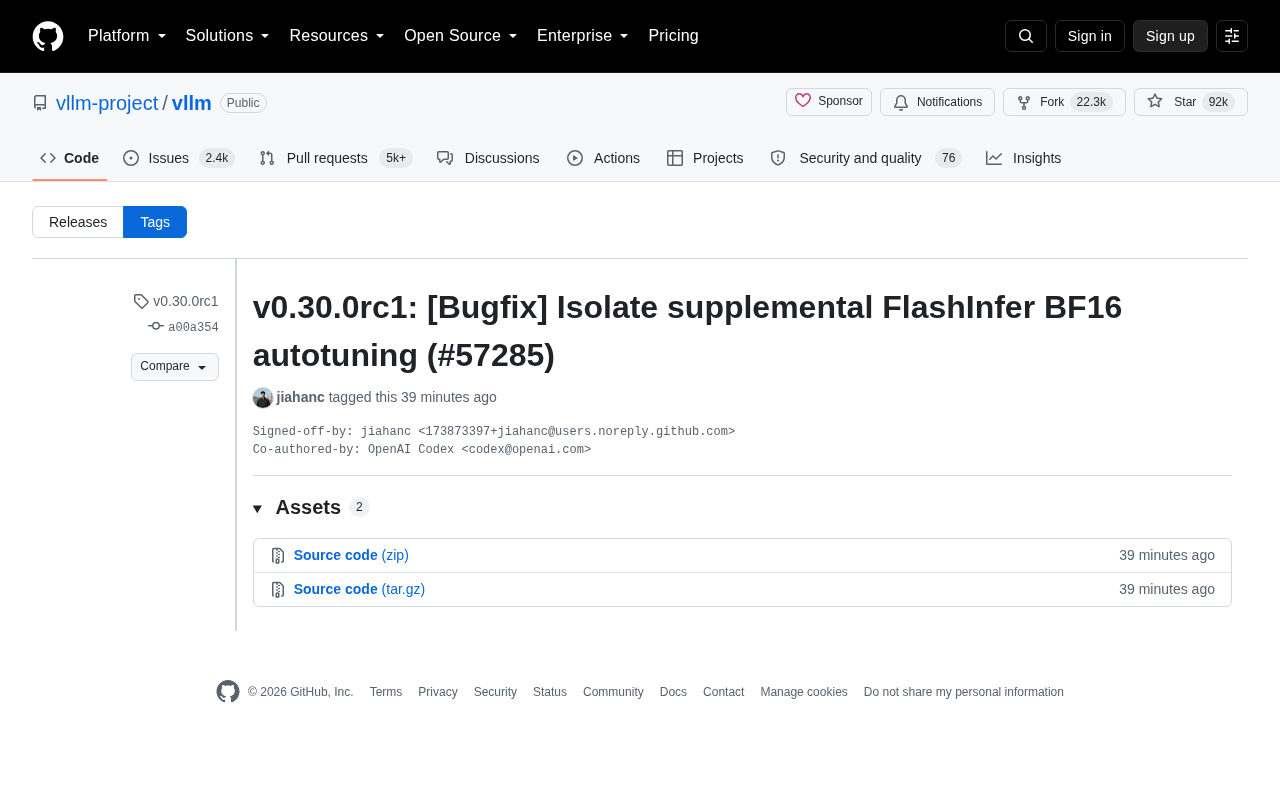
vLLM v0.30.0rc1 Released: Isolates FlashInfer BF16 Autotuning Logic
vLLM v0.30.0rc1 release candidate fixes FlashInfer BF16 autotuning isolation (PR #57285). Learn the technical background and its impact on inference deployment.
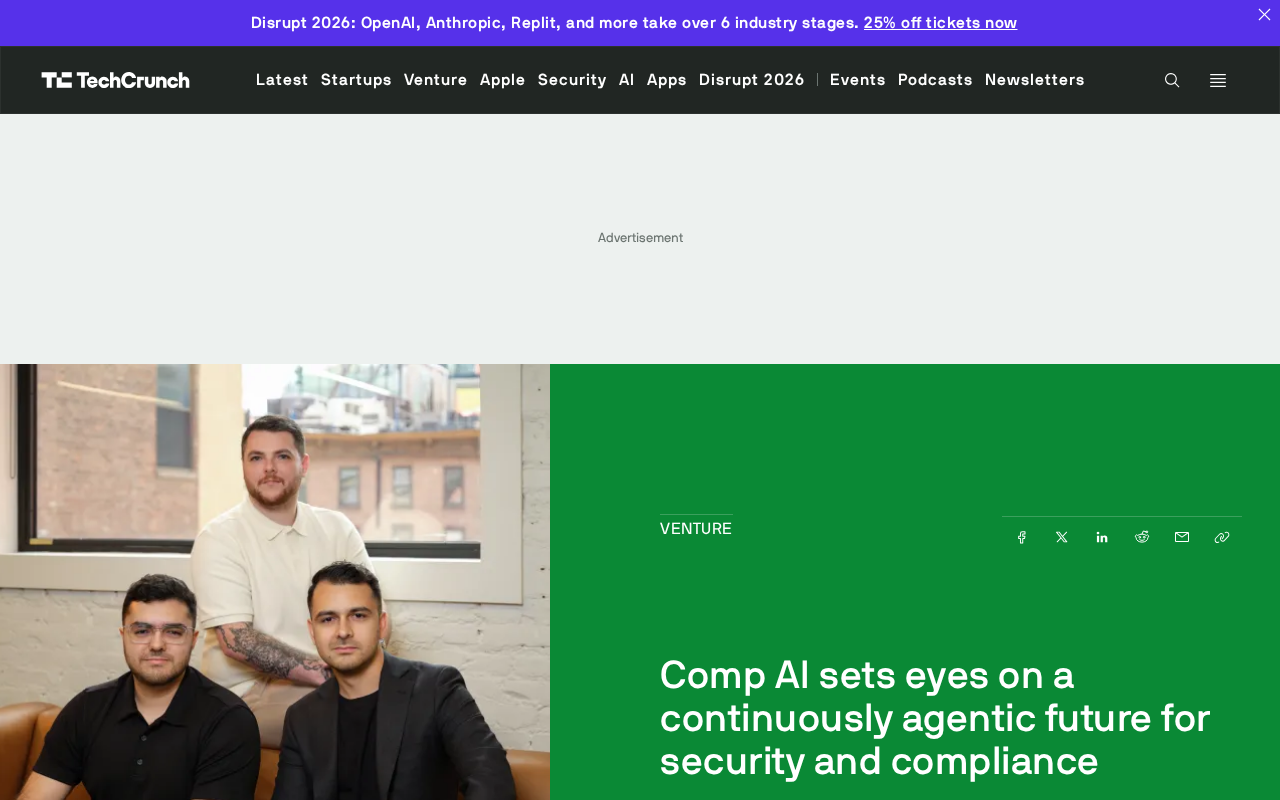
Comp AI Raises $34M Series A, Bets on Agentic Security Compliance
Comp AI raises $34M Series A led by Roo Capital and Grand Ventures, betting on "continuously agentic" AI to transform compliance from periodic audits into real-time monitoring.

MIT Technology Review's 35 Innovators Under 35: A Climate Tech Edition Explained
MIT Technology Review's latest 35 Innovators Under 35 list focuses on climate tech, spotlighting nine young global innovators. Here's what the list means and why it matters.