Connecting Home Cameras to Cloud GPUs for YOLO: A Security Architecture & Practical Guide
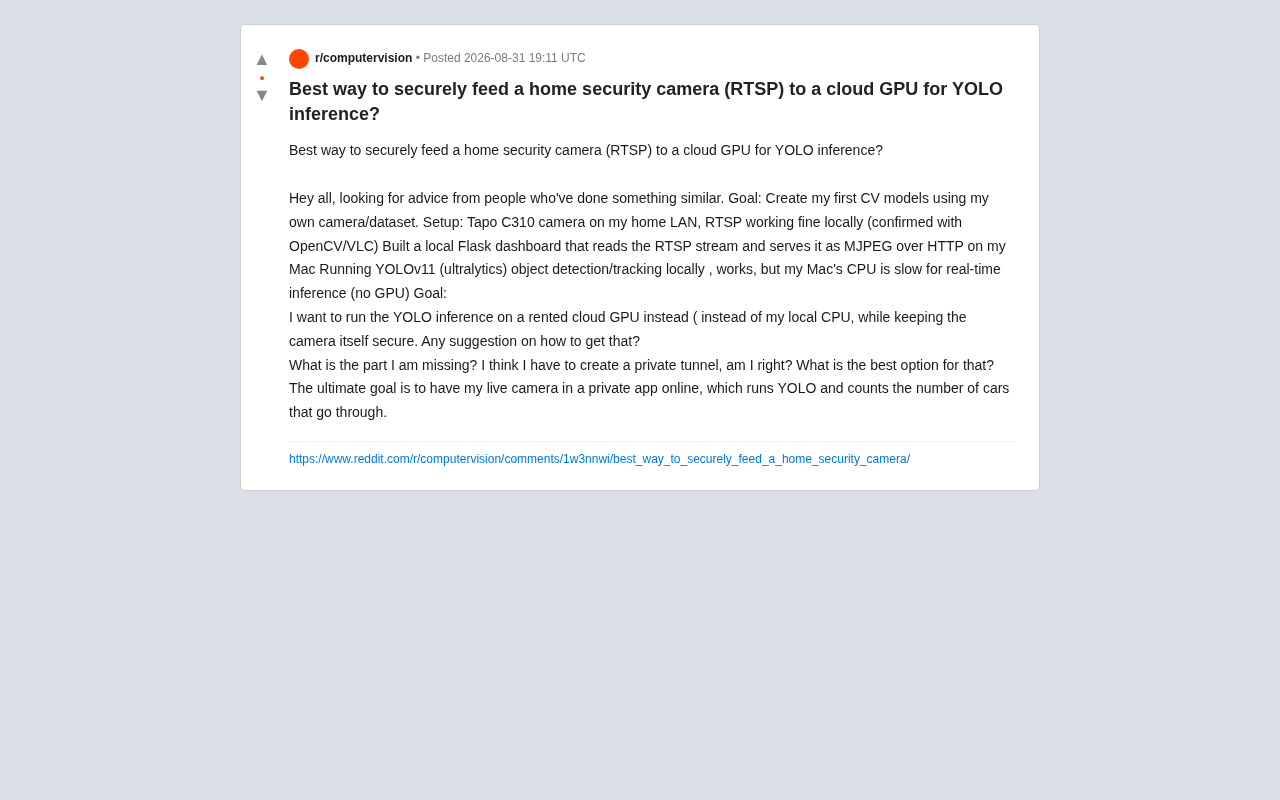
A secure architecture guide for connecting home cameras to cloud GPUs for real-time YOLO inference.
This guide details how to securely connect home cameras to cloud GPUs for YOLO object detection. It covers why exposing RTSP ports is dangerous, presents three architecture options (local proxy with Tailscale tunneling, push streaming via SRT/RTMP, and edge preprocessing with frame sampling), and discusses cloud GPU selection including Serverless inference for cost optimization. A complete production-ready pipeline is provided.
A Typical Edge Vision Use Case
As home smart cameras become more widespread and computer vision frameworks like YOLO mature, a growing number of developers are experimenting with building custom CV models using their own cameras and datasets. A question posted recently on Reddit is a great example: the developer had a Tapo C310 camera with a working local RTSP stream, a Flask-based dashboard converting RTSP to MJPEG, and YOLOv11 (Ultralytics) object detection running on a Mac—the only problem was that the Mac had no GPU, making real-time CPU inference far too slow.
YOLO (You Only Look Once) is a real-time object detection framework proposed by Joseph Redmon in 2015. Its core innovation lies in framing the detection task as a single regression problem rather than using traditional sliding window or region proposal methods, achieving a balance between speed and accuracy. YOLO has since undergone rapid iteration from v2 through v8, with maintenance shifting from academia to Ultralytics. YOLOv11, released by Ultralytics in 2024, introduces an improved C3k2 module and SPPF (Spatial Pyramid Pooling - Fast) architecture, further reducing parameter count while maintaining detection accuracy. The Ultralytics Python package allows model loading, training, and inference in just a few lines of code (e.g., model.predict(source='rtsp://...')), dramatically lowering the barrier to entry. The model comes in variants ranging from nano (n) to extra-large (x), with the nano version having only about 3M parameters—ideal for edge or low-compute scenarios.
His ultimate goal: connect the camera feed to a private online application, run YOLO on a cloud GPU for real-time vehicle counting, while keeping the camera itself secure.
This requirement seems straightforward but actually spans multiple layers including edge devices, network security, streaming media transport, and cloud compute orchestration. This article breaks down the architectural challenges and offers a production-ready solution.
The Core Problem: Not "Can It Be Done" but "How to Connect Securely"
The poster's instinct was right—the key is establishing a private tunnel, not exposing the camera's RTSP port directly to the public internet. This is the most common pitfall in the entire architecture and the factor with the greatest security impact.
Why You Should Never Expose RTSP Directly
RTSP (Real Time Streaming Protocol) is a network control protocol originally defined by RealNetworks and Columbia University in RFC 2326 in 1998, designed for establishing and controlling multimedia streaming sessions. It doesn't actually transport data itself but acts as a "remote control" for playback, pause, and seek operations, with the actual audio/video data delivered via RTP (Real-time Transport Protocol). In the home camera space, RTSP has become the de facto standard—devices from TP-Link Tapo, Hikvision, Dahua, and other brands widely support RTSP output, with typical address formats like rtsp://username:password@IP:554/stream1. However, RTSP was not designed with security as a primary goal; its authentication only supports Basic and Digest methods, and TLS encryption is not enabled by default.
Many beginners instinctively set up port forwarding on their router, mapping the camera's port 554 to their public IP so the cloud can pull the stream directly. This is an extremely dangerous practice:
- RTSP is unencrypted by default, meaning credentials may be transmitted in plaintext;
- Home camera firmware vulnerabilities are rampant—exposing them to the internet is like opening the door to every scanner on the planet;
- Massive botnets (like Mirai) spread precisely through these kinds of exposed IoT devices.
Mirai is a malware strain discovered in 2016 that specifically targets Linux IoT devices (such as IP cameras, routers, and DVRs) using default or weak passwords. It automatically scans the public internet for devices with open Telnet (port 23) and other common service ports, attempting brute-force login using a built-in list of 62 common username/password combinations. Once a device is compromised, it's absorbed into the botnet and can be commanded to launch massive DDoS attacks. In October 2016, the Mirai botnet attacked DNS provider Dyn with traffic peaking at over 1.2 Tbps, taking down Twitter, Netflix, GitHub, and numerous other websites. After Mirai's source code was publicly released, dozens of variants emerged (such as Mozi and Gafgyt), and it remains the number one IoT security threat to this day. This incident powerfully illustrates why exposing home camera ports to the public internet is an unacceptable security risk.
The correct approach: keep the camera on the local LAN at all times, and use a secure tunnel to either "push" data out or let the cloud "pull" it in.
Three Mainstream Architecture Options
Option 1: Local Proxy + Reverse Tunnel (Recommended for Beginners)
Place a "proxy node" on your home network (this could be that same Mac, or a Raspberry Pi / mini PC) that reads the RTSP stream on the LAN and sends frame data to the cloud GPU through an encrypted tunnel.
Common tunnel tools include:
- Tailscale / ZeroTier: WireGuard-based mesh networking tools that can place your home devices and cloud GPU instances on the same virtual LAN. Configuration is minimal, NAT traversal is handled automatically, and the cloud can access the RTSP stream as if it were a local network device. This is the most beginner-friendly option.
- Cloudflare Tunnel: Ideal for scenarios where you need to expose a web interface (like your Flask dashboard) externally—no public IP needed, and no inbound ports to open.
- DIY WireGuard: If you want full control, configure a WireGuard peer on both the cloud and local sides. Best performance, but a higher configuration barrier.
WireGuard is a next-generation VPN protocol released by Jason A. Donenfeld in 2018. Its codebase is only about 4,000 lines (compared to OpenVPN's hundreds of thousands) and has been merged into the Linux 5.6 kernel mainline. It uses the Noise protocol framework for key exchange, employing ChaCha20 symmetric encryption, Poly1305 message authentication, and Curve25519 elliptic curve Diffie-Hellman, outperforming both IPSec and OpenVPN in security and performance. Tailscale and ZeroTier are higher-level networking tools built on top of WireGuard that solve problems WireGuard itself doesn't address: NAT traversal, key distribution, and node discovery. Tailscale uses DERP (Designated Encrypted Relay for Packets) relay servers to forward traffic when direct connections aren't possible, though in most home network environments it can achieve UDP direct connections via STUN, with latency nearly identical to a raw connection.
For a "real-time vehicle counting" scenario, using Tailscale to mesh your local proxy with a cloud GPU instance—letting the cloud pull RTSP via a private network address—is the most cost-effective starting point.
Option 2: Local Push Streaming + Cloud Consumption
If tunnel-based stream pulling has latency or stability issues, flip the approach—have the local node actively push video to a streaming media server on the cloud.
A typical pipeline: locally use FFmpeg to transcode the RTSP stream, then push it via RTMP/SRT/RTSP over TLS to a cloud-hosted MediaMTX (formerly rtsp-simple-server) or Nginx-RTMP instance, where the cloud GPU service subscribes to the stream for inference.
SRT (Secure Reliable Transport) is a video transport protocol open-sourced by Haivision in 2017, built on the UDT (UDP-based Data Transfer) protocol. It was designed specifically for transmitting low-latency real-time video over unreliable public internet connections. Key features include: ARQ (Automatic Repeat Request) packet retransmission that maintains video quality even with up to 20% packet loss; built-in AES-128/256 encryption without the need for an additional TLS layer; and adaptive bitrate with jitter buffering to dynamically handle network fluctuations. Compared to RTMP, SRT offers lower latency (typically under 120ms), stronger security, and avoids TCP's head-of-line blocking problem. FFmpeg, OBS Studio, VLC, and other mainstream tools now natively support SRT, and a push stream can be quickly set up with ffmpeg -i rtsp://... -f mpegts srt://cloud-IP:port.
Option 3: Edge Preprocessing + Lightweight Cloud Inference
There's an often-overlooked optimization: you don't need to send the entire video stream to the cloud.
You can perform frame sampling, motion detection, and other lightweight preprocessing locally, sending only "changed" keyframes to the cloud for YOLO inference. This reduces bandwidth consumption and cuts cloud GPU invocation costs—which matters directly to your wallet when you're paying for GPU time by the hour.
Motion Detection is a fundamental computer vision task, with the most classic approach being Background Subtraction. OpenCV offers several background subtraction algorithms, such as MOG2 (Mixture of Gaussians) and KNN (K-Nearest Neighbors), which build a background model from consecutive frames and mark pixels that differ significantly from the background as foreground (i.e., motion regions). In this scenario, the local node can use cv2.createBackgroundSubtractorMOG2() to analyze each RTSP frame, only sending frames to the cloud for YOLO inference when the foreground area exceeds a set threshold. Frame Sampling is even more straightforward—for example, the original stream may be 25fps, but a vehicle typically takes several seconds to cross the frame, so capturing just 2-3 frames per second is sufficient for counting. Combining both techniques can reduce the actual number of frames requiring cloud processing by over 90%, dramatically saving bandwidth and compute costs. These preprocessing operations run easily on a Raspberry Pi 4B's CPU without any GPU support.
Cloud GPU Selection and Cost Considerations
The poster mentioned wanting to "rent a cloud GPU"—there are several trade-offs to consider:
- On-demand GPU instances (e.g., vast.ai, RunPod, Lambda): Low per-unit cost, great for experimentation, but instances may be reclaimed—make sure you handle reconnection gracefully.
- Serverless GPU inference (e.g., Replicate, Modal, RunPod Serverless): Pay-per-invocation billing pairs perfectly with Option 3's "frame sampling and upload" approach, with near-zero cost during idle periods.
- Major cloud providers (AWS/GCP T4, L4 instances): Best stability and network quality, but higher prices.
Traditional GPU cloud instances are "always-on" resources—you're billed whether or not inference requests are coming in. Serverless GPU inference platforms (like RunPod Serverless, Modal, Replicate) use a different model: developers upload their model and inference code as "functions," and the platform automatically allocates a GPU, loads model weights, executes inference, and returns results when a request comes in. Resources are released when idle, and billing is based on actual GPU-seconds used. The key technical challenge is "cold start"—the first invocation requires loading the model from storage into GPU memory, which can take anywhere from a few seconds to tens of seconds. Platforms mitigate this through warm workers, model caching, and VRAM snapshots. For vehicle counting—a non-strictly-real-time scenario that can tolerate hundreds of milliseconds to a few seconds of latency—combined with local frame sampling that sends only 1-5 frames per second, the Serverless model can reduce costs to 1/10 or less compared to always-on instances.
For models like YOLOv11, a single T4 or L4 is more than sufficient for real-time inference. The NVIDIA T4 features 16GB GDDR6 VRAM and 320 Turing Tensor Cores with approximately 65 TOPS of FP16 compute, making it one of the most common cloud inference GPUs; the L4 is its Ada Lovelace architecture successor, boosting FP16 compute to approximately 121 TOPS with better power efficiency. If you're only counting traffic, you can further reduce compute requirements by using smaller model variants (like yolov11n/s).
A Complete Production-Ready Pipeline
Putting it all together, here's a balanced architecture for this developer's needs:
- Camera: The Tapo C310 stays on the local LAN—no public internet mapping whatsoever;
- Local node (Mac or Raspberry Pi): Reads the RTSP stream and performs motion detection and frame sampling preprocessing;
- Secure networking: Use Tailscale to mesh the local node and cloud GPU instance into a virtual private network;
- Cloud GPU: Runs YOLOv11 inference and executes vehicle counting logic;
- Presentation layer: Flask dashboard deployed on the cloud, exposed externally via Cloudflare Tunnel or the cloud server's public IP + HTTPS, with authentication.
This way, video data flows entirely within encrypted tunnels, the camera has zero exposure, and the cloud handles only compute and display—balancing both security and performance.
Conclusion
The value of this case study is that it connects all the typical engineering pipeline challenges that individual developers face when building CV projects: local capture, secure transport, cloud inference, and result presentation. The poster's initial focus on "private tunnels" was indeed the crux, but true best practices go beyond just establishing connectivity—they involve using approaches like frame sampling preprocessing + Serverless inference to balance latency, bandwidth, and cost. For any developer looking to make their home cameras "smart," this framework is well worth adopting.
Key Takeaways
Related articles
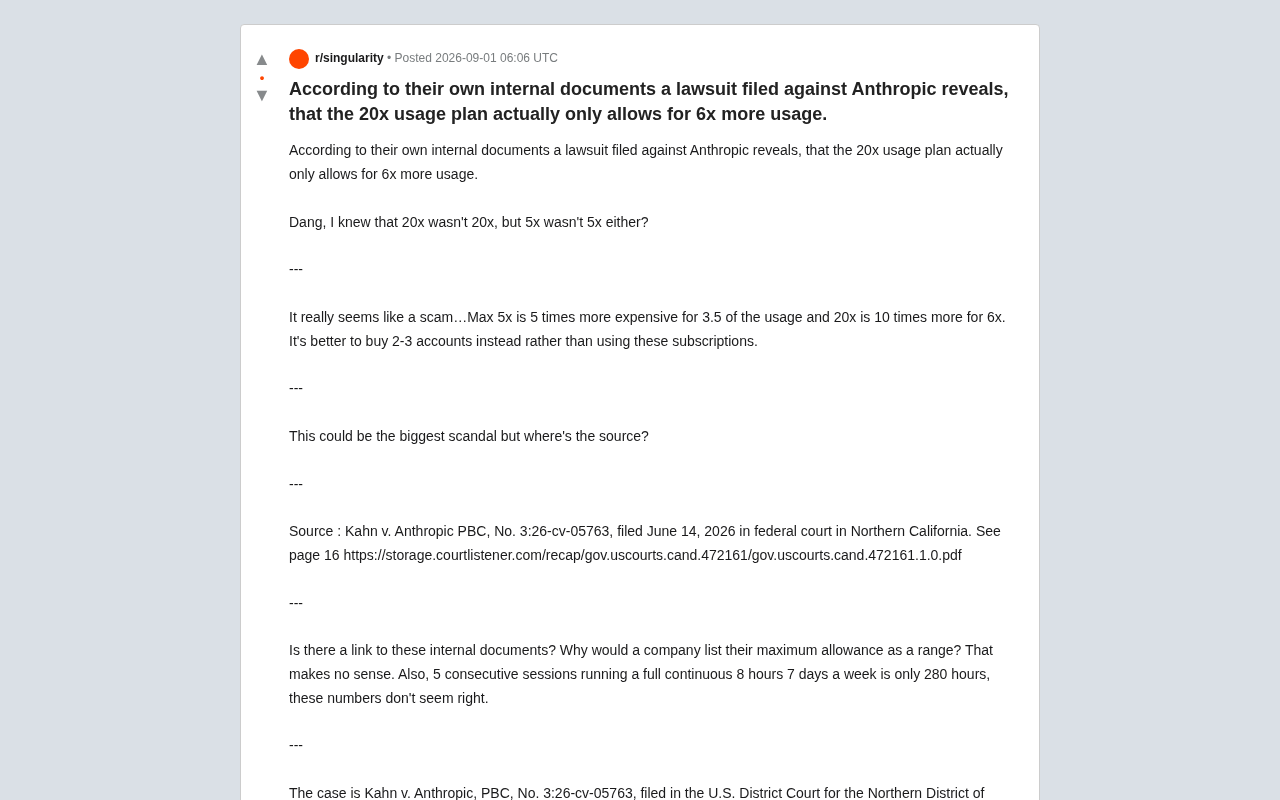
Anthropic Sued: Claude Max 20x Plan Allegedly Delivers Only 6x Usage?
A lawsuit against Anthropic alleges Claude Max's 20x plan delivers only ~6x usage, and the 5x plan just 3.5x. We break down the legal details, community reactions, and the AI subscription transparency crisis.
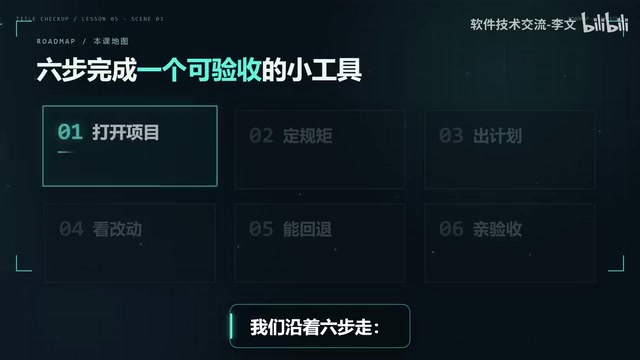
Cursor Beginner's Guide: A Six-Step Workflow for Managing Changes, Rollbacks, and Validation
New to Cursor and keep breaking things? Learn a six-step dev workflow covering Cursor Rules, Plan mode, Diff review, and Checkpoint rollback to go from guesswork to engineering.
Is Cheap Cursor Reselling Reliable? The Real Risks of Shared Account Pools Exposed
An in-depth analysis of Cursor Pro budget reselling services, exposing the shared account pool model behind so-called legitimate accounts and deep discounts from technical, compliance, and data security perspectives.