Free Gemini CLI Complete Tutorial: Full Setup Guide with OMini Router

Set up Gemini CLI for free in four steps using OMini Router as a local relay.
This article explains how to use Gemini CLI locally for free via OMini Router. The process has four steps: install Node.js and Gemini CLI, start the OMini Router local service, set two environment variables (the OMini Router address and API Token), and configure three fields in the config file — Base URL, API Key, and Model. A key pitfall to avoid: the Base URL must not include the /v1 path, or requests will fail due to path duplication. The approach mirrors the setup for Claude Code and Kimi Code, but users should be aware of relay service availability and compliance considerations.
Introduction: Why Choose Gemini CLI
Gemini CLI is a command-line tool that lets you invoke Gemini model capabilities directly from your terminal. It's ideal for developers who need quick access to large language models in coding, scripting, and automation workflows. Compared to constantly switching browser windows, the command-line approach fits much more naturally into a developer's workflow.
This tutorial is based on a hands-on walkthrough by a Bilibili content creator, and covers how to run Gemini CLI locally for free using OMini Router as a relay solution. The creator has previously shared similar setup guides for tools like Claude Code, Kimi Code, and PyAgent — Gemini CLI follows the same general approach, but with a few configuration details worth calling out separately.
Prerequisites: Install Node.js
Gemini CLI depends on a Node.js runtime environment, so your first step is to make sure Node.js is installed locally. If you haven't installed it yet, head to the official Node.js website and download the installer for your operating system. The LTS (Long-Term Support) version is recommended for stability.
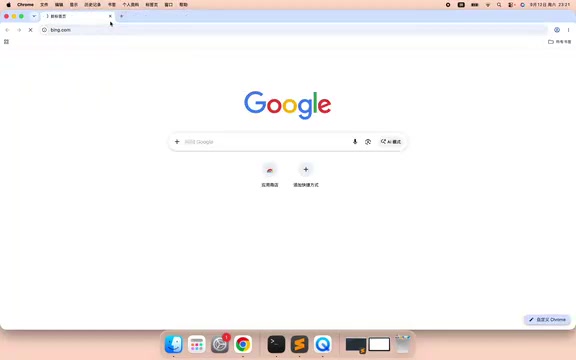
Once your environment is ready, open a browser and go to the Gemini CLI official website. The page provides the official installation command — just copy it into your terminal and run it. No complicated steps required.
Starting OMini Router
The key to using Gemini CLI for free is OMini Router. Think of it as a locally running request relay service that forwards requests from Gemini CLI to the actual model endpoint. After installing Gemini CLI, you'll need to start OMini Router first — all subsequent configuration will point to the local address it provides.
If you're not familiar with OMini Router, the creator mentions you can refer to their earlier videos, which cover OMini Router installation and basic usage in more detail. This article assumes you've already deployed OMini Router and focuses specifically on connecting it with Gemini CLI.
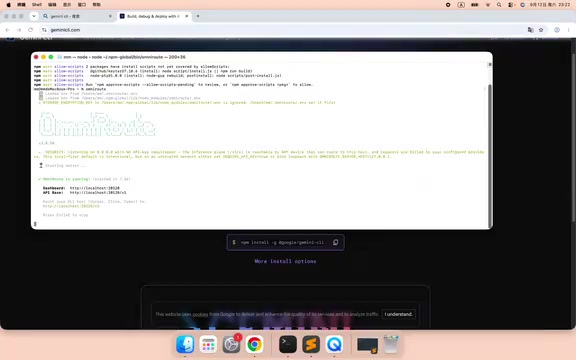
At its core, OMini Router is a local reverse proxy that follows the OpenAI API-compatible interface spec, forwarding requests in that format to various backend models. This design makes it a universal middleware layer — tools like Gemini CLI, Claude Code, and Kimi Code can all point to the same local address without needing to maintain separate authentication credentials for each. OMini Router typically listens on http://localhost:<port>, and that's exactly what you'll use for Gemini CLI's Base URL. The advantage of this relay approach is that it hides the distribution logic for real API keys and allows centralized rate limiting, logging, or model routing on the Router side. The downside is that availability depends on the local service staying alive — once the OMini Router process exits, the CLI tool will immediately lose connectivity.
Configuring Environment Variables
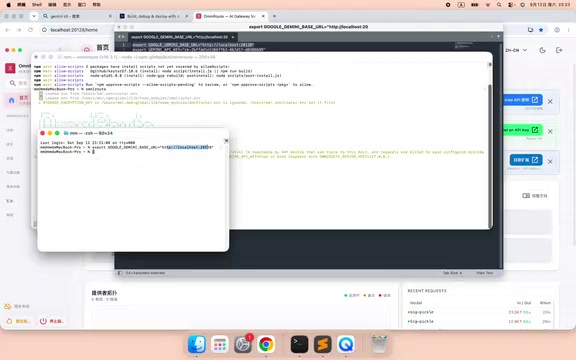
Configuring Gemini CLI differs slightly from other tools the creator has covered previously. You'll need to set two environment variables first.
First: OMini Router Address
Open a new terminal window and configure the address pointing to OMini Router. There's a common gotcha here — the address should not include the /v1 path. Many failed configurations happen precisely because a version path is appended to the address, causing requests to fail to route correctly.
The reason you omit the /v1 path is that Gemini CLI appends the API version path internally. Most OpenAI-compatible clients construct requests by appending /v1/chat/completions or a similar path to the Base URL. If the Base URL itself already contains /v1, the final request path becomes /v1/v1/..., resulting in a 404 or routing failure. The correct approach is to enter only the root address — for example, http://localhost:10086 — and let the client handle path construction. This behavior aligns with the OpenAI official SDK convention, though different tools may handle this slightly differently. When troubleshooting connection failures, checking the full request path is the most direct approach.
Second: API Token
The second environment variable is the API Token — this token comes from inside OMini Router, where you create API tokens. If you've watched the creator's previous videos, you should already be familiar with how to generate a token in OMini Router. Simply paste the token you've created into the corresponding environment variable.
Editing the Configuration File
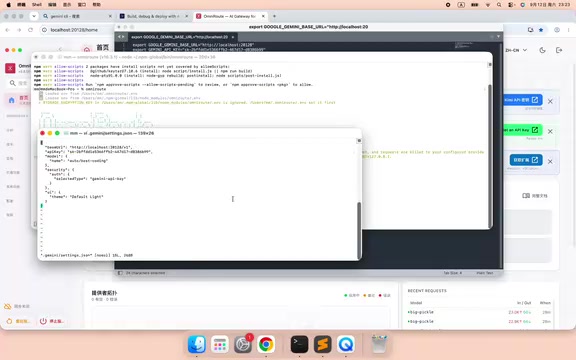
Once the environment variables are set, you'll also need to modify Gemini CLI's configuration file. There are three core fields:
- Base URL: The endpoint address provided by OMini Router
- API Key: The API Token you created earlier
- Model: The name of the model you want to call
These three fields form the complete communication chain between Gemini CLI and the relay service. As long as all three are filled in correctly and consistently, the tool will successfully route requests to the right destination. The creator mentioned they had already pre-configured this file before the demo, so they didn't walk through each field individually — but based on the field structure, it's essentially the same as any standard OpenAI-compatible interface configuration.
Running and Verifying
After completing all the steps above, go ahead and run Gemini CLI. If everything is configured correctly, the tool will start up normally and enter an interactive state, confirming that the entire chain is working. The creator verified this in their live test with no issues.
If you run into errors, it's recommended to troubleshoot in this order: check whether OMini Router is running, verify that the Base URL doesn't accidentally include a /v1 path, confirm the API Token matches what's in OMini Router, and make sure the Model name is supported by the relay service. These are the most common sources of configuration-related problems.
Summary
Using OMini Router as a relay, the process for running Gemini CLI locally for free comes down to four steps: install Node.js and Gemini CLI, start OMini Router, configure two environment variables, and fill in three fields in the configuration file. This approach is conceptually identical to setting up Claude Code, Kimi Code, and similar tools — once you've mastered one, the rest follow naturally.
One important note: the availability of this relay-based approach depends on a third-party service staying up and running. Before using it in practice, it's worth keeping an eye on OMini Router's latest status and compliance requirements, and evaluating whether it's suitable for your specific use case.
Related articles

Complete Guide to Running Your Own Local DeepSeek: Web Access, Knowledge Base & Privacy
Step-by-step guide to deploying a private DeepSeek locally using Ollama, Chatbox, and AnythingLLM — with web access, RAG knowledge base, and full privacy.
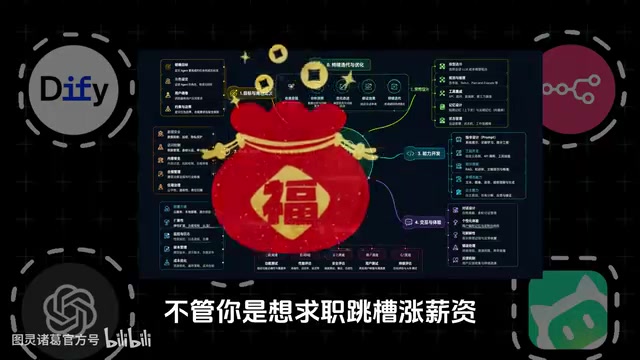
AI Agent Development: A 4-Stage Learning Roadmap from Beginner to Enterprise-Level Practice
A complete AI Agent learning roadmap from zero to enterprise-level: covering ReAct, multi-agent collaboration, Prompt tuning, RAG, MCP, and real-world projects.
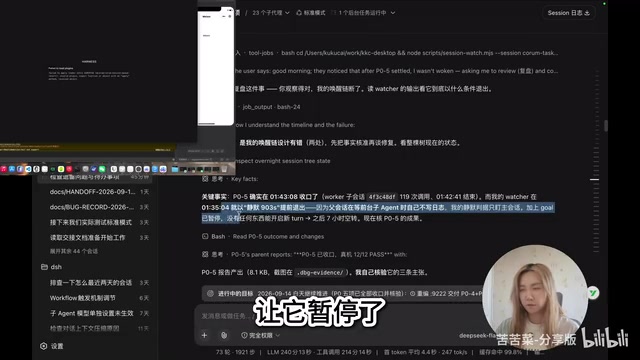
A New DeepSeek Harness Experiment: Agent Supervising Agent for Self-Evolution
A developer built an "Agent supervising Agent" self-evolution system using DeepSeek Harness, with a ledger mechanism enabling near-unattended overnight software iteration.