No Frameworks Needed: Build a Local ReAct AI Agent with Python + Ollama
Build a ReAct AI agent from scratch with pure Python and local Ollama — no frameworks, no API keys.
This article walks through building a ReAct agent from scratch using only pure Python and a locally running Ollama instance, with no frameworks like LangChain. The agent's three core components — LLM as reasoning brain, tools for execution, and an observation loop for iteration — are explained clearly. Running on llama3.2 and nomic-embed-text locally via Ollama, the system requires no API keys or internet access. The project uses uv for dependency management with just the official ollama package. The key implementation insight is that the messages list must live outside the loop so context accumulates across turns.
When it comes to AI Agent development, frameworks like LangChain and SmolAgents have become the default choice. But their black-box nature makes it difficult for many developers to truly understand how agents work under the hood. One educator took a different approach in a tutorial video: building a fully functional ReAct agent with tool-calling capabilities from scratch using pure Python and a locally running Ollama instance — no frameworks, no API keys, 100% local.
The Core Components of a ReAct Agent
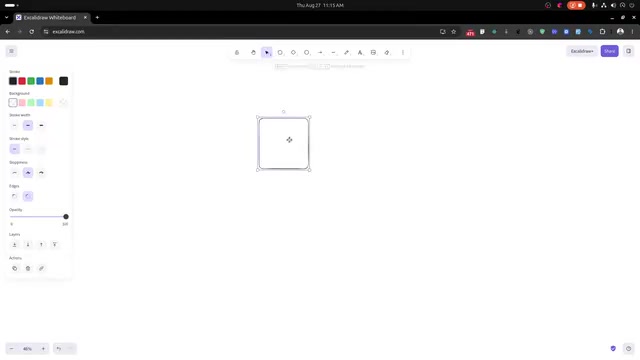
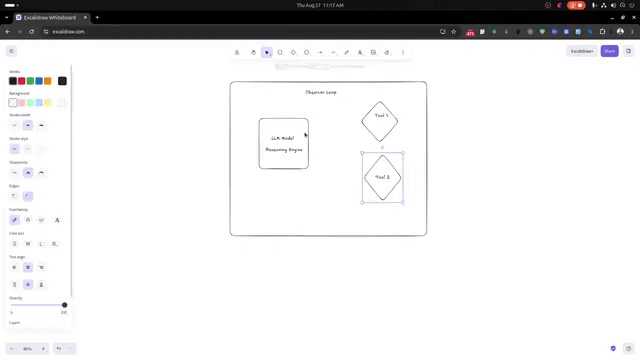
Before writing any code, understanding the skeleton of an agent matters more than anything else. The author uses a simple sketch to break down the three core elements of a custom agent.
The first element is the LLM model, which serves as the agent's "brain" — the reasoning engine. All judgment and decision-making happen here.
The second element is Tools. The LLM is granted permission to call a set of tools, enabling it to perform real actions rather than just generating text. The third — and most critical — element is the observation loop. All reasoning and tool calls happen inside this loop: at each iteration, the system checks whether the LLM has produced a "potential action."
There are only two possible potential actions: either calling a tool or generating a final answer. This is the essence of the ReAct (Reasoning + Acting) paradigm — the model iterates between "thinking" and "acting" until it reaches a conclusion. Once you understand this loop, you understand the underlying mechanism behind most agent frameworks on the market.
What is ReAct? ReAct (Reasoning + Acting) is an LLM reasoning paradigm introduced by Google Research in 2022, in a paper titled "ReAct: Synergizing Reasoning and Acting in Language Models." The core idea is to have the model generate both a Thought (reasoning trace) and an Action at each step, rather than outputting only a final answer. Concretely, at each iteration the model first "thinks" in natural language (Thought), then decides what action to take (Action), and feeds the result back as an observation (Observation) — repeating until a final answer is reached. This structure makes the model's reasoning process traceable and debuggable, making it easier to pinpoint where things went wrong. Compared to pure Chain-of-Thought, ReAct adds the ability to interact with an external environment; compared to pure tool calling, it adds explicit reasoning steps. Most agent frameworks on the market — including LangChain's AgentExecutor — are essentially encapsulations of this paradigm.
Why Go Fully Local?
The author explicitly avoids ready-made frameworks like LangChain and SmolAgents, choosing to implement everything by hand. This may look like "reinventing the wheel," but it has real educational and engineering value.
Frameworks abstract away a lot of detail, which is great for getting started quickly — but it also leaves developers without a clear picture of how the agent actually works. Writing the loop logic yourself forces you to understand exactly how messages flow between the model and its tools.
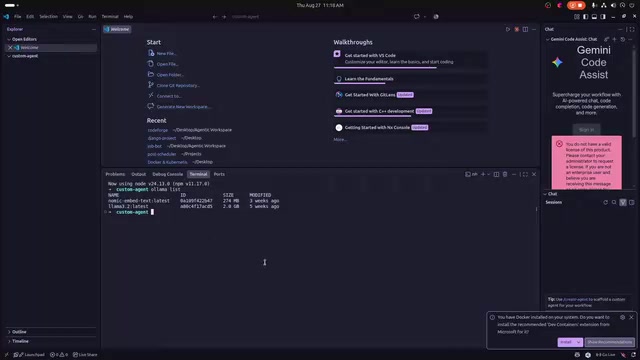
More importantly, there's the matter of cost and privacy. The approach uses Ollama to run models locally. The author has llama3.2 installed as the language model and nomic-embed-text as the embedding model. This means the entire agent requires no cloud services like OpenAI — no API keys, no internet connection, no usage fees — and all data stays on the local machine, making it especially well-suited for privacy-sensitive scenarios.
About the tools used: Ollama is an open-source local model runtime that supports one-command pull-and-run of major open models like Llama, Mistral, and Gemma on macOS, Linux, and Windows. It is built on top of llama.cpp and features hardware acceleration for both Apple Silicon (M-series chips) and NVIDIA GPUs, enabling smooth inference of 7B to 13B models on consumer-grade hardware.
llama3.2refers to Meta's Llama 3.2 series — available in lightweight 1B and 3B variants designed for edge devices and local inference, with dedicated optimizations for function calling, making it a strong choice as an agent's reasoning core.nomic-embed-textis an open-source text embedding model from Nomic AI with an 8,192-token context window, commonly used for building local vector databases and semantic retrieval pipelines. Together, they enable a fully offline agent system with semantic understanding and tool-calling capabilities.
Setting Up the Environment
The project starts by initializing a Python project. The author uses uv — a high-performance Python package and virtual environment manager — to initialize the project and create a virtual environment, then adds the core dependency: the official ollama Python package.
uv init
uv venv
uv add ollama
The ollama package provides a Python interface for interacting with the local Ollama service, serving as the bridge between your code and the local model. Compared to a typical pile of framework dependencies, the dependency list here is remarkably lean — essentially just this one package.
About
uv:uvis a next-generation Python package manager written in Rust by the Astral team (also the creators of the Ruff code formatter). It is designed as an all-in-one replacement forpip+venv+pip-tools. Its most notable advantage is speed — dependency resolution and package installation are 10 to 100 times faster than traditional pip — with built-in virtual environment management and project initialization.uv initcreates a standard project structure andpyproject.toml;uv venvcreates an isolated virtual environment;uv addadds dependencies and automatically updates the lock file for reproducible environments. For a teaching project like this one that emphasizes minimal dependencies,uvmakes it easy to see exactly which packages are installed, avoiding the implicit dependency bloat that frameworks introduce.
Designing the Message Loop
The key to an agent that can hold multi-turn conversations and call tools lies in maintaining message state.
The author highlights an easy-to-miss detail: the messages list must be declared outside the loop. If the message list is re-initialized on every iteration, the agent "loses its memory" and can no longer reason based on prior context. The correct approach is to declare the messages list outside the loop and append new content to it on each iteration.
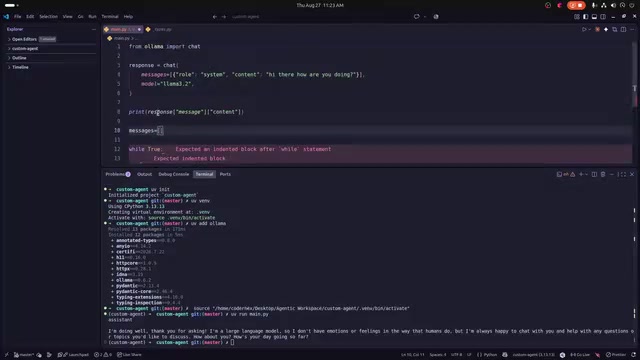
The concrete flow is: first construct a system message to define the agent's role and behavioral guidelines, then enter the loop. On each iteration, the chat interface calls the model with the complete, up-to-date messages list, and the model's response is appended back to that list — building up an ever-growing context. This "call → response → append" cycle is the underlying mechanism that keeps the ReAct loop running.
Takeaways
This project demonstrates a practical learning path: set aside the frameworks, and implement a local ReAct agent from scratch with minimal dependencies. Its value isn't in replacing production-grade frameworks — it's in opening up the "black box." Once you internalize how the LLM acts as the brain, tools act as the hands, and the loop acts as the heartbeat, picking up and working with any framework becomes significantly easier.
It's worth noting that this article covers the first half of the tutorial series — design philosophy and environment setup. The complete implementation, including tool definitions, action parsing, and loop termination logic, will be covered in the author's follow-up coding sessions. For developers who want to deeply understand agent internals without being tied to cloud APIs, this is a starting point well worth reproducing yourself.
Related articles
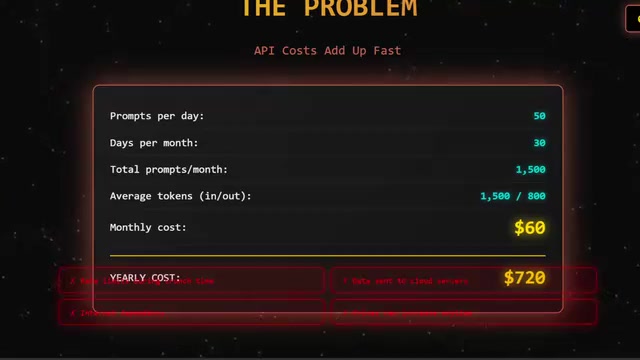
Qwen 27B Local Deployment Test: Can Open-Source LLMs Replace GPT-4?
Qwen 27B local deployment test: one command via Ollama, hybrid attention for 262K context, faster than GPT-4 on code audits, saves ~$1,300 over 3 years.
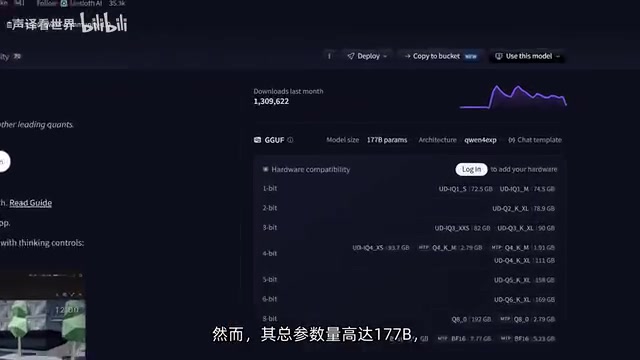
177B LLM on Budget GPUs? Running Qwen3 Flash Next Locally — Real-World Test
A Bilibili creator ran 177B Qwen3 Flash Next locally on two budget GPUs + 32GB RAM at 22 tokens/s by offloading the 51B Ngram table to SSD. Full breakdown of architecture, llama.cpp params, and performance.
MiniMax H3 Arrives on Draw Things: A Guide to Running the Best Open-Source Audio-Video Model Locally on Mac and iPad
MiniMax H3, one of the best open-source audio-video models, is now supported in Draw Things. This guide covers FLR/REF variants, acceleration LoRAs, Apple Silicon requirements, and LLM prompt tips for Mac and iPad users.