Quick Start with SpringBoot from Scratch: From Java Projects to Enterprise Application Practice

Learn SpringBoot from scratch by evolving a simple Java project into an enterprise application with the right learning mindset.
This article reveals why many beginners study SpringBoot for months without progress, and shares the 'focus on the big picture' methodology. It guides you from creating a basic Java project to building a runnable enterprise SpringBoot application, covering IDEA setup, DI/IoC, auto-configuration, and REST fundamentals.
Why Do Many People Study SpringBoot for Six Months Without Getting Started?
This is an extremely common predicament among beginners: on the path of learning programming, many students repeatedly get stuck at a certain stage, unable to enter the phase of real engineering practice for a long time.
A core insight is this—many students fall into the wrong learning rhythm. For example, when they learn about object-oriented programming, they mistakenly believe they must frantically grind through practice problems to "prove they've learned it," ending up spending a huge amount of time on the same knowledge point. After more than half a year of study, they have never even touched SpringBoot, which is truly essential in enterprise development.
This touches on a widespread misconception in beginners' learning methods: over-pursuing complete mastery of details, only to lose grasp of the technology as a whole. For building engineering capabilities, the "conquer point by point" approach is extremely inefficient.
Focus on the Big Picture, Let Go of the Small: Building Technical Connections Matters More Than Obsessing Over Details
A more effective core methodology is "focus on the big picture, let go of the small." Rather than fixating on every syntax detail, it's better to first establish an associative understanding of the entire technological evolution process:
- Why do we need to learn Spring?
- Why do we need to learn SpringBoot?
- What real problems do these technologies actually solve?
Learning with "the logic of technological evolution" as the main thread essentially lets beginners see the forest first, then the trees. Once you understand that SpringBoot was born to simplify the cumbersome configuration of traditional Spring development, you'll have a clear sense of purpose when learning each specific feature, rather than mechanically memorizing APIs.
Before diving into SpringBoot, it's necessary to first build an understanding of the overall landscape of the Spring ecosystem. Spring is not a single framework, but a vast technology ecosystem. From the initial Spring Framework 1.0 released by Rod Johnson in 2003, to today's dozens of sub-projects covering Spring Security (authentication and authorization), Spring Data (unified data access layer abstraction), Spring Cloud (a complete microservices governance suite), Spring Batch (large-scale batch processing), and more, the entire ecosystem has become the de facto standard for Java enterprise development.
It's worth further explaining the specific value of these sub-projects: Spring Security provides out-of-the-box authentication (Authentication, verifying "who you are") and authorization (Authorization, determining "what you can do") mechanisms, supporting modern security protocols like OAuth2 and JWT; Spring Data, through a unified Repository abstraction interface, shields the operational differences between different data sources such as JPA, MongoDB, and Redis, allowing developers to operate different databases with nearly identical code; Spring Cloud, amid the wave of microservices architecture, provides a complete set of microservices governance components including service registration and discovery (Eureka/Nacos), load balancing (Ribbon/LoadBalancer), configuration centers (Config/Nacos Config), and distributed tracing (Sleuth/Zipkin). These sub-projects are independent of one another yet highly collaborative, all using SpringBoot as their runtime foundation. Understanding this big picture helps beginners accurately position SpringBoot as "the entry point and scaffolding into the entire Spring ecosystem," rather than the endpoint of learning. Part of the reason many people remain confused after six months of study is precisely that they view SpringBoot in isolation, failing to understand its role within the entire ecosystem.
The Historical Background and Motivation Behind SpringBoot
SpringBoot officially released its 1.0 version in 2014 by the Pivotal team. Its birth stemmed directly from the long-criticized "configuration hell" pain point of the traditional Spring framework. Before SpringBoot appeared, a standard Spring MVC web project required developers to manually write and maintain dozens of XML configuration files, including applicationContext.xml (application context configuration), web.xml (web container configuration), dispatcher-servlet.xml (request dispatching configuration), and more. Developers also had to manually download Tomcat and deal with tedious dependency version conflicts. Just getting a "Hello World" endpoint up and running could take a beginner hours or even days.
SpringBoot fundamentally changed this situation through two core mechanisms: Convention over Configuration and Auto-Configuration. The former means the framework presets a set of reasonable default behaviors, so developers can get out-of-the-box functionality without any configuration; the latter automatically detects which dependencies you've introduced through classpath scanning and completes the corresponding configuration. These two mechanisms compress the work of dozens of configuration files down to almost zero—developers only need a single @SpringBootApplication annotation to launch a complete web service.
This annotation itself is a composite of three core annotations: @SpringBootConfiguration (marking this as a configuration class), @EnableAutoConfiguration (the master switch that enables the auto-configuration mechanism), and @ComponentScan (scanning all annotated classes under the current package and its sub-packages and registering them as Beans)—behind a single line of annotation lies the core logic of the entire startup process.
This historical background is the best case for "understand why first, then learn how": once you personally experience the tedium of traditional Spring development, every feature of SpringBoot will give you an "aha, so that's why, this makes perfect sense" moment of enlightenment, rather than facing a pile of mysterious annotations with no understanding.
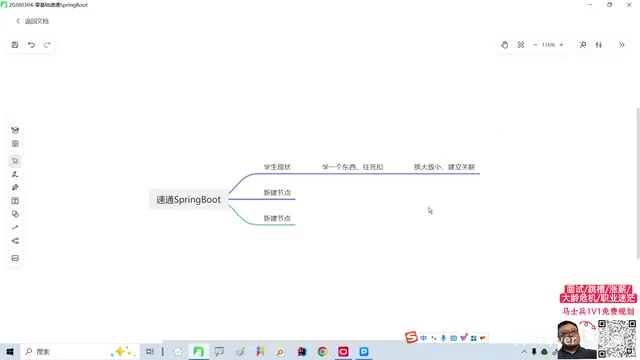
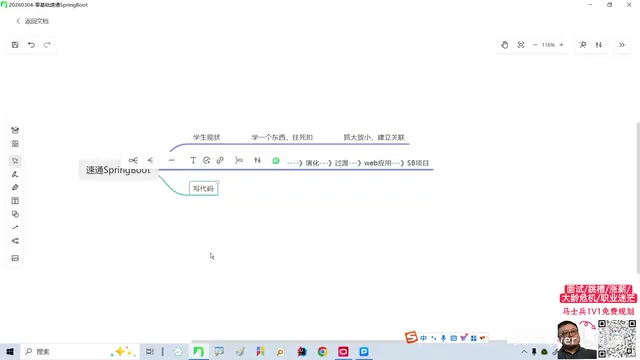

The Evolution Path from a Simple Java Project to SpringBoot
A more recommended teaching approach is: don't start by teaching SpringBoot right away, but begin with the simplest Java project, gradually evolve and transition, and ultimately build a runnable enterprise-level application.
This "progressive evolution" design aligns with the development trajectory of the technology itself. SpringBoot didn't appear out of nowhere—it's a natural product of the Java ecosystem's pursuit of "convention over configuration" and improved development efficiency. Letting beginners personally experience this evolution process makes it easier to build deep understanding than directly presenting a finished framework.
It's worth mentioning that in actual engineering, Pivotal officially provides Spring Initializr (start.spring.io), an online project scaffolding service. Developers can select the required dependencies through a web interface or the built-in IDEA integration, and generate a standard SpringBoot project skeleton with one click. Understanding the project directory structure generated by the scaffold—src/main/java (business code), src/main/resources (configuration files), src/test (test code)—is itself an important step in understanding SpringBoot project organization standards. But for beginners, going through the "manual evolution from scratch" process first, and then using the scaffold, works far better than relying on tools from the start to skip over the evolution details.
The Goal Is Clear: Get the Project Running Within an Hour
A rather challenging goal in the beginner phase is—to get a zero-foundation student quickly up and running with a SpringBoot project essential in enterprises, within one hour.
The most basic sense of accomplishment of "getting the project running" is often the key to motivating beginners to continue delving deeper. Seeing your own code actually run is far more motivating for continued learning than abstractly understanding concepts.
Tool Preparation: Why Use IDEA Instead of Notepad?
Many beginners are used to writing code in text editors, but if you truly want to become a programmer, professional developers almost all use IntelliJ IDEA.
As the industry's mainstream Java Integrated Development Environment (IDE), IntelliJ IDEA provides professional capabilities such as code completion, intelligent suggestions, debugging, and project management, which can greatly improve development efficiency and reduce elementary errors. For frameworks like SpringBoot that involve a large number of dependencies and configurations, a powerful IDE is almost a necessity.
IntelliJ IDEA is developed by the Czech company JetBrains. Since its release in 2001, it has gradually become the de facto standard IDE in the Java development field. In the 2023 JetBrains developer survey, its usage rate among Java developers exceeded 70%. Compared to competitors like Eclipse and NetBeans, IDEA is renowned for its deep code analysis, intelligent refactoring, and native support for the Spring ecosystem (such as Spring Initializr integration and Bean dependency visualization).
It's especially worth noting that IDEA's support for the Spring ecosystem is deeply embedded at the IDE level: it can directly recognize auto-configuration metadata, visualize Bean dependency relationship graphs (letting you intuitively see which components are injected into which classes), annotate the source of @Autowired injection points in the code, and even give instant warnings when you misconfigure something. These capabilities not only improve development efficiency but also directly assist in understanding how the SpringBoot framework operates—many beginners' intuitive understanding of the IoC container is established precisely through IDEA's visualization tools.
Additionally, IDEA's Debugger is particularly valuable for understanding SpringBoot's startup process and auto-configuration mechanism. By setting a breakpoint at the SpringApplication.run() method and tracing the startup process step by step, you can see with your own eyes how the IoC container is initialized and how auto-configuration classes are loaded and conditionally evaluated one by one—this "hands-on" debugging learning often builds a deeper understanding of the framework than reading ten articles on the principles.
Regarding how to obtain IDEA, here's a special reminder: The "cracked versions" or low-priced activation channels circulating online constitute copyright infringement and pose legal and security risks. In fact, JetBrains officially provides free educational licenses for students and educational users, and individual learners can also directly use the free IntelliJ IDEA Community Edition. This edition is released under the Apache 2.0 open-source license and, although it lacks some enterprise-level features (such as dedicated Spring framework support), it fully meets the basic needs of Java learning and SpringBoot development. Beginners are advised to obtain it through legitimate channels.
First Hands-On Step: Create Your First Java Project
Once the tools are ready, you can begin with the most basic operations:
- Open IDEA and select New Project
- Create a basic Java SE project
- Choose an appropriate JDK version
- Click Create to build the project in the current window
Regarding the choice of JDK version, this is a decision that beginners easily overlook but which has far-reaching effects. Since Java's birth in 1995, it has developed dozens of versions, but not all versions deserve learners' attention. Oracle divides Java versions into two categories: Long-Term Support (LTS) versions and non-LTS versions. LTS versions enjoy several years of official security patches and update support, making them the first choice for enterprise production environments; non-LTS versions are released every 6 months, primarily for developers to experience new features.
Currently, mainstream enterprise production environments use JDK 8, JDK 11, and JDK 17 (all LTS versions), among which JDK 8 still exists in large numbers in legacy systems due to its historical accumulation, while JDK 17 has become the recommended baseline for new projects, and JDK 21 (the latest LTS released in 2023) is gradually being adopted by new projects. This choice directly affects SpringBoot learning: SpringBoot 3.x versions require a minimum of JDK 17, while SpringBoot 2.x supports JDK 8 and above. Beginners are advised to directly choose JDK 17, which both keeps pace with the trend of new industry projects and directly supports all features of SpringBoot 3.x, avoiding the debugging costs of subsequent version incompatibilities.
It's worth mentioning that JDK 17, compared to JDK 8, introduced a large number of language features that improve the development experience, including: Record (replacing what originally required dozens of lines of data-carrier classes with a single line of code, perfectly fitting the DTO usage scenario in SpringBoot), Sealed Class (precisely controlling class inheritance hierarchies), Text Block (multi-line string literals, convenient for inlining JSON/SQL templates), and more. These features are widely used in modern SpringBoot 3.x projects, and choosing JDK 17 from the start keeps your learning path consistent with actual engineering practice.
After the project is created, the first thing to do is create a most basic class. For zero-foundation students, this is a good place to stop and ponder an essential question: What exactly is a class?
A "Class" is the basic unit of Object-Oriented Programming (OOP). It is an abstract model of real-world entities or business concepts. But many beginners' understanding of it remains only at the syntax level, without establishing engineering intuition.
In actual SpringBoot development, classes have very specific roles: @Controller classes are responsible for receiving and handling HTTP requests (equivalent to a front-desk receptionist), @Service classes handle core business logic (equivalent to the business processing department), and @Repository classes handle database CRUD operations (equivalent to the archive room)—this layered design directly corresponds to the classic MVC (Model-View-Controller) architecture in enterprise development. MVC is a software design pattern that divides an application into three layers: data model (Model), view presentation (View), and control logic (Controller). It was first proposed by Trygve Reenskaug in 1978 at Xerox PARC and has now become one of the most prevalent architectural paradigms in the field of web development.
In actual SpringBoot projects, this layering is often further refined: the Controller layer is only responsible for parameter validation and response encapsulation, the Service layer carries the core business logic, and the Repository layer (or Mapper layer) focuses on database interaction. The layers are decoupled through interfaces—this design means that when replacing the database implementation (for example, migrating from MySQL to PostgreSQL), you only need to modify the Repository layer, while the Controller and Service layers are completely unaffected. This is precisely the concrete embodiment of the software engineering principle of "high cohesion, low coupling" in layered architecture.
After understanding the essence that "a class is an abstract model of real-world entities," when you look at SpringBoot's layered annotations again, you'll find they are nothing more than the modularization philosophy of software engineering concretized into code organization standards, rather than mysterious "magic symbols."
The timing of raising this question is crucial—not throwing out abstract concepts before the project has even been set up, but introducing the core object-oriented concept of "class" after you have already hands-on created a project and have a concrete context. This "do first, explain later" order is precisely the concrete implementation of the "focus on the big picture, let go of the small" methodology.
From Java Fundamentals to SpringBoot: Completing the Project Evolution
After understanding the concept of classes, the entire learning chain can proceed smoothly:
- Java Basic Syntax → Understanding program execution logic
- Object-Oriented Thinking → Establishing modular programming concepts
- Spring Framework Core → Mastering Dependency Injection and Inversion of Control
- SpringBoot Auto-Configuration → Simplifying the cumbersome configuration of traditional Spring
- The First Runnable Enterprise-Level Endpoint → Completing the full loop from zero to project
Understanding the Spring Framework Core: Dependency Injection and Inversion of Control
Dependency Injection (DI) and Inversion of Control (IoC) are the most core design philosophies of the Spring framework and the foundation of the entire Spring ecosystem. Understanding these two concepts is the real threshold for learning SpringBoot.
To illustrate with a real-life analogy: suppose you open a restaurant. The traditional programming approach is equivalent to the chef going to the market to buy ingredients themselves (an object creating its dependencies via the new keyword); whereas the IoC approach is that the restaurant hires a procurement specialist (the Spring IoC container), and the chef only needs to declare "I need tomatoes and eggs," while the procurement specialist is responsible for delivery (dependency injection). This pattern means the chef (business class) doesn't care at all where the ingredients (dependency objects) come from or how they are created, and only focuses on cooking itself (business logic).
Inversion of Control refers to the transfer of the authority for object creation and lifecycle management from the programmer's hands to the framework container (the Spring IoC Container, essentially a registry that maintains all Bean objects); Dependency Injection is where the container automatically "injects" the dependencies required by objects, and developers only need to declare their needs through annotations like @Autowired and @Resource. This design greatly reduces the coupling between modules (high coupling means that modifying one module triggers a chain reaction), making the code easier to test (Mock objects can be conveniently injected to replace real implementations) and maintain.
Here it's necessary to specifically explain the core concept of Bean—in the Spring context, a Bean specifically refers to a Java object whose creation, lifecycle management, and dependency relationships are handled by the IoC container. Not all Java objects are Beans. Ways to register Beans include: annotating classes with @Component, @Service, @Repository, @Controller, etc. (the component scanning approach), or explicitly declaring them through @Bean methods in @Configuration classes. The default scope of a Bean is Singleton, meaning the IoC container maintains only one instance throughout the entire application lifecycle, which is also one of the important reasons for the high memory efficiency of SpringBoot applications.
Besides the default singleton scope, Spring also provides the Prototype scope (a new instance is created for each request, suitable for stateful objects), and the Request and Session scopes (only valid in a web environment, bound to the lifecycle of a single HTTP request or user session, respectively). Understanding the applicable scenarios of different scopes can help you avoid a common class of concurrency bugs—for example, when injecting a prototype Bean into a singleton Bean, if not handled properly, the prototype Bean will actually degenerate into singleton behavior, because the singleton Bean is only initialized once, and its dependencies are only injected once. Understanding the essence of Beans is the key leap from "being able to use annotations" to "understanding container behavior."
If beginners fail to build intuitive understanding of these two concepts before entering SpringBoot, they often feel confused about annotations like @Autowired, @Component, and @Bean, not knowing why the object automatically exists when "nothing was written," nor understanding why annotations should be used instead of directly new-ing an object. This is precisely the deeper reason why many people still "haven't gotten started" after six months of study—they know how to use it at the operational level, but don't know "why it's designed this way."
Understanding the Underlying Logic of SpringBoot Auto-Configuration
SpringBoot's core magic—Auto-Configuration—is built upon the "convention over configuration" philosophy, an idea that was first vigorously promoted and validated by the Ruby on Rails framework in 2004, and later widely adopted by the Java ecosystem. Its core idea is: the framework presets a set of reasonable default behaviors, and developers only need to make explicit configurations when they need to deviate from the defaults, without having to write configuration code for every ordinary scenario.
The underlying implementation mechanism of SpringBoot auto-configuration is: registering hundreds of auto-configuration classes through the META-INF/spring.factories file (before SpringBoot 2.7) or the META-INF/spring/org.springframework.boot.autoconfigure.AutoConfiguration.imports file (SpringBoot 2.7+). Each configuration class uses @ConditionalOn series conditional annotations like @ConditionalOnClass, @ConditionalOnMissingBean, and @ConditionalOnProperty to dynamically determine whether the current environment satisfies the activation conditions and thus decide whether to take effect.
Here's an extremely valuable debugging tip: add debug=true in application.properties, and when SpringBoot starts, it will print an Auto-configuration Report to the console, detailing which auto-configuration classes were activated (Positive matches), which were skipped because conditions were not met (Negative matches), and the specific reasons for skipping. When you encounter the confusion of "why didn't a certain feature automatically take effect," this report can often provide an answer in seconds, making it one of the most efficient tools for troubleshooting auto-configuration issues.
Here's a concrete example: when you introduce the "starter" dependency spring-boot-starter-web in pom.xml (Maven's dependency management file), SpringBoot detects the presence of Tomcat and Spring MVC related classes in the classpath, and then automatically activates the web-related auto-configuration classes, fully configuring for you a complete set of components needed for web development, including the embedded Tomcat server, DispatcherServlet (request dispatcher), Jackson (JSON serialization tool), and more—all without any XML configuration, and you don't even need to separately install and deploy Tomcat.
Understanding RESTful API and HTTP Protocol Fundamentals
Understanding RESTful API and HTTP protocol fundamentals is crucial for truly making good use of SpringBoot's web components. SpringBoot's most common application scenario is precisely building RESTful API services. REST (Representational State Transfer) is an architectural style proposed by Roy Fielding in his doctoral dissertation in 2000. Its core constraints include: statelessness (each request contains all the information needed for processing, and the server does not store client session state), uniform interface (operating resources through standard HTTP verbs), and resource-oriented (abstracting all entities on the server side as addressable resources, identified by URI).
In practice, RESTful APIs express operation semantics through HTTP verbs: GET to retrieve resources (idempotent, no side effects), POST to create resources (non-idempotent), PUT to fully update resources (idempotent), PATCH to partially update resources, and DELETE to delete resources (idempotent). The server communicates operation results to the client through HTTP status codes: 2xx indicates success (200 OK, 201 Created), 4xx indicates client errors (400 Bad Request, 401 Unauthorized, 403 Forbidden, 404 Not Found), and 5xx indicates server errors (500 Internal Server Error, 503 Service Unavailable). The mainstream data exchange format is JSON.
Understanding the HTTP protocol's request/response model, the meaning of status codes, and the structure of request Headers and Body is the necessary prerequisite knowledge for understanding the logic behind SpringBoot annotations such as @GetMapping, @PostMapping, @RequestBody, @PathVariable, and @RequestParam. When you clearly know that "this annotation is telling the framework how to route and map an HTTP GET request to this method, and extract parameters from the URL path," the annotation is no longer magic, but a declarative configuration with clear semantics.
The Maven involved here is worth a brief explanation: Maven is a Java project build and dependency management tool launched by the Apache Software Foundation. Through a central repository (Maven Central Repository, currently hosting over 9 million artifacts), it uniformly manages the download, version locking, and transitive dependency relationships of all third-party libraries. pom.xml is precisely the core description file of a Maven project. The ability of Starters like spring-boot-starter-web to "introduce a whole set of components with a single dependency" is built precisely on Maven's transitive dependency mechanism—introducing a Starter automatically brings in all necessary sub-dependencies, saving the tedium of manually managing versions one by one.
Particularly noteworthy is spring-boot-starter-parent—SpringBoot projects usually inherit it as the parent POM. It predefines the recommended versions of hundreds of commonly used dependencies (managed through dependencyManagement), so that when developers introduce most dependencies within the SpringBoot ecosystem, they don't need to manually specify version numbers, fundamentally solving the "dependency version conflict" problem that has long plagued developers in the Java ecosystem. Understanding the version arbitration mechanism of the parent POM is an important foundation for subsequent dependency troubleshooting and custom version overrides.
Besides Maven, Gradle is another build tool widely used in Android development and modern Java projects. Gradle uses Groovy or Kotlin DSL instead of XML to write build scripts, with more concise syntax and better performance in incremental and parallel builds. SpringBoot provides native support for both build tools, and Spring Initializr allows free choice when generating the project skeleton. For beginners, it's usually recommended to master Maven first, because its configuration is explicit and intuitive, its error messages are easy to troubleshoot, and its online documentation and community resources are more abundant, facilitating a deep understanding of the underlying logic of dependency management; after gaining some foundation, you can then learn how to use Gradle as needed.
Understanding the auto-configuration mechanism is the key leap from "being able to use SpringBoot" to "truly understanding SpringBoot." When you encounter questions like "why does this feature automatically exist?" or "why didn't my configuration take effect?", tracing back along the conditional judgment chain of auto-configuration can often quickly find the root cause.
Every step has a clear "why" as support, rather than mechanically typing code following the steps. This is precisely the most easily overlooked yet most important part of SpringBoot introductory learning.
Summary: The Correct Learning Logic for Quickly Getting Started with SpringBoot
Setting aside the specific code details, what zero-foundation learners of SpringBoot truly need to internalize is the learning methodology itself:
- Don't dwell excessively on a single knowledge point, and avoid falling into the inefficient loop of "grinding problems to prove yourself"
- First establish a global view of the technology, understanding why the technology exists and how it evolved
- Set "getting the project running" as a phased goal, driving continuous learning with a sense of accomplishment
- Use professional tools from the start (IDEA), developing good development habits
For any zero-foundation student who wants to quickly get started with SpringBoot, the path of "progressively evolving from a simple Java project to an enterprise application" can indeed help you avoid detours. But you should also soberly recognize: quick onboarding is just the starting point. Real engineering capability still needs to be continuously honed in subsequent ongoing project practice.
Key Takeaways
Related articles
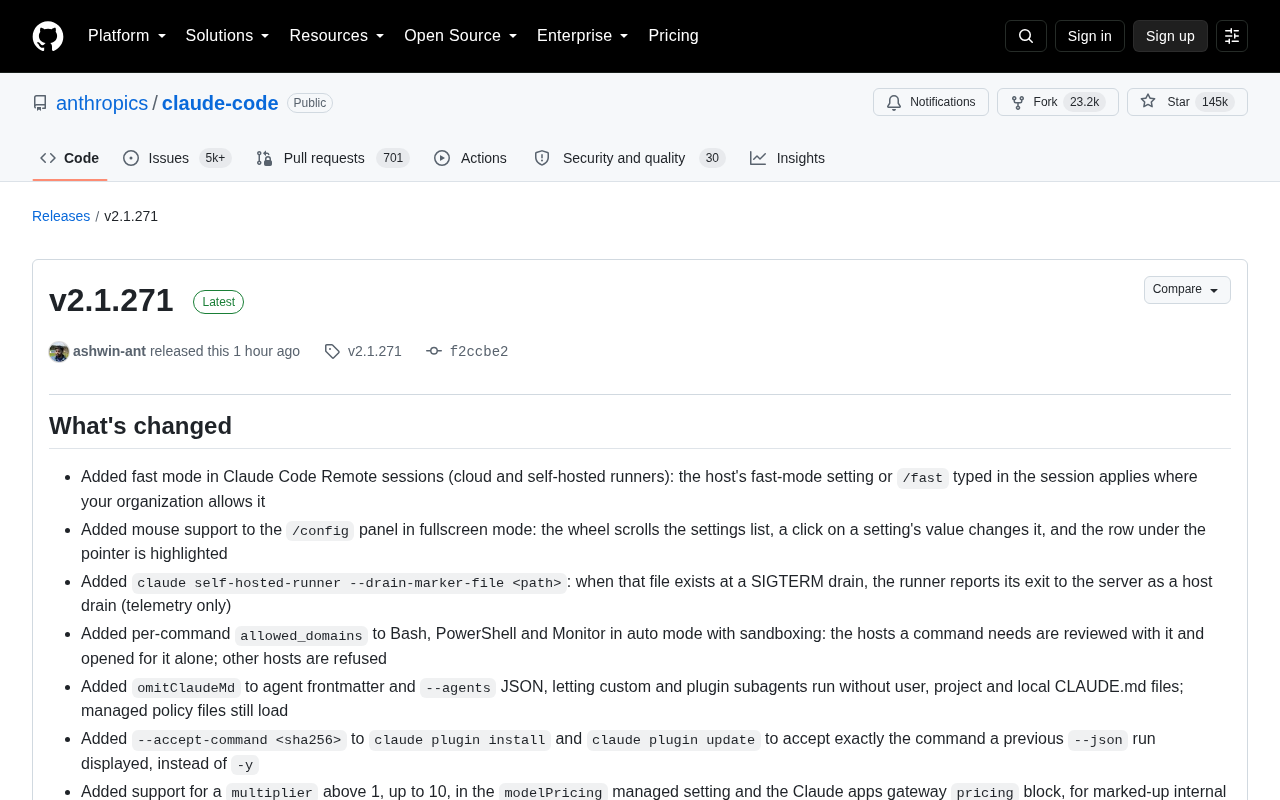
Claude Code v2.1.271 Update Deep Dive: Fast Mode, Sandbox Security, and Enterprise Improvements
Claude Code v2.1.271 adds fast mode for remote sessions, per-command sandbox network controls, enterprise policy fixes, MCP protocol improvements, and terminal/IDE enhancements.
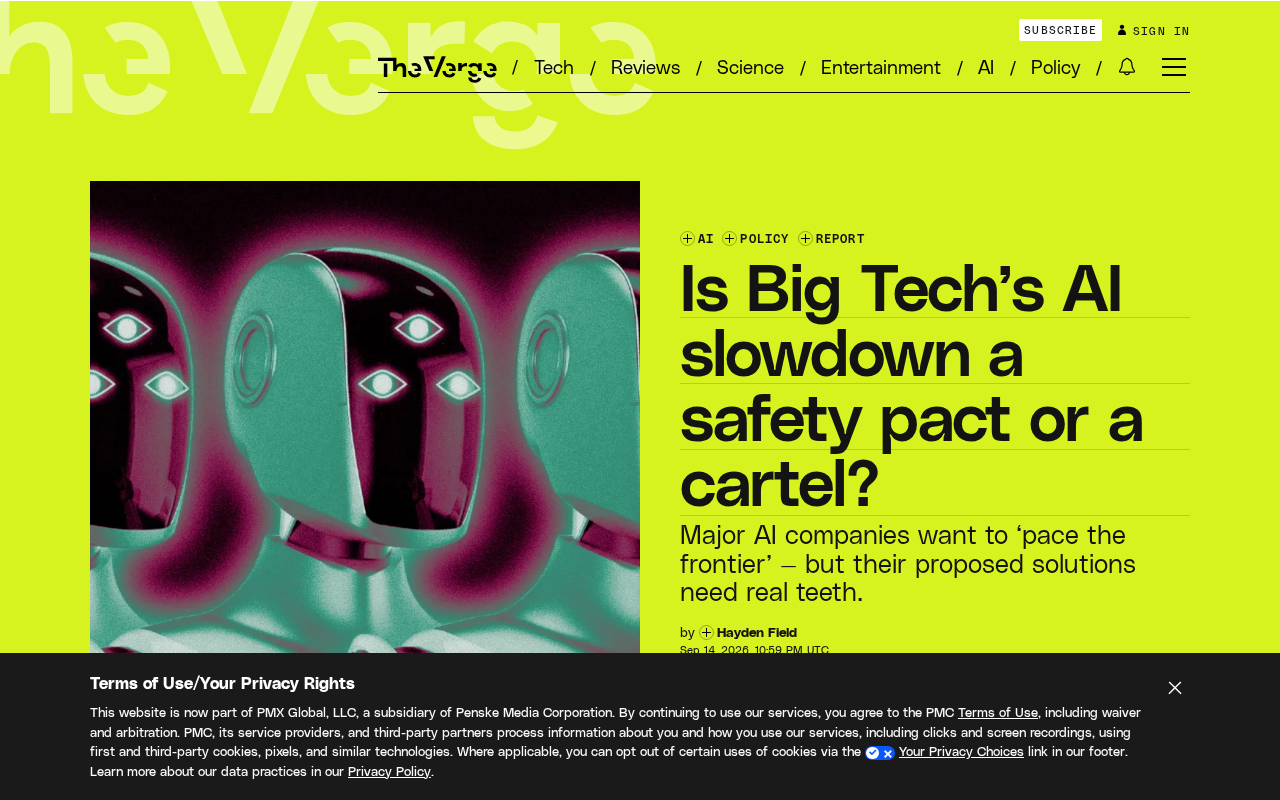
AI Giants Collectively Hit the Brakes: Safety Protocol or Industry Cartel?
OpenAI, Anthropic, Google DeepMind, and SpaceX leaders agree to slow AI development. Is this a responsible safety pact — or an oligopolistic cartel in disguise?

Apple Home Gets AI Camera Features with iOS 27: Up to $60/Month
iOS 27 and tvOS 27 bring Apple Intelligence to Apple Home with AI video summaries for HomeKit Secure Video — but unlocking them costs up to $60/month via subscription.