Setting Up the DeepSeek Harness Environment: A Complete Guide to Node.js Installation and Configuration
Step-by-step guide to installing Node.js and configuring environment variables for DeepSeek Harness.
Based on a hands-on tutorial by Bilibili creator Pange, this article walks through the complete process of setting up a Node.js environment for DeepSeek Harness on Windows. The three key stages are: verifying or installing Node.js via the command line, changing the install directory away from the C drive and enabling Add to PATH, and using npm config commands plus system environment variables to redirect global packages and cache to a custom location. The two most common pitfalls are forgetting to open a new terminal window after installation and skipping environment variable configuration, which causes plugin packages to accumulate on the C drive.
DeepSeek Harness is an AI agent framework that depends on a Node.js environment to install and run. For beginners, the first hurdle is often not the framework itself, but getting Node.js correctly installed and configured with the right environment variables. This guide is based on a hands-on tutorial by Bilibili creator Pange, and walks you through a fully reproducible setup process so you have a solid foundation before diving into DeepSeek Harness.
Why You Need Node.js First
DeepSeek Harness is built on top of Node.js — without it, the framework simply won't start. Before you begin, it's worth checking whether Node.js is already installed on your machine.
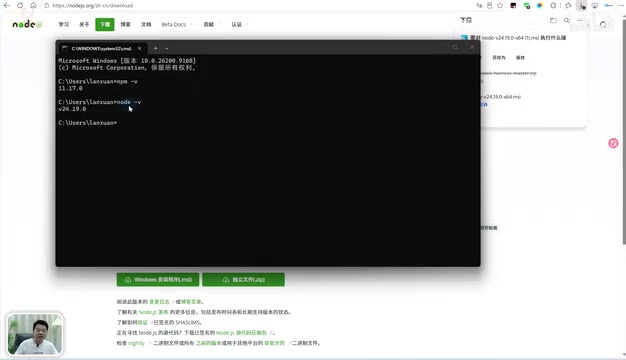
The verification method is straightforward: press Windows + R to open the Run dialog, type CMD to open a command prompt, and run these two commands:
node -v— check the Node.js versionnpm -v— check the npm version
If either command fails with a message like "not recognized as an internal or external command," Node.js is either not installed or the installation is broken and needs to be redone.
Node.js is a JavaScript runtime built on Chrome's V8 engine, allowing JavaScript code to run directly on the operating system outside of a browser. npm (Node Package Manager) is bundled with Node.js and handles downloading, installing, and managing third-party libraries and frameworks. Agent frameworks like DeepSeek Harness are typically distributed as npm packages, with their dependencies pulled in automatically — making Node.js and npm essential prerequisites. Node.js is released in two tracks: LTS (Long-Term Support) and Current (latest features). For everyday development and tooling, the LTS version is recommended for its stability.
Key Steps for Installing Node.js
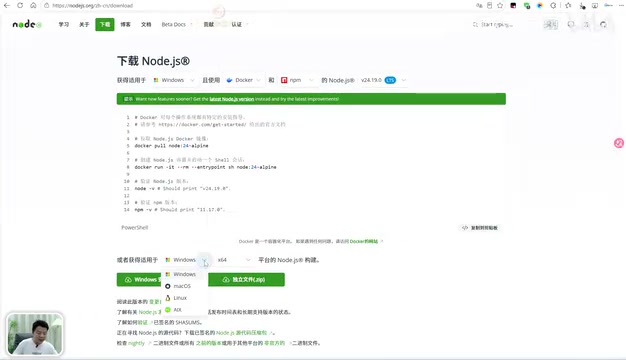
When downloading the installer from the Node.js official website, select the version that matches your operating system. Windows users can download the version shown by default; Mac users should use the dropdown to switch to the appropriate version before downloading.
There are two details worth paying close attention to during installation:
First, change the installation directory. The installer defaults to the C drive. Pange recommends changing this to another drive (e.g., the F drive) and creating a new directory with no Chinese characters in the path (for example, named Node.js). The reason is practical — letting too much accumulate on the C drive slows down the entire system.
Second, check "Add to PATH". Make sure the "Add to Path" option is checked at the appropriate step so the system can recognize the node and npm commands globally. After that, click Next through the remaining steps — the installation is usually quick.
How to Properly Verify the Installation
Here's a pitfall that's easy to overlook: after installation, you must open a brand-new command prompt window before running node -v and npm -v. If you run these in a window that was already open before the installation, the system will still report the commands as unrecognized — because that old window hasn't loaded the updated environment variables. As long as the new window outputs both version numbers correctly, Node.js is successfully installed.
Configuring the npm Global and Cache Directories
Configuring environment variables is optional, but highly recommended. Without it, packages downloaded via npm will default to the C drive. As your use of DeepSeek Harness grows and more plugins accumulate, this puts considerable pressure on C drive storage.
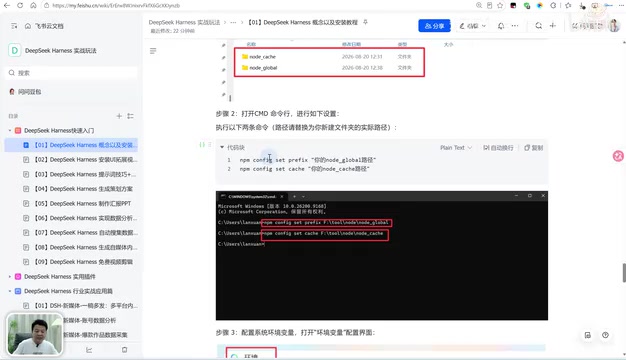
The approach is to redirect both the download path and cache path to custom directories. The tutorial does this as follows:
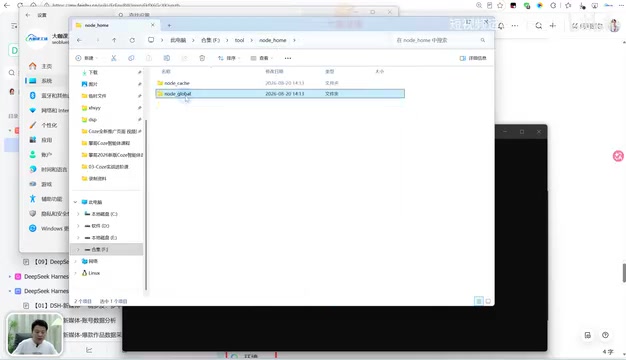
- Create a root directory under your tools folder (e.g.,
node_home) - Inside it, create two subdirectories: one for global packages (
node_global) and one for cache (node_cache) - Use npm config commands to set
prefixto the global path andcacheto the cache path
Once configured, some files will be automatically generated in the cache directory, confirming the settings took effect.
The npm global directory (prefix) and cache directory (cache) can be set precisely via the command line. The commands are:
npm config set prefix "F:\node_home\node_global"
npm config set cache "F:\node_home\node_cache"
Afterward, run npm config list to view the current configuration and confirm both paths are written correctly. The global directory stores executable commands and modules installed with npm install -g; the cache directory saves local copies of downloaded packages so that reinstalling the same version doesn't require another network download — significantly speeding up future installations. Both settings are stored in the .npmrc file in your user directory. To restore defaults, delete that file or edit it manually.
Configuring System Environment Variables
Setting the npm download directory alone isn't enough — you also need to tell the system where to find these files. That requires editing the system environment variables.
Navigation path: Right-click "This PC" → Properties → Advanced system settings → Environment Variables.
Under system variables, create a new variable named NODE_PATH, with its value pointing to the node_modules folder inside the global directory.
Then edit the Path variable and add two entries:
- The full path to the global directory
%NODE_PATH%, which references the variable you just created
Click OK through each dialog to save. From this point on, packages installed or downloaded via npm will land in your custom directory instead of piling up on the C drive.
Verifying the Configuration
Once everything is configured, you can run the test command provided in the tutorial to trigger a download. After it completes, navigate to the node_modules folder inside your global directory — if you can see the relevant content written there, the environment variable configuration is correct and your Node.js environment is ready to go.
Windows environment variables come in two levels: "User variables" (effective only for the currently logged-in account) and "System variables" (effective for all users). The tutorial modifies system variables, which is appropriate for a personal computer used by one person. On a shared machine, if you don't want changes to affect other accounts, make the additions under user variables instead. The Path variable is a list of directory paths — when the OS executes a command, it searches each path in order until it finds the corresponding executable. Adding the npm global directory to Path is what allows the system to locate globally installed CLI tools from anywhere, including any CLI entry points that DeepSeek Harness may provide. The %NODE_PATH% syntax references the variable of the same name, so if you update NODE_PATH's value, any Path entries referencing it will automatically reflect the change without requiring additional edits.
Summary
The core goal of this entire process is simple: build a reliable runtime foundation for DeepSeek Harness. The workflow comes down to three stages — install Node.js with "Add to PATH" checked, move the npm global and cache directories off the C drive, and configure system environment variables so the system can locate everything correctly. The two most common pitfalls are: forgetting to open a new command prompt window when verifying the installation, and neglecting to change the default install path, which causes the C drive to balloon over time. With the environment set up, you're ready to move on and start actually using the DeepSeek Harness framework.
Related articles
vLLM v0.30.0rc1 Released: Isolates FlashInfer BF16 Autotuning Logic
vLLM v0.30.0rc1 release candidate fixes FlashInfer BF16 autotuning isolation (PR #57285). Learn the technical background and its impact on inference deployment.
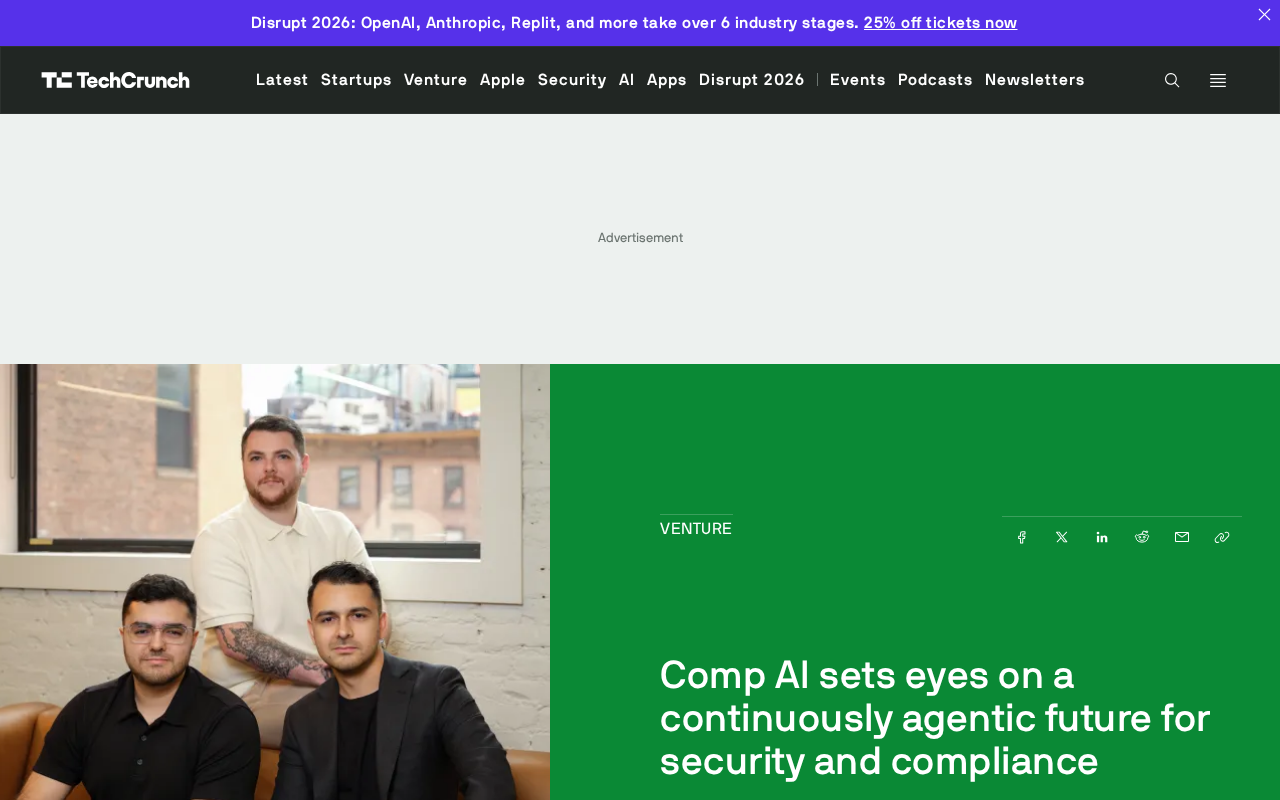
Comp AI Raises $34M Series A, Bets on Agentic Security Compliance
Comp AI raises $34M Series A led by Roo Capital and Grand Ventures, betting on "continuously agentic" AI to transform compliance from periodic audits into real-time monitoring.

MIT Technology Review's 35 Innovators Under 35: A Climate Tech Edition Explained
MIT Technology Review's latest 35 Innovators Under 35 list focuses on climate tech, spotlighting nine young global innovators. Here's what the list means and why it matters.