LM Studio vs Ollama vs vLLM: A Deep Dive into Local LLM Deployment Tools
A practical comparison of LM Studio, Ollama, and vLLM to help you pick the right local LLM tool.
This article compares three leading local LLM deployment tools. LM Studio offers a fully graphical interface for non-technical users. Ollama is developer-friendly via the command line with strong extensibility, though its default Q4 quantization can hurt accuracy in production tasks. vLLM targets enterprise high-concurrency workloads with top-tier performance and NVFP4 support, but requires Linux and 90%+ VRAM at startup. Choose based on your hardware and use case.
Running large language models locally is becoming a must-have for a growing number of developers and AI enthusiasts — whether for data privacy reasons or to cut down on API costs, hosting models on your own machine is an increasingly attractive option. But with so many tools to choose from, LM Studio, Ollama, and vLLM each have their devoted fans. Which one should you actually pick? This article is based on hands-on testing and comparisons, breaking down the differences across ease of use, target use cases, and performance — all in one place.
LM Studio: A GUI Lifesaver for Absolute Beginners
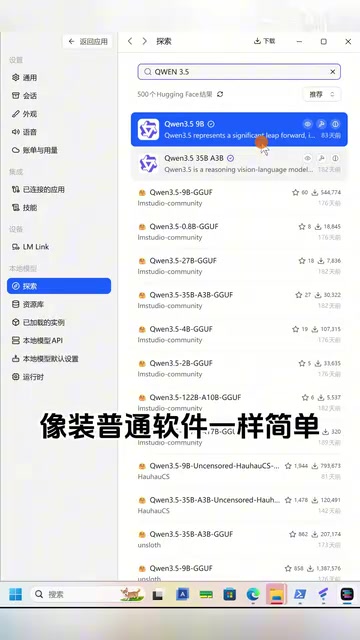
If you have zero interest in touching the command line, LM Studio is just about the only right answer. It supports all major platforms, offers a fully graphical interface, and installs just like any other desktop application. A few clicks and you can download models directly from Hugging Face.
Taking things further, the latest Bionic agent version transforms LM Studio from a simple "model runner" into a local AI assistant. It can read local code files, analyze long documents, and integrate model inference directly into real productivity workflows. For users who want to quickly experience local LLMs without any technical background, LM Studio has the lowest barrier to entry of the three.
Its positioning is crystal clear: trade some flexibility and peak performance for an out-of-the-box experience. That also means it's best suited for personal experimentation and light everyday use — not high-load production scenarios.
Ollama: The Command-Line Favorite for Developers
Ollama requires the command line, which sounds more intimidating — but in practice, the experience is surprisingly approachable. Its installer is well-designed, and running a model is as simple as copying and pasting a single command from the official model library. The actual learning curve is minimal.
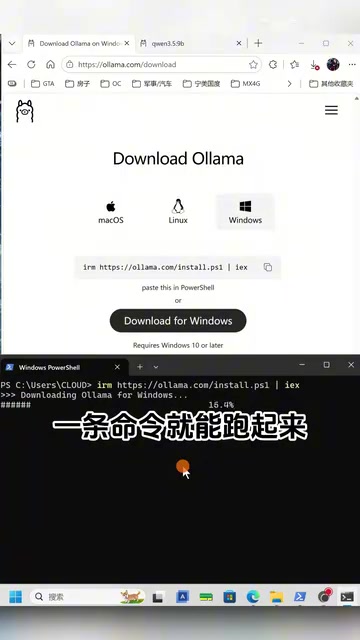
Where Ollama really shines is extensibility. You can run it quietly in the background for code testing, or layer a web-based front end on top to build your own personal AI chat interface. This flexibility has made it the go-to choice among developers.
There is one important caveat: Ollama downloads Q4 quantized models by default. This quantization format has a small VRAM footprint and runs fast, but it comes at the cost of reduced accuracy and more noticeable hallucinations. In other words, Ollama's default setup is great for tinkering and experimentation, but if you need it to support rigorous productivity tasks, you'll need to manually switch to a higher-precision model variant — otherwise, output quality can be unreliable.
What is Q4 Quantization? Q4 quantization (4-bit quantization) compresses model weights from their original 16-bit or 32-bit floating-point representation down to 4-bit integers. This reduces model size to roughly one-quarter of the original, dramatically cuts VRAM usage, and speeds up inference — at the cost of precision. The model's ability to "remember" fine details degrades, making it more prone to hallucinations (confidently generating incorrect information) on tasks requiring precise reasoning or long-context understanding. By comparison, Q8 quantization retains more precision, while FP16 (half-precision floating point) comes closest to the original model quality but demands the most VRAM. Ollama's model library typically offers multiple quantization variants. Choose based on your GPU's VRAM and task requirements: Q4 is fine for casual chat and code completion, but for rigorous analysis, long-document processing, or any scenario where minimizing hallucinations matters, consider switching to Q6 or Q8.
vLLM: Heavy-Duty Hardware for Enterprise Use

Unlike the other two, vLLM isn't built for individual users — it's a production-grade tool designed for multi-GPU workstations and enterprise servers. Its inference performance far exceeds the other two, and it natively supports cutting-edge data formats like NVFP4, making it the top choice for high-concurrency, high-throughput scenarios.
But that power comes with a steep barrier to entry. vLLM must run on Linux, requires manual compilation and virtual environment configuration, and is decidedly unfriendly to newcomers. While it can theoretically run via Windows WSL, WSL introduces additional VRAM overhead, making performance noticeably worse than running on a bare-metal Linux system without a desktop environment.

Another critical gotcha: to squeeze out maximum speed, vLLM immediately claims over 90% of available VRAM at startup to build a KV cache pool. This means that unless you have two or more top-tier GPUs, jumping into vLLM will likely result in a frustrating experience. For personal users, vLLM is almost certainly overkill — or simply won't run at all.
What are NVFP4 and WSL? NVFP4 is NVIDIA's 4-bit floating-point format (as opposed to traditional integer-based INT4 quantization), with hardware-level acceleration support on Blackwell architecture GPUs (such as the RTX 50 series). Compared to INT4 quantization, the FP4 floating-point format offers better dynamic range representation, preserving stronger model performance at extremely low precision. WSL (Windows Subsystem for Linux) is Microsoft's built-in Linux compatibility layer for Windows, allowing users to run Linux command-line tools without a dual-boot setup. However, its GPU passthrough mechanism introduces additional VRAM overhead and performance penalties — a significant drawback when GPU resources are already tight. For this reason, vLLM's optimal environment is a bare-metal Linux installation with no desktop GUI.
How to Choose Between the Three
Once you map out the core differences, the decision logic becomes straightforward:
- Complete beginner, just want to try it out: Go with LM Studio — zero-barrier GUI with a built-in AI assistant.
- Developer, everyday experimentation: Choose Ollama — flexible, extensible command-line tool, but remember to adjust quantization precision based on your use case.
- Enterprise-grade, high-concurrency production: Go with vLLM — maximum performance, but only if you have a Linux environment and multiple top-tier GPUs.
There is no single "best" tool for local LLM deployment — only the tool that best fits your specific scenario. Personal experience, development experimentation, and enterprise production are three completely different paths. Clarify your hardware setup and usage goals first, then match the tool to the task, and you'll save yourself a lot of unnecessary trouble.
Related articles

Hierarchical RAG Architecture Research: How Independent Developers Can Break Into Academic Research
An indie developer on Reddit seeks IR professor guidance for hierarchical RAG research. This article explores the technical background and practical advice for independent AI researchers facing academic barriers.
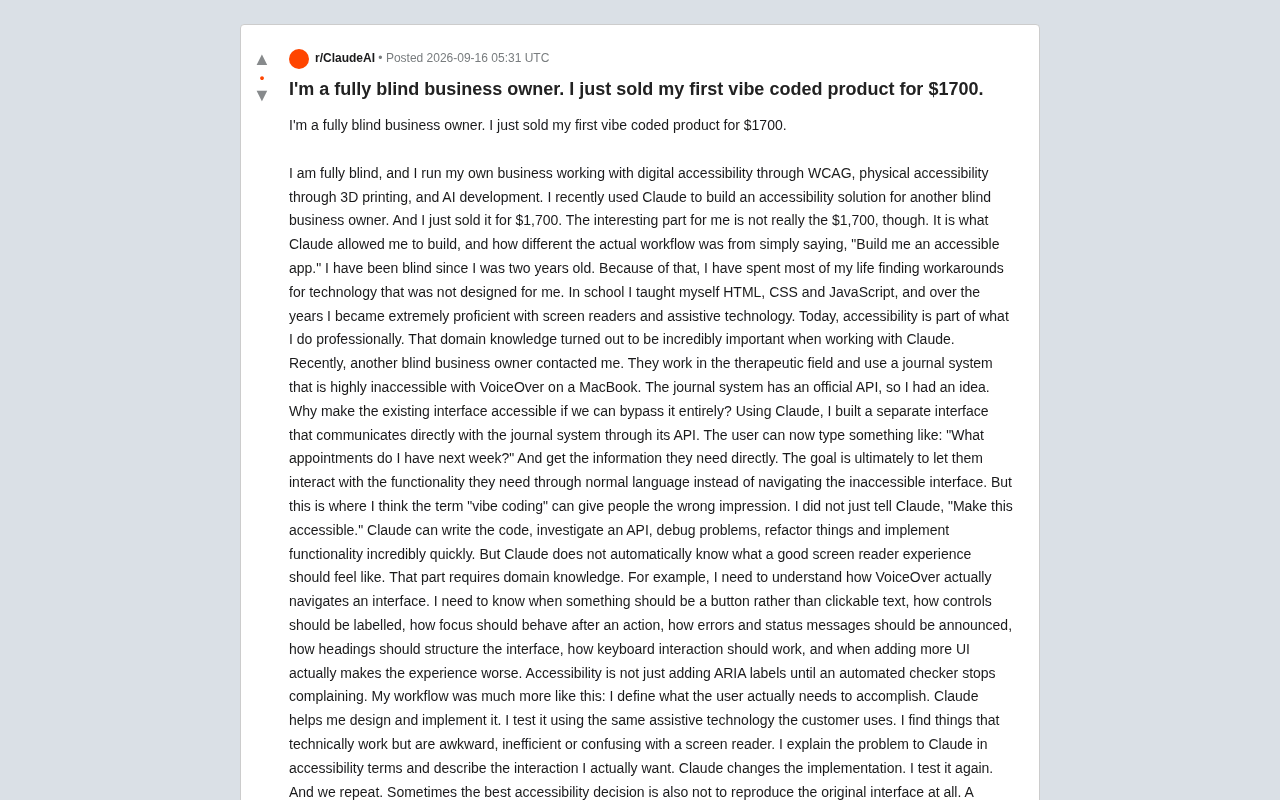
Blind Entrepreneur Uses Claude to Build Accessible Product, Sells It for $1,700
A blind entrepreneur used Claude to build an accessible tool for a blind client and sold it for $1,700 — revealing why domain knowledge, not just AI, makes products truly usable.
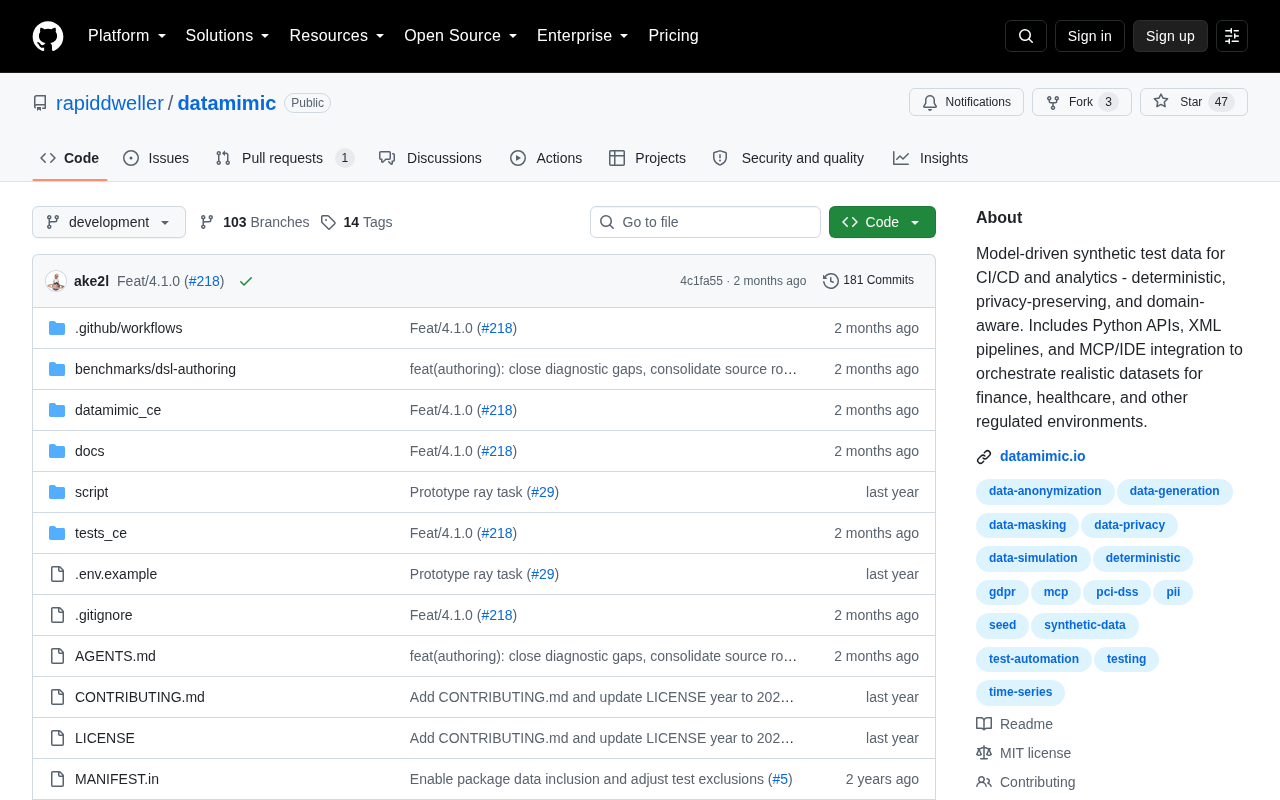
Datamimic: Giving AI Coding Assistants a Controlled Test Data World
Datamimic is an open-source tool arguing against letting AI coding agents fabricate test data. This article examines the reliability risks of AI-generated test data and the value of controlled test data for development quality.