Stop Randomly Downloading Local Models: A Complete Workflow Using llmfit to Filter Before You Test
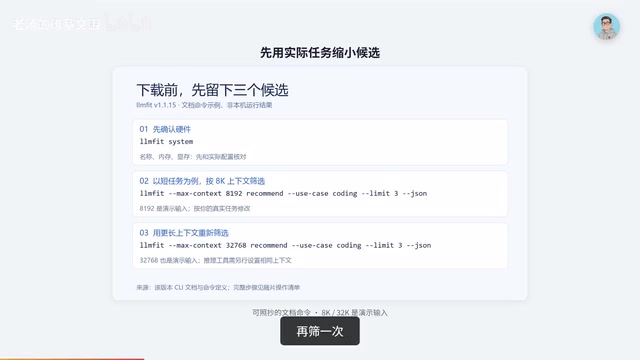
llmfit filters local LLM candidates by hardware, quantization, and task before you download anything.
llmfit (LMF8) solves a core problem: local LLMs are plentiful, but blind downloading leads to slowdowns caused by mismatched quantization, context length, or hardware fit. The tool first reads your GPU VRAM and system RAM, then filters three candidates based on your actual task's context length and use case — comparing quantization, context overhead, and GPU/CPU offload options in one table. It also supports reverse planning: fix the model you want, then find out how much hardware you're missing. Speed estimates have been improved with local benchmarks after early criticism, but you should always check whether numbers are measured or formula-derived. Final validation still requires running both candidates on a real task under identical conditions.
The number of local large models keeps growing. If you just follow benchmark leaderboards and download everything in sight, your drive fills up fast — and the moment you wire a model into a real project, things grind to a halt. The problem usually isn't just parameter count; it involves quantization format, context length, and how the model runs. That's exactly what llmfit (referred to as LMF8 throughout this article) is built to solve: turning "blind downloading" into "filter down to three candidates first, then commit based on your own task."
The author admitted on Hacker News that the original motivation for building this tool was to justify buying a more powerful laptop — figure out exactly what hardware is missing before deciding whether to spend the money. That pragmatic starting point defines the tool's purpose: it gives you planning data, not final answers. This article covers version 1.1.15.
Hardware Detection First, Model Recommendations Second
LMF8's core logic is to estimate models, quantization levels, and runtime modes all in one table — and that entire calculation depends on correctly reading your hardware.
Installation varies by platform: on Windows, if you already have Scoop installed, just run the install command shown in the interface; otherwise, download the appropriate architecture archive from the official Releases page and run it directly. Mac and Linux users can use the official Homebrew formula. Once launched, you work inside a terminal UI. At this stage you're only doing hardware assessment — you don't need to download a large model just to see recommendations.
The first thing to do after opening it is not to chase the highest score, but to verify the hardware info shown at the top: GPU name, VRAM, system RAM — does it match your actual setup? The author specifically warns that if your machine has a discrete GPU but the tool only detects the CPU, switching models won't fix that problem. Use System to check what's been detected; if something looks wrong, use Doctor to diagnose the cause. Every recommendation downstream depends on this step — if the detection is wrong, none of the numbers that follow can be trusted.
Filter Candidates by Real Task Requirements
Suppose you want a local model to help refactor a function. Start with a context of around 8,000 tokens, set the use case to code, and narrow it down to three candidates. If you plan to feed in longer project files later, change the parameter to 32,768 and run another filter pass.
The author emphasizes: those two numbers are just demonstration inputs. Choose based on your actual task, and don't apply recommendations meant for short tasks to long ones. The same model with a different quantization can have significantly different memory footprints — quantization is essentially storing weights more compactly, which typically saves space but may affect output quality. Context length also consumes memory; looking only at the model file size is like "renting a room that only shows you the bed, with no space left for the hallway." So when comparing candidates, always look at quantization, the context length factored into the estimate, and whether the model runs fully on the GPU or needs to offload to the CPU — all together.
What the Combined Score Actually Means
The combined score in the table merges quality, speed, memory fit, and context into a single number. The weights differ between code and chat use cases, so "ranked first" means "worth trying first under these rules" — not that it's already proven correct for your specific project. The practical approach: eliminate the obviously unsuitable candidates first, then take the remaining ones into a real task. This is where LMF8 delivers more value than a simple VRAM compatibility chart.
A note on quantization: Quantization compresses model weights from high-precision floats (like FP16 or BF16) to low-bit integers (like Q4 or Q8). In the common GGUF format, Q4_K_M stores weights in 4-bit integers while Q8_0 uses 8-bit — lower bit depth means smaller files and faster inference, but greater numerical precision loss that can degrade output quality. A 70B-parameter model requires roughly 140 GB of VRAM in FP16, but can shrink to around 40 GB after Q4 quantization. There's no universal right answer: for accuracy-sensitive tasks like code completion, Q5 or Q8 is usually more reliable; for high-tolerance tasks like summarization or casual chat, Q4 is often the best starting point for value.
Reverse Planning: How Much Hardware Are You Actually Short?
You can flip the question around: "I want to run this specific model at a given context length and quantization — how much hardware am I missing?"
Select a model and press lowercase P to enter planning mode; uppercase S lets you temporarily simulate different memory capacities. Note that increasing the capacity only changes the assumption — it doesn't make your actual machine any faster. If a candidate is a tight fit, keep the model fixed and check whether you can shorten the context or switch to a more memory-efficient quantization, then look at the planning view to see what conditions are required for "full GPU / partial offload / CPU-only."
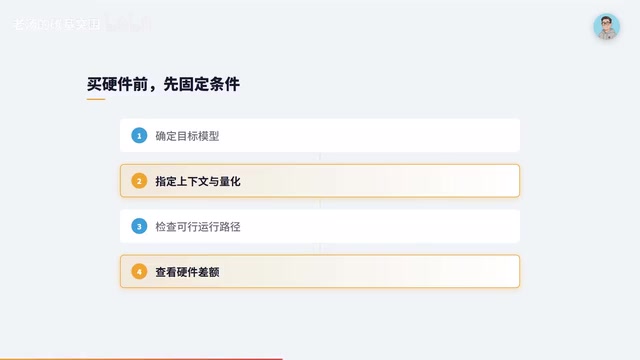
This lets you answer: for this task, is tweaking your configuration enough, or do you actually need more hardware? It provides planning data before you buy anything — but you should still verify real benchmarks for your target hardware before placing an order.
The Speed Estimate Controversy and Clarification
Early on, the speed estimates generated real controversy. Reddit users in March appreciated the tool's consolidated view but felt the speed numbers were too optimistic. The author addressed this in the 1.0 release notes in July: the estimates weren't accurate enough — "you were right" — and the current version incorporates local benchmark data and community measurements. So the old criticism that "it does no real testing at all" no longer holds.
The key question now is: where does the number in front of you actually come from? Select a candidate, include the same context parameters, and use info to view the detailed analysis — pay close attention to the estimation basis and validation method. Speed numbers generally come from one of three sources: tested on this exact machine, tested by others under similar conditions, or purely formula-derived. A calibrated formula is still an estimate. When you see an impressive speed number, ask first: do the model, quantization, hardware, and runtime conditions actually match your setup? If not, don't treat it as your guaranteed baseline.
A note on speed metrics: Two common metrics for evaluating local model speed are Time to First Token (TTFT) and generation speed (tokens/s). TTFT is the wait time from sending a request to receiving the first output token, primarily affected by prompt processing speed. Generation speed is the throughput rate for continuous output thereafter. Both matter: TTFT determines how responsive the interaction feels; generation speed determines how long a lengthy response will take. Full GPU loading generally yields the fastest generation speeds; if a model is partially offloaded to RAM or runs entirely on CPU, generation speed drops significantly and TTFT also increases. Formula-based estimates typically only account for the theoretical upper bound of VRAM bandwidth, ignoring quantization decoding overhead and the effect of context length on attention computation — so optimistic bias is common.
Downloading and Benchmarking: You Have to Run It Yourself
Downloading only comes after you've settled on candidates. Select a model and press lowercase D; if multiple download tools are available, a selection dialog appears. If you're already using Ollama, let it continue managing models; otherwise choose whichever supported runtime you have available.
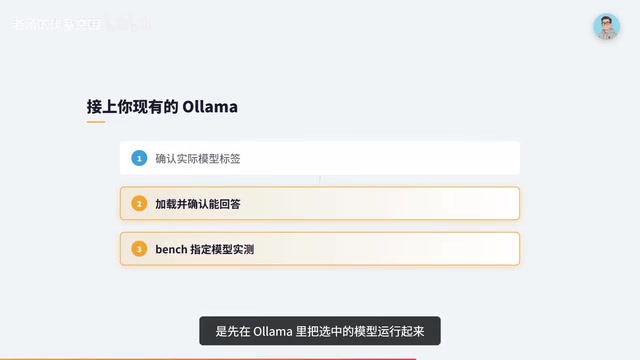
There's a common trap here: LMF8's recommendation table does not mean the model is ready to use. The safest path is to first run the selected model in Ollama, confirm it can respond, and then return to LMF8 to benchmark. Don't copy the model directory name directly as the Ollama model name — use the name your runtime actually lists. You need to be comparing the exact same model at the exact same configuration; if the quantization differs between two tests, any speed comparison is meaningless.
Refresh the terminal UI to update install status, then select the running model and press lowercase B to launch a benchmark following the prompts. The official example runs three inference rounds measuring generation speed and TTFT. Results are saved locally and can also inform future recommendations.
The final call is yours: take the same real code snippet, ask both candidates to fix the same bug, note the context length, quantization, and runtime settings, then look at both how long you waited and whether the fix actually passes your checks. A model that outputs tokens faster but keeps getting the answer wrong may not actually save you time. The right measure of usefulness is how long it takes to get the task right — not just tokens per second.
A note on Ollama: Ollama is one of the most widely used local large model management tools, handling model downloads, version management, and exposing models to applications through a standardized API. It uses its own model naming convention (e.g., llama3:8b-instruct-q4_K_M), which doesn't directly correspond to Hugging Face filenames or GGUF file names. A single base model may have multiple quantized variants in the Ollama library, with tags at the end of the name identifying the quantization level and variant type. The candidate names shown in llmfit come from model metadata; when pulling with Ollama, you need to confirm the full tag in its model library. Copying names directly may result in no match found, or pulling a different quantization variant — which breaks the consistency needed for valid benchmark comparisons.
If You're Already Using LM Studio, Do You Still Need This?
Let's be honest about one thing: LM Studio already has a pre-load memory estimate built in (the estimate only command). If you've already picked a model and just want to confirm whether that one configuration will load, the tool you already have may be sufficient.
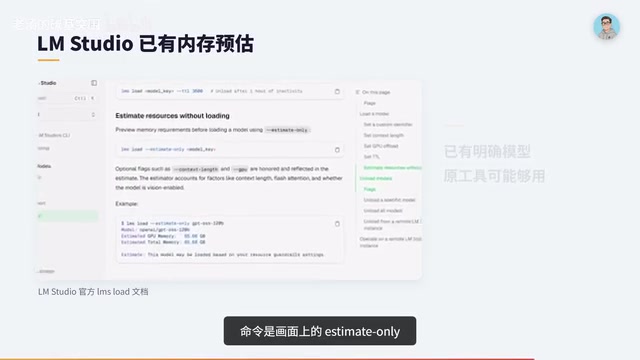
LMF8 is most worth installing when you haven't settled on candidates yet and need to filter across models, quantization levels, and hardware configurations all at once. Ollama primarily handles downloading, loading, and serving models to applications — LMF8 can sit in front of that process for selection, then hand off to Ollama for testing.
Two practical notes: the context length you set in LMF8 is only an estimation parameter — you'll need to set it to the same value separately in your runtime tool. Also, Chinese users may find Chinese documentation available, but the installer and model downloads still depend on access to GitHub, Hugging Face, and similar sites. If detection fails or downloads break, fix those underlying issues before trusting any results downstream.
Bottom line: If you frequently cycle through local models and want to avoid downloading large files you'll never use, it's worth installing for the filtering capability. If you already have a stable model setup, you can safely skip it. Think of it as a sizing chart before trying on clothes — it reduces the chance of grabbing the wrong fit, but you still have to try it on to know for sure.
Related articles
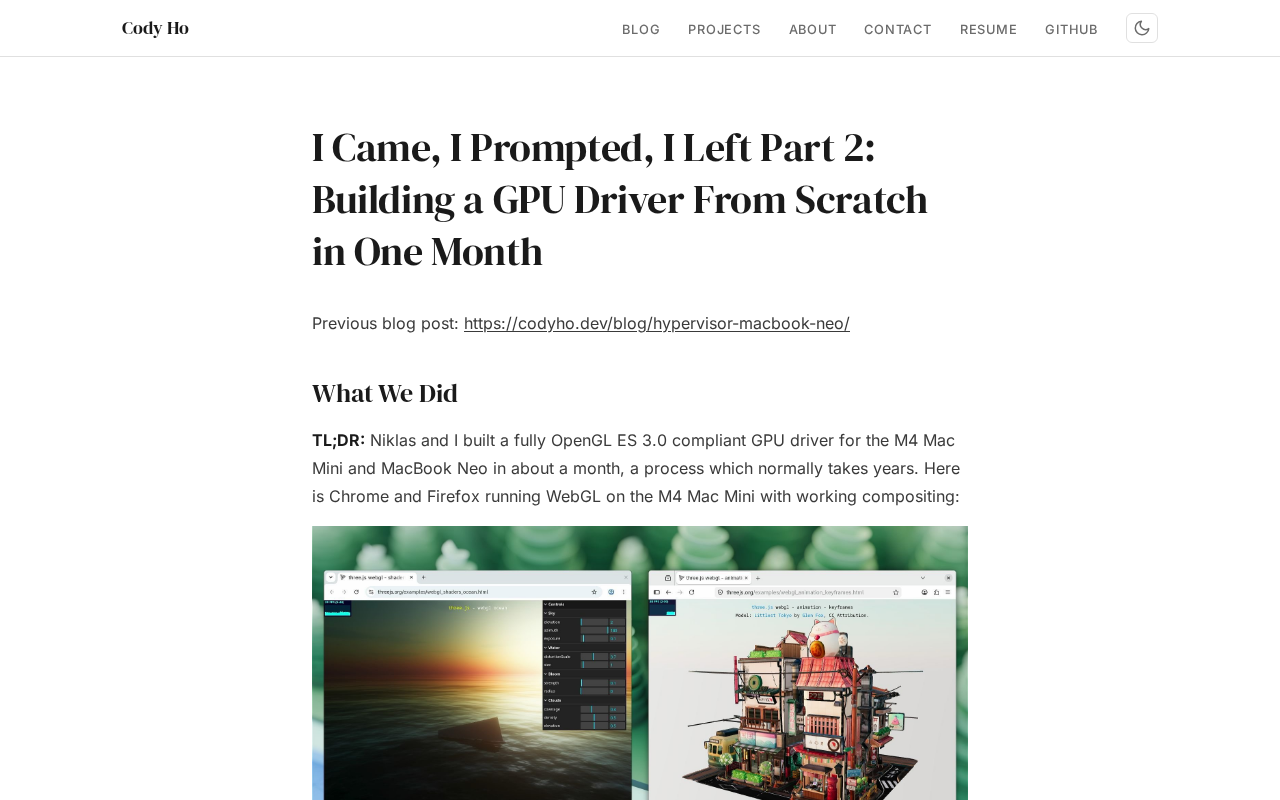
The Technical Challenges of Developing a Linux GPU Driver for the M4 Mac Mini in One Month
Developer Cody Ho built a Linux GPU driver for the M4 Mac Mini in one month. We break down the core challenges of reverse engineering Apple Silicon's closed GPU architecture.
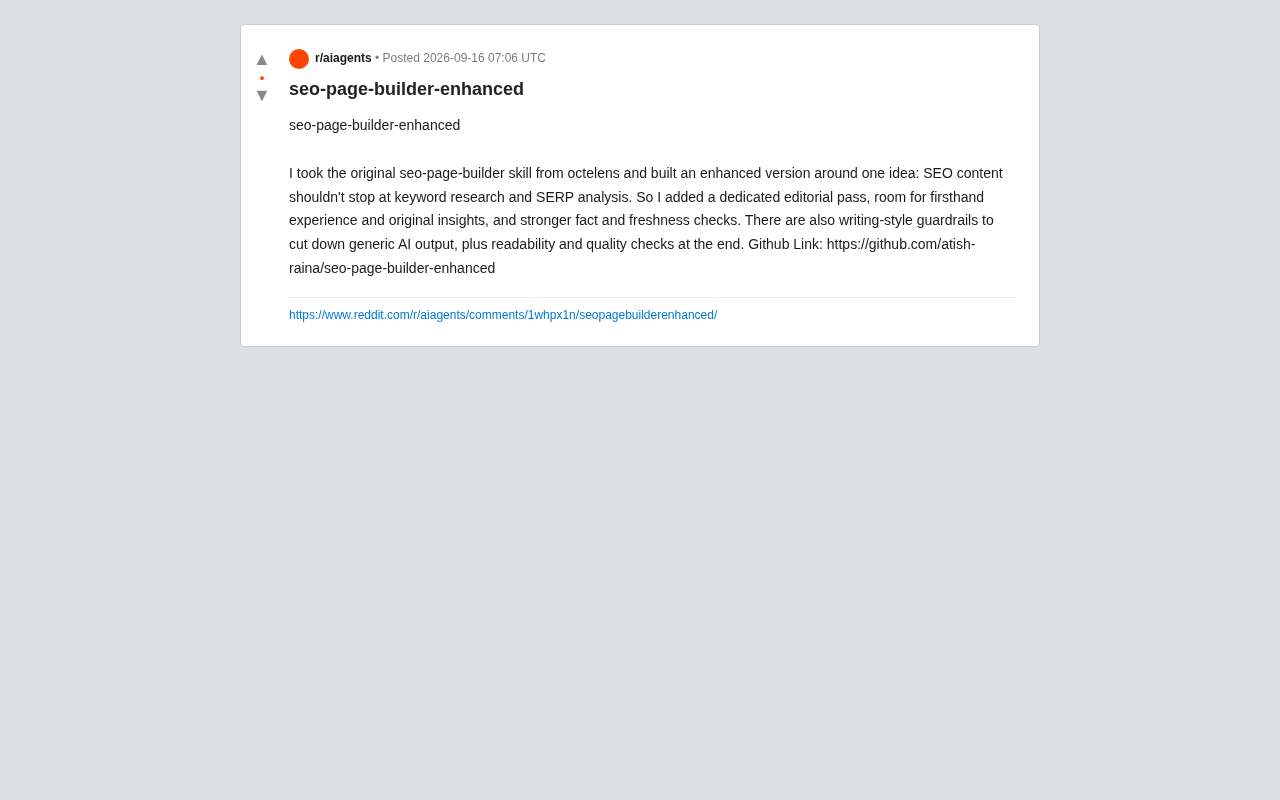
SEO Page Builder Enhanced: Breaking Free from Generic AI-Generated SEO Content
An open-source enhanced SEO content tool that adds editorial review, firsthand experience, fact-checking, and writing-style guardrails to combat generic AI content.

Hierarchical RAG Architecture Research: How Independent Developers Can Break Into Academic Research
An indie developer on Reddit seeks IR professor guidance for hierarchical RAG research. This article explores the technical background and practical advice for independent AI researchers facing academic barriers.